How Do You Zero A Red Dot Sight?
To zero your red dot sight, start by securing your firearm safely and setting up a stable shooting position with a clear target at your chosen distance. Fire a few shots, then adjust the windage and elevation knobs to align your dot with where your bullets actually hit. Repeat this process until your shots consistently hit the bullseye. Proper zeroing boosts accuracy and confidence. Keep going to uncover tips on optimizing zero under different conditions and troubleshooting common issues.
Key Takeaways
- Securely mount the red dot sight and establish a stable shooting position with consistent grip, stance, and cheek weld for accurate zeroing.
- Choose appropriate targets with clear aiming points set at your desired zeroing distance, typically between 5 to 50 yards depending on use.
- Fire a three-shot group, observe shot placement, then adjust windage and elevation knobs to align the red dot with the bullet impacts.
- Repeat shooting and adjusting cycles until the group centers consistently on the target, confirming zero at multiple distances if needed.
- Regularly maintain the sight, check mounts and batteries, and consider using ballistic apps to refine zeroing based on environmental conditions.
Why Zeroing Your Red Dot Sight Matters
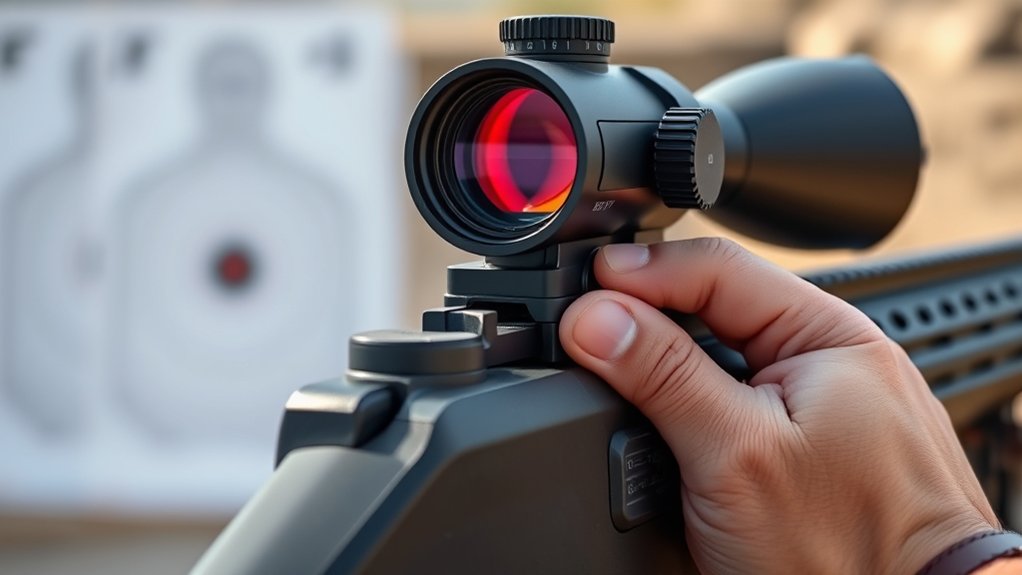
Although your red dot sight might seem ready to use right out of the box, you need to zero it to guarantee your shots hit the intended target. Zeroing aligns the reticle with your bullet’s point of impact, ensuring accuracy.
Without this adjustment, your shots could consistently miss, especially at varying distances. You depend on precision, whether for hunting, competition, or self-defense, and zeroing eliminates guesswork.
It also helps you adapt to different firearms and ammunition types, as each combination can shift your point of impact. Taking the time to zero your red dot sight improves your confidence and effectiveness.
In short, zeroing isn’t optional—it’s essential for making every shot count exactly where you want it to.
Preparing and Securing Your Firearm Before Zeroing
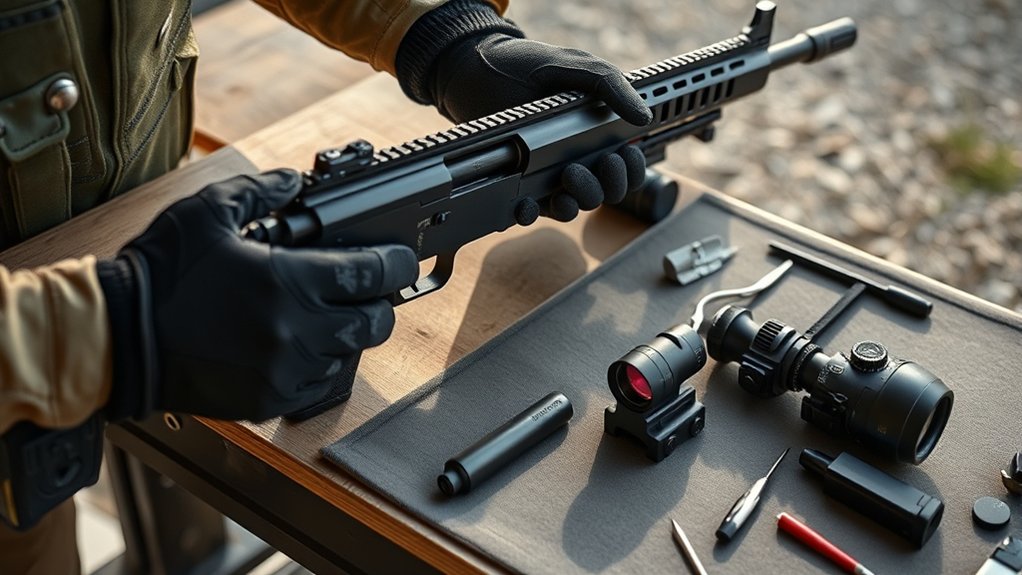
Before zeroing your red dot sight, make certain you follow safe handling procedures and keep your firearm pointed in a safe direction.
Find a stable shooting position to ensure consistent shots.
Finally, secure the firearm’s mechanism by engaging the safety and unloading it until you’re ready to start.
Safe Handling Procedures
When you handle your firearm before zeroing your red dot sight, you must guarantee it’s unloaded and pointed in a safe direction. Begin by removing the magazine and visually inspecting the chamber to confirm no rounds are present. Always keep your finger off the trigger until you’re ready to shoot.
Use a proper backstop or a designated safe area to prevent accidents. Secure your firearm on a stable rest or shooting bench to minimize movement. Never assume the firearm is safe; double-check every time.
Follow all range rules and wear appropriate eye and ear protection. By practicing these safe handling procedures, you’ll reduce risks, protect yourself and others, and create a controlled environment for accurate zeroing of your red dot sight.
Stable Shooting Position
How you position and secure your firearm plays a crucial role in achieving an accurate zero with your red dot sight. Start by choosing a stable shooting stance—whether prone, seated, or standing—whatever gives you the best control and comfort.
Use both hands to grip the firearm firmly, keeping your elbows tucked in to reduce movement. Rest your firearm on a solid support like a bench rest or sandbags to minimize recoil and sway.
Make sure your body is relaxed but steady, maintaining consistent posture with each shot. Your head and eye alignment should be natural, allowing you to see the red dot clearly without strain.
Securing Firearm Mechanism
Why is securing your firearm mechanism essential before zeroing a red dot sight? It ensures safety and stability during the process.
Before you start, always unload your firearm and remove any magazine. Double-check the chamber to confirm it’s empty. Engage the safety if your firearm has one, preventing accidental discharges.
Secure the firearm in a stable rest or gun vise to minimize movement, which helps maintain accuracy while adjusting the sight. Avoid touching the trigger or handling the gun unnecessarily to reduce the risk of shifting the point of aim.
Choosing the Right Target for Zeroing Your Red Dot Sight
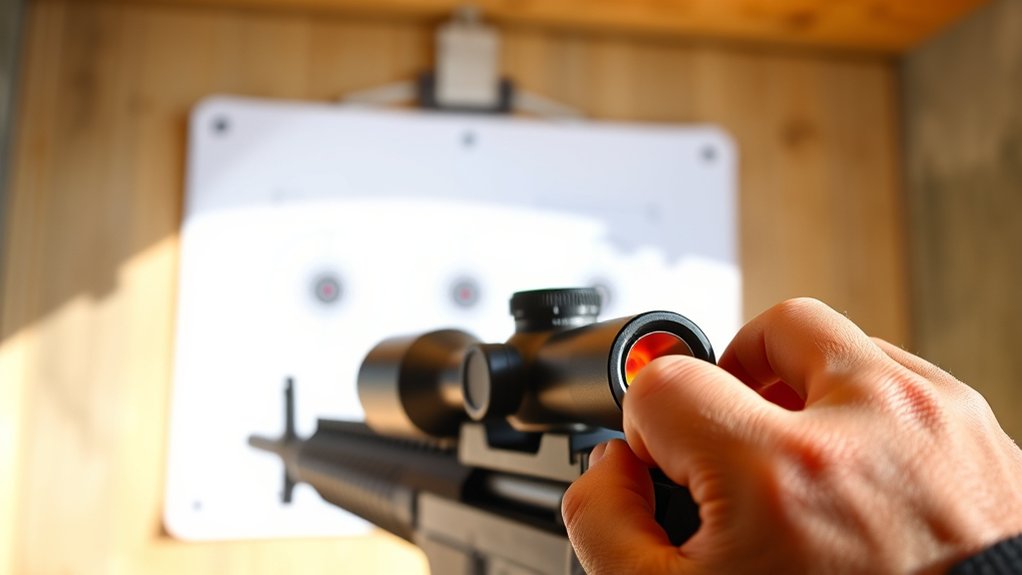
Although choosing the right target might seem straightforward, selecting one that matches your shooting goals is essential for accurate zeroing. You want a target that provides clear, visible aiming points—usually a paper target with a distinct bullseye or grid pattern works best. This helps you precisely measure where your shots land relative to the dot.
Consider the distance you’ll zero at and pick a target size that allows easy shot grouping assessment. If you plan on zeroing at multiple distances, have targets suitable for each range. Avoid overly complex or busy targets, as they can distract you during adjustments.
Ultimately, your target should make spotting your impacts quick and accurate, letting you fine-tune your red dot sight efficiently.
Setting Up Your Shooting Position for Consistency
Once you’ve selected a suitable target, the next step is to set up your shooting position to guarantee repeatable accuracy. Start by finding a stable stance that feels natural and balanced. Whether standing, kneeling, or using a bench rest, make certain your body remains steady throughout the process.
Keep your feet shoulder-width apart and your grip firm but relaxed. Position your elbows to support the firearm comfortably, reducing muscle fatigue. Consistency is key—always assume the same posture every time you shoot.
Also, maintain a proper cheek weld on the stock to align your eye perfectly with the red dot sight. Taking time to establish this reliable position helps make certain your shots land precisely where you aim when zeroing your red dot sight.
Best Distance to Zero Your Red Dot Sight
You’ll want to pick a zeroing distance that matches how you’ll use your red dot sight in real situations.
Consider the typical range of your target engagements to make sure your point of impact aligns with your point of aim.
Choosing the right distance helps you get the most effective and accurate results.
Optimal Range Selection
How far should you set your target when zeroing a red dot sight? Choosing the ideal range depends on your intended use and typical engagement distances.
You want a distance that balances precision and practicality, ensuring your point of aim matches the point of impact.
Consider these factors when selecting your zeroing distance:
- Typical shooting range: Where will you most often engage targets?
- Weapon and ammunition characteristics: How does bullet trajectory behave at different distances?
- Environment: Will lighting or obstacles affect visibility at certain ranges?
- Versatility: Do you need a zero that works well across multiple distances?
Target Engagement Considerations
Why choose a specific distance to zero your red dot sight? Because your choice directly affects accuracy during real-world use. Consider the typical distances at which you’ll engage targets—close quarters, mid-range, or longer shots.
If you mostly shoot within 25 yards, zeroing at that distance makes sense. For varied ranges, a 50- or 100-yard zero offers a balanced point where your shots stay accurate across multiple distances.
Think about your environment and mission; hunting in dense woods differs from tactical shooting on an open range. Zeroing at the distance where you’ll engage most often reduces holdover guesswork, letting you focus on quick, precise shots.
Tailoring your zero distance to your specific needs ensures your red dot performs effectively when it counts.
Step-by-Step Process to Zero Your Red Dot Sight
Before adjusting your red dot sight, make sure your firearm is securely rested and your target is set at the desired zeroing distance. This ensures consistent shots and accurate adjustments.
Next, follow these steps to zero your sight effectively:
- Aim at the center of the target and fire a three-shot group.
- Observe where the shots land relative to your aiming point.
- Adjust your sight settings to bring the point of impact closer to the center.
- Repeat the process until your shots consistently hit the bullseye.
How to Adjust Windage and Elevation on Your Red Dot Sight
Once you’ve fired a few groups and noted where your shots land, it’s time to fine-tune your red dot sight by adjusting windage and elevation.
After firing several groups, fine-tune your red dot sight by adjusting windage and elevation for accuracy.
Windage controls the left-right alignment, so if your shots land to the right, turn the windage knob or dial to move the dot left, and vice versa.
Elevation adjusts the up-down alignment; if your shots hit low, raise the dot by turning the elevation knob upward.
Make small adjustments—usually one click moves the point of impact a specific fraction of an inch at your chosen distance.
After each tweak, fire another group to see how your shots shift.
Repeat this process until your group centers precisely on the target, ensuring your red dot sight is accurately zeroed for reliable performance.
Confirming Your Zero at Various Distances
Now that you’ve adjusted your red dot sight, it’s important to confirm your zero at different distances.
Start by checking close range accuracy, then make any necessary mid-range adjustments.
Finally, verify your zero at long distances to guarantee consistent performance.
Close Range Accuracy
Although zeroing your red dot sight at a specific distance is essential, you’ll want to confirm its accuracy at various close-range distances to guarantee consistent performance. Testing at short distances helps you identify any shifts in point of impact that mightn’t appear at your initial zero range.
This process guarantees your sight remains reliable when you need quick, precise shots up close.
To check close range accuracy effectively:
- Shoot groups at 5, 10, and 15 yards
- Observe any vertical or horizontal deviations
- Adjust windage and elevation if necessary
- Repeat until your dot consistently hits the point of aim
Mid-Range Adjustments
After verifying your red dot sight performs well at close range, it’s important to confirm its accuracy at mid-range distances. This step helps confirm your zero is consistent and reliable for common shooting scenarios. Start by shooting targets at 25 and 50 yards to see how your point of impact shifts. Adjust your sight accordingly, making small corrections to windage and elevation. Keep track of each change to avoid confusion.
| Distance (yards) | Shots Fired | Adjustment Made |
|---|---|---|
| 25 | 3 | 1 click up, 2 right |
| 50 | 3 | 2 clicks down, 1 left |
| 50 (confirmation) | 3 | No adjustment needed |
Confirming mid-range zero ensures your sight is versatile and ready for varied shooting distances.
Long-Distance Verification
When you’ve confirmed your red dot sight’s accuracy at mid-range, it’s essential to verify its performance at longer distances to guarantee consistent precision.
This step assures your sight stays reliable whether you’re shooting at 100 or 300 yards.
Start by setting up targets at various distances and take careful shots, noting any deviations. Adjust your sight accordingly to maintain that perfect zero.
Keep these tips in mind for long-distance verification:
- Use stable shooting positions to reduce movement.
- Record environmental factors like wind that affect bullet trajectory.
- Adjust your elevation settings incrementally for each distance.
- Confirm your zero with multiple shots to ensure consistency.
When and How Often Should You Re-Zero Your Red Dot Sight?
Since your red dot sight plays a crucial role in your accuracy, you need to re-zero it whenever you notice a consistent shift in your point of impact. Changes in temperature, recoil from heavy shooting sessions, or mounting adjustments can all affect your sight’s alignment.
Additionally, you should check and re-zero your red dot after any significant physical impact to your firearm. It’s a good habit to verify zero before every shooting session, especially if you’re preparing for critical situations like hunting or competition.
Regularly confirming your sight’s accuracy ensures you maintain confidence and precision. Don’t wait for obvious problems—routine checks can prevent surprises.
Ultimately, how often you re-zero depends on use and conditions, but staying proactive keeps your shots on target.
Common Zeroing Mistakes to Avoid
When zeroing your red dot sight, don’t ignore the proper distance—it’s key to accuracy.
Skipping bore sighting can leave you far off target before you even start.
Also, avoid overcorrecting adjustments, or you’ll waste time chasing your zero.
Ignoring Proper Distance
Though it might seem minor, ignoring the proper distance during zeroing can throw off your entire sight alignment.
When you zero your red dot sight, you need to pick the right distance based on your shooting needs. If you zero too close or too far, your point of impact won’t match where you’re aiming at your typical shooting range.
Keep these tips in mind to avoid this mistake:
- Choose a zeroing distance that matches your expected shooting scenarios.
- Use a stable rest to maintain consistent aim at that distance.
- Understand your sight’s ballistic drop compensation, if any.
- Re-check zero at different distances to confirm accuracy.
Sticking to the correct distance ensures your red dot sight performs exactly when you need it.
Skipping Bore Sighting
A critical step many shooters skip is bore sighting before zeroing their red dot sight. Bore sighting aligns your firearm’s barrel with the sight before you fire any live rounds. Skipping this can lead to frustrating trial-and-error adjustments, wasting ammo and time.
By bore sighting first, you start with the red dot roughly on target, making fine-tuning quicker and more efficient. Without this step, you might find your shots landing far off, causing unnecessary confusion and possibly overcorrecting your sight adjustments.
Take a moment to bore sight using a bore sighter or by visually aligning the barrel with a distant target. This simple step sets a solid foundation for precise zeroing and helps you avoid common mistakes that slow down your setup.
Overcorrecting Adjustments
Because you’re enthusiastic to get your red dot sight dialed in quickly, it’s easy to overcorrect your adjustments and throw off your zeroing.
When you see your shots landing off-target, resist the urge to make large, frequent changes. Overcorrecting can send your point of impact bouncing around, making it harder to find a true zero.
Instead, make small, deliberate adjustments and give your shots time to settle.
Watch out for these common overcorrecting mistakes:
- Turning elevation or windage knobs several clicks at once
- Failing to pause and assess shot groupings
- Adjusting after every single shot instead of a group
- Ignoring environmental factors like wind or shooter stance
Stay patient and precise to zero your red dot sight effectively.
How Weather and Environment Affect Your Zeroing
When you zero your red dot sight, you’ll need to take into account how weather and environmental factors can shift your point of impact. Wind, temperature, humidity, and altitude all influence bullet trajectory.
Zeroing your red dot sight requires considering weather and environment, as they affect your bullet’s impact point.
A strong crosswind can push your rounds off target, so zeroing on a calm day helps establish a reliable baseline. Temperature affects air density—colder air is denser, slowing bullets and causing them to drop more.
High humidity reduces air resistance slightly but has less impact than you might think. Altitude thins the air, letting bullets travel flatter and farther.
When zeroing, try to replicate the conditions you expect in the field. If conditions change considerably, you may need to adjust your zero or compensate while shooting to maintain accuracy.
How Ballistic Apps Can Help Perfect Your Zero
Understanding how environmental factors impact your shot is just one piece of the puzzle. Ballistic apps take your zeroing to the next level by factoring in variables like wind, altitude, and temperature. These tools help you make precise adjustments before you even hit the range.
By inputting your firearm and ammunition details, you get customized data tailored to your setup.
Here’s how ballistic apps can sharpen your zeroing process:
- Calculate bullet drop and holdover at various distances
- Adjust for wind speed and direction in real-time
- Provide quick corrections for elevation and windage
- Store multiple zero profiles for different firearms and optics
Using these apps, you’ll save time and improve accuracy, making your red dot sight zero more reliable under changing conditions.
Troubleshooting Tips If Your Red Dot Sight Won’t Zero
If your red dot sight won’t zero despite careful adjustments, don’t get discouraged. First, double-check that your sight is mounted securely; any looseness can cause inconsistent grouping.
Next, confirm that you’re adjusting the correct turrets—windage for horizontal and elevation for vertical shifts.
Inspect the battery and verify it’s fresh, as a weak power source can affect dot brightness and clarity.
Also, confirm you’re shooting from a stable position using a proper rest; movement can skew your results.
If your firearm has a compensator or muzzle device, it might affect point of impact—try zeroing without it.
Finally, verify your target is at the recommended zeroing distance.
If issues persist, consult the manufacturer’s manual or seek professional help.
Maintenance Tips to Keep Your Red Dot Sight Accurate
To keep your red dot sight accurate, you need to perform regular maintenance and handle it with care. Neglecting upkeep can lead to misalignment and unreliable performance. Follow these key tips to maintain your sight’s precision:
- Clean the lens regularly with a microfiber cloth to avoid scratches and smudges that obscure your view.
- Check and replace batteries promptly to prevent dim or flickering dots that affect aiming.
- Inspect mounts and screws to ensure everything stays tight and stable during use.
- Store your sight in a protective case when not in use to shield it from dust, moisture, and impacts.
Frequently Asked Questions
Can I Zero a Red Dot Sight on Different Firearms?
Yes, you can zero a red dot sight on different firearms, but you’ll need to adjust it each time to match the specific firearm’s ballistics and shooting distance. Always re-zero after switching for accuracy.
Are Red Dot Sights Compatible With Night Vision Devices?
When it comes to red dot sights and night vision devices, you’re in luck—they often work hand in glove. Just make sure your red dot is NV compatible to avoid overwhelming the night vision’s sensors.
How Do Battery Types Affect Red Dot Sight Performance?
Battery types affect your red dot sight’s runtime and brightness consistency. Lithium batteries last longer and perform better in cold, while alkaline ones drain faster. Using quality batteries guarantees stable dot intensity and reliable sight function during use.
Can I Use a Red Dot Sight for Long-Range Shooting?
You can use a red dot sight for long-range shooting, but it’s not ideal. Remember, “jack of all trades, master of none.” For precise long shots, a magnified scope will serve you better.
What Are the Differences Between Reflex and Holographic Sights?
Reflex sights use a simple LED dot reflected on a lens, while holographic sights project a hologram of the reticle onto the lens. You’ll notice holographics handle complex reticles and parallax better but cost more.
Conclusion
Zeroing your red dot sight is vital for accuracy—did you know that even a 1 MOA error can cause a 1-inch miss at 100 yards? Taking the time to properly zero guarantees every shot counts, saving you ammo and boosting confidence. Remember to prepare your firearm, choose the right target, and consider environmental factors. With consistent practice and proper maintenance, you’ll keep your sight pinpoint accurate and ready for any situation.