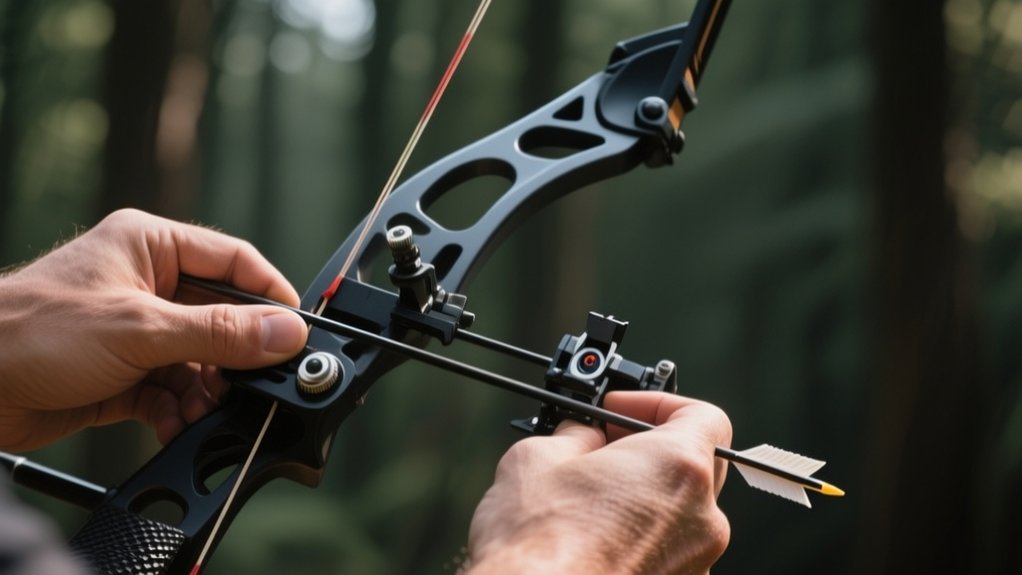
How To Sight In A Bow?
To sight in your bow, start by setting up a clear shooting area and placing your target about 20 yards away. Use consistent form and shoot three arrows without adjusting your sight. Then, fine-tune your sight based on where the arrows land—move elevation screws if arrows are high or low and adjust windage for left or right. Make small, precise changes and shoot groups for accuracy. Mastering these basics will gear you up to perfect your aim further.
Key Takeaways
- Set up a safe shooting area with a stable target at about 20 yards and ensure consistent shooting form.
- Shoot groups of three arrows before adjusting the sight to identify arrow placement relative to the target center.
- Adjust elevation by moving the sight up or down based on arrow height, and adjust windage by moving it left or right.
- Make small, incremental sight adjustments and retest to gradually dial in accuracy at various distances.
- Maintain consistent anchor points and shooting posture to ensure reliable and repeatable sighting results.
Why You Should Sight In Your Bow Before Shooting
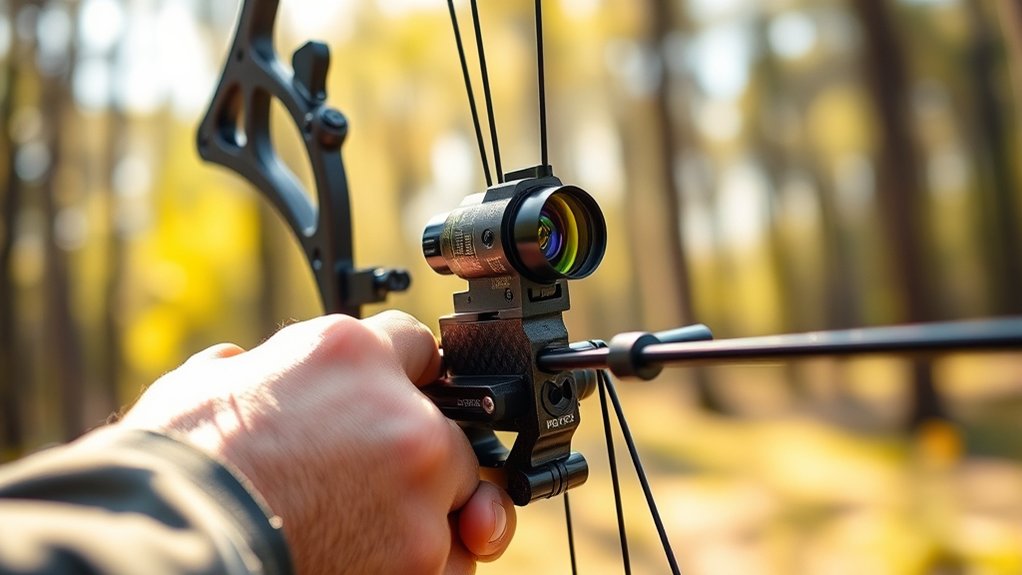
Before you start shooting, you should sight in your bow to make sure your arrows hit the target accurately. If you don’t, your shots will likely miss or cluster unpredictably, wasting time and arrows.
Sighting in your bow ensures accurate shots and prevents wasted arrows and time.
Sighting in aligns your bow’s sights with where your arrows actually land, accounting for your unique draw length, arrow weight, and bow setup. This process helps you build confidence, knowing your shots will be consistent.
It also boosts your accuracy, which is essential whether you’re target shooting or hunting. Without proper sighting, you might struggle to adjust for distance or wind, leading to frustration.
Taking the time to sight in your bow ensures every shot counts and lets you focus on improving your technique instead of guessing where your arrows will land.
Quick Start: How To Sight In Your Bow Accurately
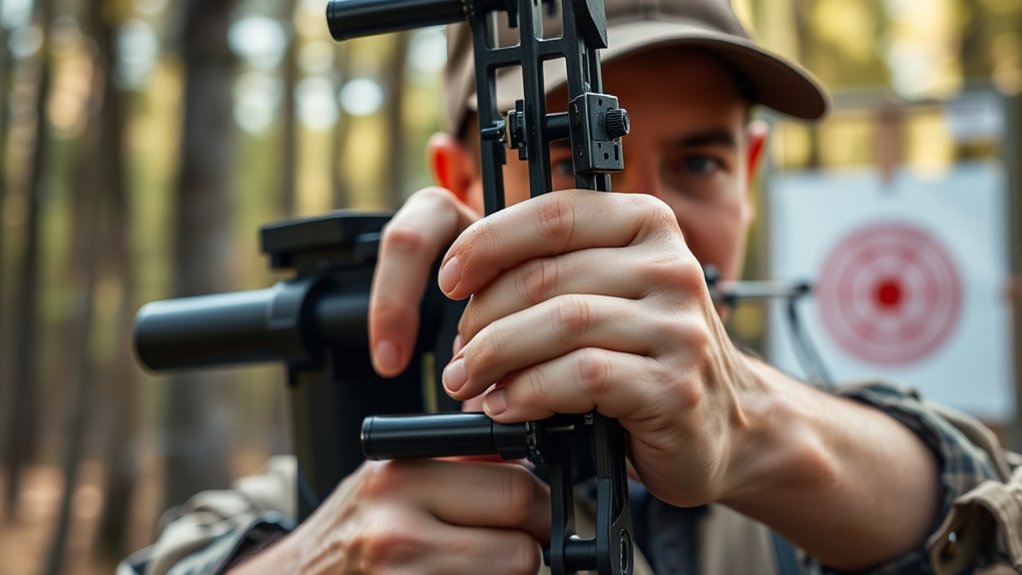
Now that you understand why sighting in your bow matters, let’s get started with the process.
First, set up a target about 20 yards away in a safe shooting area. Draw your bow and aim at the center, then shoot a group of three arrows without adjusting your sight. Observe where the arrows land.
If they’re off-center, adjust your sight pins accordingly—move them up, down, left, or right to bring the group closer to the bullseye.
Repeat this step, shooting groups and fine-tuning the sight until your arrows consistently hit the target’s center.
Once you’re accurate at 20 yards, increase the distance gradually, repeating the process.
This method helps you quickly dial in your bow for precision and confidence before any serious shooting.
What Gear You Need To Sight In Your Bow
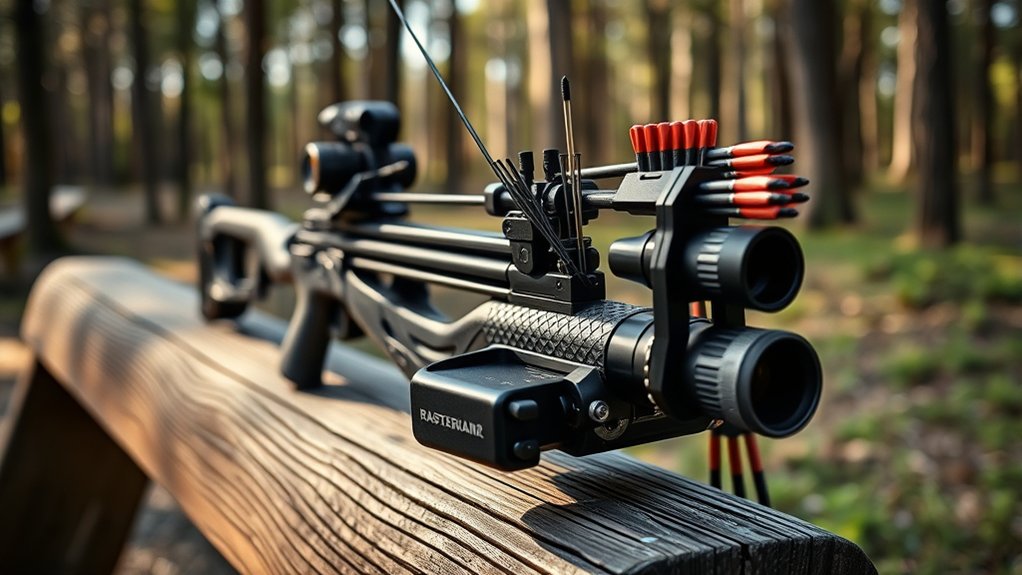
Although sighting in your bow may seem straightforward, having the right gear guarantees you do it accurately and efficiently. First, you’ll need a quality bow sight that fits your bow and offers adjustable pins or a single-pin system.
Having the right bow sight with adjustable or single pins ensures accurate and efficient sighting every time.
Grab a stable target, preferably one designed for archery, to get consistent results. Don’t forget arrows matching your bow’s draw weight and length to ensure true flight.
A bow press or wrench can help with precise adjustments, while a sight tape or marker lets you record your pin settings.
You’ll also want a durable release aid for smooth shooting.
In conclusion, bring a rangefinder or measuring tape to set exact distances, and a notebook or app to track progress.
With these essentials, you’ll sight in your bow confidently and quickly.
Setting Up Your Bow Shooting Area Safely
When you set up your bow shooting area, safety should always come first to protect yourself and others nearby. Choose a clear, open space with a sturdy backstop behind your target to catch stray arrows.
Make sure the area is free of obstacles like rocks or branches that could cause accidents or deflect arrows.
Establish a safe shooting line and mark it clearly, so no one crosses it while you’re shooting.
Always check that no one is downrange before you shoot, and never shoot if someone is in front of you.
Keep your bow and arrows pointed downrange when not shooting.
How To Position Yourself For Accurate Bow Shooting
To shoot accurately, you need to position yourself with a stable stance and align your body correctly.
Focus on maintaining a consistent anchor point every time you draw your bow. These key steps will help improve your aim and consistency.
Stance Stability Techniques
Mastering your stance is essential because it directly affects your balance and consistency while shooting.
To keep steady, position your feet shoulder-width apart, creating a solid base. Distribute your weight evenly on both feet, slightly bending your knees to stay relaxed but stable. Avoid locking your joints, which can cause tension and reduce control.
Keep your body aligned with the target but focus on maintaining a natural, comfortable posture that allows for smooth movement. Engage your core muscles to prevent swaying and enhance control.
Practice standing on different surfaces to build adaptability. Remember, a stable stance reduces unnecessary movement, letting you concentrate on your aim and shot execution for greater accuracy every time you draw your bow.
Aligning Your Body Properly
Although a solid stance lays the foundation, aligning your body properly is essential for consistent accuracy.
Stand perpendicular to your target, with your feet shoulder-width apart and your weight evenly distributed. Keep your shoulders relaxed and square to the target, avoiding any twisting or leaning.
Your hips should align with your shoulders, creating a straight line from your head to your feet. This alignment ensures your draw and release are smooth and repeatable.
Keep your head upright, eyes focused on the target, and avoid tilting or turning it excessively. Proper body alignment reduces muscle tension and helps you maintain control, which directly improves your shot’s precision.
Pay attention to these details every time you shoot to build consistency and accuracy.
Consistent Anchor Point
Once your body is properly aligned, the next step is establishing a consistent anchor point. This is the spot on your face or jaw where you draw the bowstring every time before releasing. Common anchor points include the corner of your mouth, your chin, or under your jawline.
Choose one that feels natural and allows you to draw smoothly. Consistency here is essential because even slight variations can change your arrow’s trajectory. Practice drawing to the same spot repeatedly, using your fingers or a mechanical release to feel the position.
You can mark your face lightly with a cosmetic pencil to remind yourself of the exact spot. Once consistent, your shots become more predictable and accurate, making sighting in your bow much easier.
Shooting Your First Group For Baseline Accuracy
Now that you’re set up, focus on keeping your shooting form consistent with each shot.
Pay close attention to how your arrows group on the target to identify any patterns.
This baseline will help you make precise adjustments for better accuracy.
Establish Consistent Shooting Form
Before you start sighting in your bow, you need to establish a consistent shooting form to guarantee accurate results. Stand with your feet shoulder-width apart, perpendicular to the target, and keep your body relaxed but stable.
Grip the bow firmly without over-tightening, and draw the string smoothly to the anchor point—usually the corner of your mouth or chin. Focus on maintaining the same anchor point every shot, as inconsistent anchors lead to erratic arrow placement.
Keep your bow arm steady, avoid unnecessary movement, and maintain proper posture throughout the shot. Consistency in these fundamentals sets a reliable baseline, allowing you to identify whether arrows group due to sighting issues or form flaws.
Perfecting your shooting form first will make sight adjustments more meaningful and efficient.
Analyze Arrow Grouping Patterns
Although you’ve established a consistent shooting form, you won’t know how well your bow is sighted until you shoot your first group.
When you analyze your arrow grouping patterns, focus on the cluster of arrows on the target. This tells you where your bow is naturally aiming and what adjustments you need to make.
Look for:
- Tight groups centered on the bullseye, indicating good sight alignment
- Groups that consistently land left or right, signaling horizontal adjustments
- High or low groupings, showing vertical misalignment
- Spread-out groups that suggest inconsistent form or issues with equipment
How To Read Your Arrow Grouping To Guide Adjustments
When you examine your arrow grouping on the target, you’ll gain valuable insights into how to adjust your bow for better accuracy. If your arrows cluster tightly but off-center, it means your aim point or sight needs fine-tuning.
A consistent grouping high and to the right suggests you should move your sight down and left. If the arrows scatter widely, inconsistency in your form or release might be the issue rather than the bow’s settings.
Pay attention to the pattern’s shape and location—this tells you if you need to adjust windage or focus more on your shooting technique. Reading your grouping carefully helps you make precise, effective changes that improve your shooting performance with every shot.
How To Adjust Your Bow Sight For Elevation
Since your arrow grouping reveals whether your shots land high or low, adjusting the elevation on your bow sight becomes essential for improving accuracy.
Begin by loosening the elevation adjustment screw or knob on your sight. If your arrows hit above the target, lower the sight; if they land below, raise it. Make small, incremental moves to avoid over-adjusting.
After each adjustment, shoot a new group to check your progress.
Visualize the process:
- Arrows clustered high on the target face
- Gently turning the elevation screw downward
- Arrows shifting closer to the bullseye
- Sight pin aligning perfectly with the center
Keep fine-tuning until your shots consistently hit your intended point of aim.
How To Adjust Your Bow Sight For Windage
After you’ve dialed in your elevation, you’ll need to adjust the windage to correct left or right arrow placement. Start by shooting a group at your target and observe where your arrows land horizontally. If your arrows hit left, move the sight to the right; if they hit right, move the sight to the left. Make small, incremental adjustments and shoot again to check progress.
Use the table below as a quick reference for windage adjustments:
| Arrow Impact | Sight Movement Direction | Adjustment Tip |
|---|---|---|
| Left | Move sight right | Small increments (1 click) |
| Right | Move sight left | Adjust gradually |
| Center | No adjustment needed | Confirm with multiple shots |
| Wide Left | Larger right adjustment | Re-check elevation |
| Wide Right | Larger left adjustment | Ensure consistent form |
How Your Arrow Rest Affects Bow Sight Accuracy
Your arrow rest plays a vital role in how accurate your bow sight will be. Different rest types can affect arrow flight, so choosing the right one matters.
You’ll also need to make sure your rest is properly aligned to keep your shots consistent.
Arrow Rest Types
Although the sight plays a crucial role in aiming, the arrow rest considerably impacts your bow’s accuracy by controlling how your arrow leaves the bow. Choosing the right rest can reduce arrow fanning and improve consistency.
You’ll find several types, each affecting your shot differently.
- Plastic or foam rests cradle the arrow with minimal contact, reducing friction.
- Drop-away rests fold down when you release, letting the arrow fly cleanly.
- Whisker biscuit rests fully surround the arrow, offering great support but more contact.
- Launcher rests use prongs to hold the arrow, balancing support and clearance.
Pick a rest that suits your shooting style and bow setup for smoother, more precise shots.
Rest Alignment Impact
Because the arrow rest directly influences the path your arrow takes, even slight misalignments can throw off your bow sight accuracy. If the rest isn’t perfectly centered or angled, your arrow may consistently veer left, right, high, or low, making your sight adjustments ineffective.
You should carefully check that the rest holds the arrow straight in line with your bowstring and sight. Small tweaks can drastically improve grouping and precision.
Also, consider how the rest interacts with different arrow types; some rests perform better with specific shaft sizes or materials.
Regularly inspect and adjust your rest alignment, especially after transport or heavy use.
Mastering this step ensures your sight is dialed in correctly and your shots hit exactly where you aim.
How To Fine-Tune Your Bow Sight With Follow-Up Shots
Once you’ve made your initial adjustments, it’s vital to take follow-up shots to see how your bow sight performs under consistent conditions. This step helps you identify subtle misalignments and fine-tune your sight for accuracy.
Taking follow-up shots under consistent conditions reveals subtle misalignments to fine-tune your bow sight accurately.
Focus on shooting groups of arrows rather than single shots to get reliable feedback. After each group, observe the arrow placements and adjust your sight accordingly.
Here’s how to fine-tune effectively:
- Shoot from the same distance and stance every time.
- Note any consistent left, right, high, or low groupings.
- Make small, incremental adjustments to your sight pins.
- Keep a log of changes and results to track progress.
These follow-up shots will ensure your bow sight is dialed in perfectly.
How To Use A Peep Sight For More Precision
To get more precision with your bow, start by aligning the peep sight perfectly with your eye and front sight pin.
Make small adjustments to guarantee your sight picture is clear and centered.
This will help you improve accuracy with every shot.
Aligning The Peep Sight
Although aligning the peep sight might seem tricky at first, mastering this step considerably boosts your shooting accuracy.
Start by stringing your bow and looking through the peep sight with your dominant eye. You want the peep sight centered perfectly around your front sight pin. Adjust the peep sight by twisting it slightly until it frames your pin without obstruction.
Keep your head and anchor point consistent to maintain alignment. Visualize:
- A clear circular frame outlining your front sight
- The front sight pin centered inside the peep sight
- Your eye naturally resting behind the peep sight
- A consistent anchor point for each shot
Once aligned, your peep sight will give you a precise reference, making each shot more predictable and accurate.
Adjusting For Accuracy
When you fine-tune your peep sight, you’ll notice your shots becoming more consistent and precise.
To adjust for accuracy, start by shooting a group of arrows at your target. Observe where they cluster relative to the bullseye. If your group is off-center, adjust the peep sight up, down, left, or right accordingly.
Small, incremental changes work best—move it slightly, then shoot again to check results. Remember, your peep sight should align perfectly with your front sight and target.
Consistent anchor points and proper form enhance this process. Keep practicing, making tiny adjustments until your shots consistently hit the mark.
How Environmental Factors Affect Your Bow Sight Settings
Since your bow sight settings rely on precise adjustments, you’ll need to take environmental factors that can influence your shot into account. Wind, temperature, humidity, and lighting can all subtly change the arrow’s flight path and your sight’s accuracy.
Ignoring these elements may cause you to miss your target even if your sight is perfectly calibrated under ideal conditions.
Consider these factors:
- A strong crosswind pushing your arrow off course
- Cold temperatures causing your bowstring to contract slightly
- High humidity affecting air density and arrow speed
- Changing light conditions making sight pins harder to see
Avoid These Common Bow Sighting Mistakes
Environmental factors can throw off even the most carefully calibrated bow sight, but overlooking common sighting mistakes can sabotage your accuracy just as quickly.
First, don’t rush the sighting process—take your time to make small, deliberate adjustments. Avoid inconsistent anchor points; always draw your bow the same way to maintain accuracy.
Don’t forget to tighten all screws securely after adjustments to prevent your sight from shifting unexpectedly. Also, avoid relying solely on one distance; sight in at multiple ranges to ensure your setup performs well in varied situations.
In conclusion, don’t ignore your form; poor shooting posture can mislead your sighting results.
Frequently Asked Questions
How Often Should I Sight in My Bow for Hunting Season?
You should sight in your bow at least once before every hunting season and check it periodically during the season. Weather and equipment changes can affect accuracy, so regular adjustments keep your shots precise and reliable.
Can Different Arrow Types Affect My Sighting Accuracy?
Different arrow types can definitely throw a wrench in your sighting accuracy. You’ll notice variations in weight, spine, and fletching that change your arrow’s flight. Always sight in with the exact arrows you plan to use.
What Is the Best Time of Day to Sight in a Bow?
The best time to sight in your bow is during consistent lighting, usually in the morning or late afternoon. Avoid midday glare or fading light, so you can see your target clearly and make precise adjustments without distractions.
How Do Temperature Changes Impact Bow Sight Settings?
You’ll notice your shots shifting as temperatures change because materials expand or contract. Don’t ignore this—adjust your sight settings regularly to maintain accuracy. Ignoring it could leave you missing vital shots when it counts most.
Should I Sight in My Bow Differently for Target Versus Hunting?
Yes, you should sight in differently. For target shooting, focus on precision at fixed distances, but for hunting, adjust for variable distances and real-world conditions. Always test in the environment you’ll be shooting in to guarantee accuracy.
Conclusion
Sighting in your bow is like tuning a musical instrument—each adjustment brings your aim closer to perfect harmony. As you align your sight, you’re not just aiming at a target; you’re crafting your connection with the bow and the environment around you. With patience and practice, your shots will sing true. So take your time, trust the process, and watch your confidence and accuracy hit the bullseye every time.