How To Sight A Scope At 25 Yards?
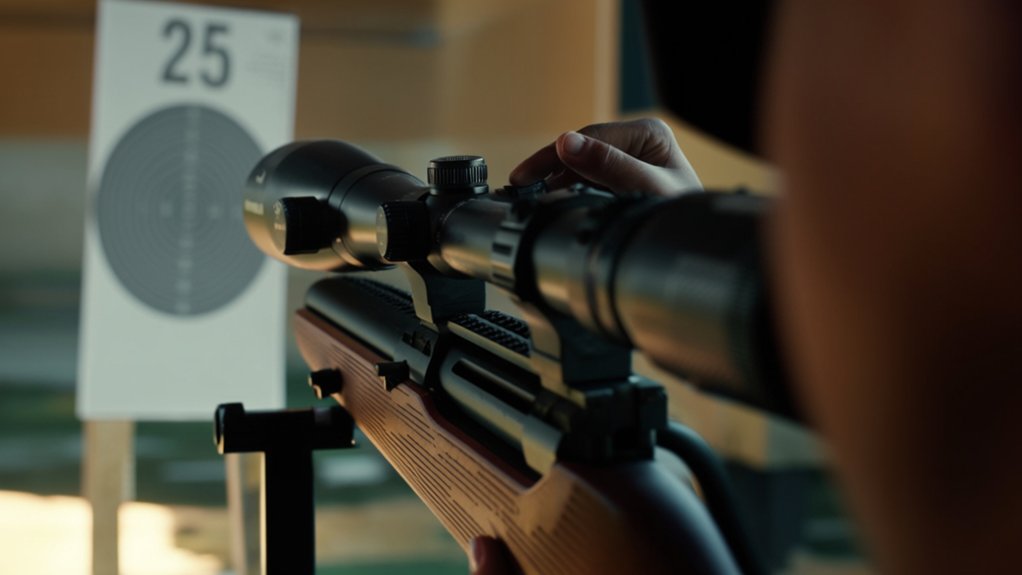
To sight your scope at 25 yards, start by setting a stable shooting area with a clear, marked target. Rest your rifle on sandbags, maintain a consistent stance, and center the reticle on the target. Use small windage and elevation adjustments to move your shots toward the bullseye, firing groups to confirm accuracy. This close range reduces variables like wind and bullet drop, giving you a solid baseline before moving to longer distances. Keep going to fine-tune your setup and troubleshoot common issues.
Key Takeaways
- Set up a stable shooting rest and place a clearly marked target precisely 25 yards away on a flat, safe surface.
- Position the rifle securely on sandbags, maintain a consistent stance, and align your eye with the scope reticle.
- Fire a group of 3-5 rounds, observe the shot placement, and make small windage and elevation adjustments on the scope.
- Adjust windage dial right to move impact right, left to move left; elevation dial up to raise impact, down to lower it.
- Repeat shooting and adjusting until shots cluster tightly around the target center, confirming a solid zero at 25 yards.
Why Sight Your Scope at 25 Yards First
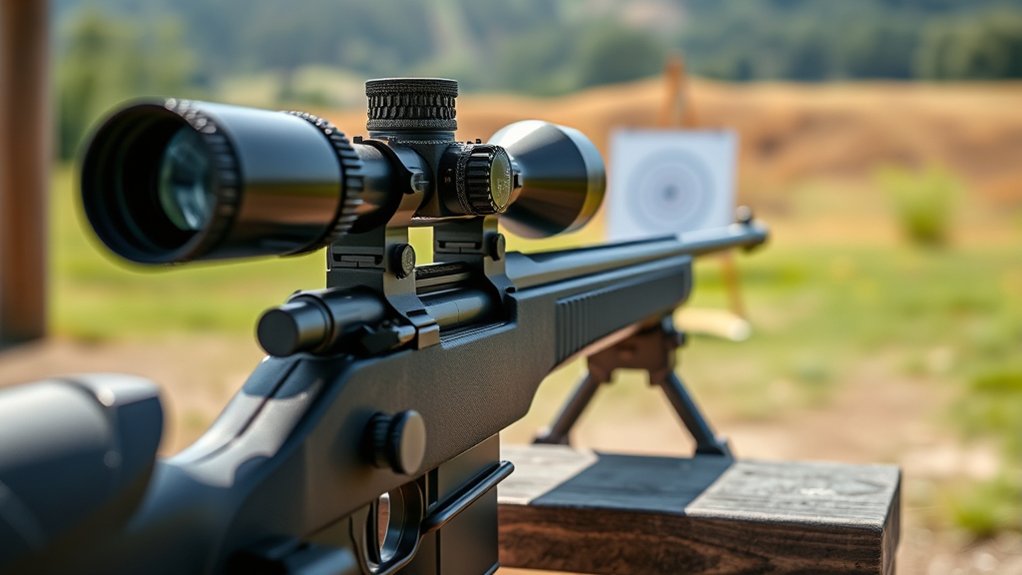
Although you might be tempted to start sighting your scope at longer distances, beginning at 25 yards helps you quickly zero in with greater accuracy.
At this shorter range, you get immediate feedback on your adjustments without wasting time or ammo. You’ll spot mistakes early, making it easier to fine-tune your scope’s alignment.
Plus, shooting at 25 yards reduces variables like wind and bullet drop, so your shots reflect your scope’s true calibration.
Once you’ve nailed it at this distance, extending to longer ranges becomes straightforward because your baseline is solid.
Starting close lets you save frustration and ensures your first shots are meaningful, setting you up for consistent accuracy downrange.
It’s the smart, efficient way to get your scope dialed in right from the start.
What Tools You Need to Sight a Scope Accurately
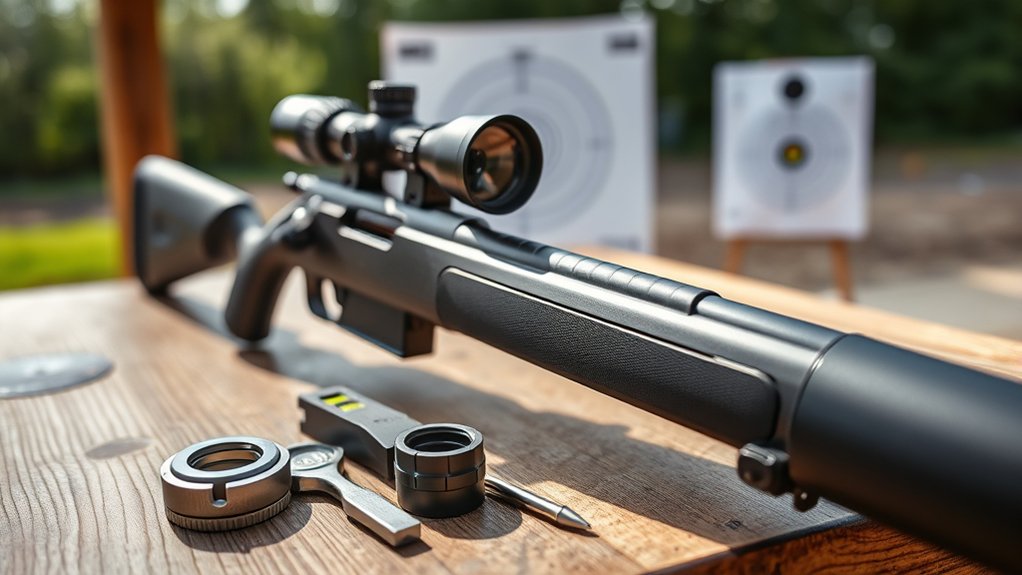
Getting your scope zeroed at 25 yards sets a solid foundation, but having the right tools makes the process smoother and more precise.
Zeroing your scope at 25 yards lays the groundwork for accuracy with the right tools enhancing precision.
First, you’ll need a stable shooting rest or sandbags to steady your rifle and reduce movement. A reliable target, ideally with clear markings or a grid, helps you track bullet impacts accurately.
Don’t forget a quality spotting scope or binoculars to see your shots without walking downrange constantly. A bubble level ensures your rifle stays perfectly level, preventing canting errors.
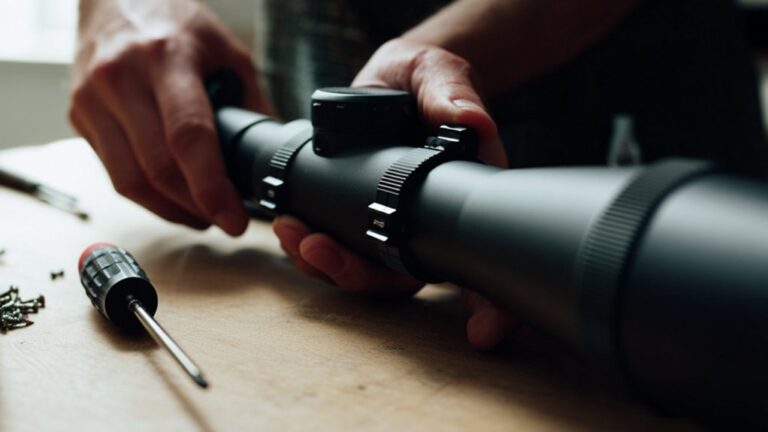
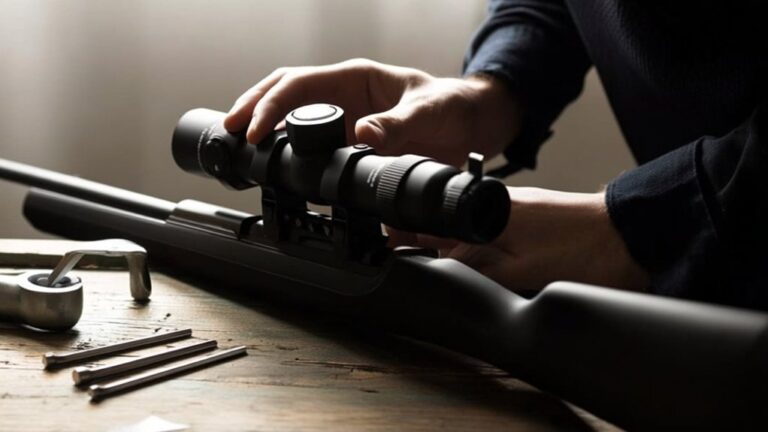
Finally, a good set of Allen wrenches or screwdrivers tailored to your scope mounts will help you make fine adjustments securely.
With these tools, you’ll save time and improve your sighting accuracy at 25 yards.
Setting Up Your Shooting Area for 25-Yard Scope Sighting
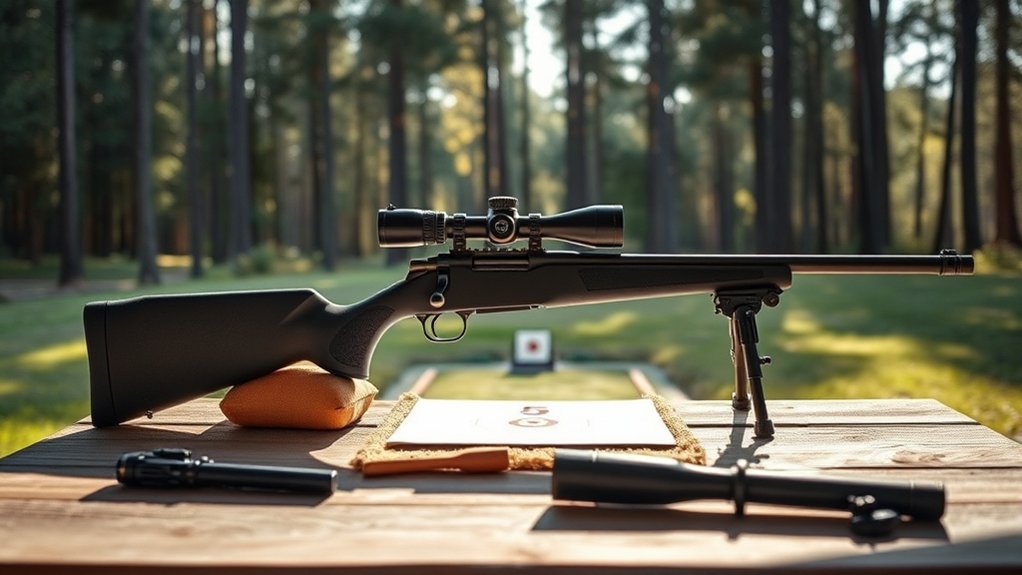
Before you start sighting your scope at 25 yards, make certain your shooting area is well-organized and free of distractions. Clear the space of any unnecessary items that could interfere with your focus or movement.
Set up a stable shooting bench or table to place your rifle and tools.
Confirm proper lighting so you can clearly see your target and scope reticle.
Position your target at exactly 25 yards on a flat, level surface.
Check that the background behind your target is safe and capable of stopping your rounds.
Keep your tools—like a bore sight, leveling device, and Allen wrenches—within easy reach.
A tidy, controlled environment helps you make accurate adjustments and speeds up the sighting process.
Positioning Your Rifle and Stabilizing Your Shot
With your shooting area arranged and target set at 25 yards, focus next on positioning your rifle for a steady shot. Start by resting the rifle firmly on a stable surface or sandbags. Keep your body relaxed but steady, with your cheek pressed gently against the stock. Use a comfortable shooting stance, either prone or seated, to minimize movement.
Here’s a quick guide to help you stabilize your shot:
| Position Aspect | Tip for Stability |
|---|---|
| Rifle Support | Use sandbags or rests |
| Body Position | Prone or seated stance |
| Grip and Cheek Weld | Firm but relaxed contact |
Following these steps guarantees your rifle stays steady, helping you achieve consistent, accurate sighting.
Aligning Your Scope’s Reticle to the Target
Now that your rifle is steady, focus on centering the reticle precisely on your target.
You’ll need to adjust windage and elevation to guarantee the point of impact matches your aim.
Finally, double-check that the reticle stays stable as you make these tweaks.
Centering The Reticle Properly
Although it might seem straightforward, centering your scope’s reticle precisely on the target is essential for accurate shooting.
Begin by positioning your rifle steadily on a rest or sandbag to minimize movement. Look through the scope and adjust your head and eye placement until the reticle is clear and sharp.
Then, carefully move the rifle so the exact center of the reticle lines up with the bullseye or target point. Make small, deliberate movements to avoid overshooting the mark.
Confirm the reticle doesn’t shift off-center when you slightly move your eye; this validates proper eye alignment. Taking your time here sets the foundation for accurate shots.
Once you’re confident the reticle is perfectly centered, you’re ready to proceed with fine-tuning your scope adjustments.
Adjusting Windage And Elevation
Once your reticle is perfectly centered on the target, you’re ready to adjust the windage and elevation settings on your scope. These adjustments align the point of impact with your aiming point, compensating for horizontal and vertical deviations.
Start by firing a group of shots and observe where they hit relative to your aim. Then, use the windage knob to move the reticle left or right, and the elevation knob to move it up or down. Remember, most scopes move the point of impact in the direction you turn the dial.
- Make small, precise adjustments to avoid overcompensating
- Understand each click corresponds to a specific measurement (e.g., 1/4 MOA)
- Adjust windage for horizontal shifts caused by wind or alignment
- Adjust elevation for bullet drop or zeroing at different distances
Always re-check your shots after adjustments to confirm accuracy
Verifying Reticle Stability
Before moving on to longer distances, you’ll want to verify that your scope’s reticle remains stable and consistently aligned with the target. Start by settling into a steady shooting position and aim at the center of your target. Fire a few rounds, then check where the bullets hit relative to your reticle.
If the reticle shifts or appears to move off-target between shots, it indicates instability. Make sure all mounting screws are tight and the scope is properly secured. Also, confirm that the scope’s internal adjustments aren’t slipping by gently tapping the scope and observing any reticle movement.
Once you’re confident the reticle holds steady, you can trust your adjustments and proceed to sight the scope at longer ranges with accuracy.
Firing and Evaluating Your First Shot Group
Now that your reticle is aligned, fire a group of shots to see where they land on the target.
Pay close attention to the placement of your shots to determine if you need to adjust windage and elevation.
Remember to keep your shooting technique consistent to get accurate results.
Analyzing Shot Group Placement
As you fire your first group of shots, pay close attention to where they land relative to your target. This placement reveals how well your scope is aligned and how consistent your shooting is. Look for the center of the group and its distance from the bullseye.
Analyze whether the shots cluster tightly or spread out, as this affects your accuracy and precision.
Consider these key points when analyzing shot group placement:
- Group size indicates your shooting consistency.
- Group location shows if your point of aim matches your point of impact.
- Patterns like vertical or horizontal spread highlight potential shooting or scope issues.
- Consistent off-center groups suggest sight misalignment.
- Random spread might mean you need to improve shooting fundamentals.
This analysis sets the foundation before making any scope adjustments.
Adjusting Windage And Elevation
Once you’ve analyzed your shot group, you’ll need to adjust the windage and elevation to bring your point of impact closer to the bullseye.
Start by noting where your shots landed in relation to the target center. If shots are left or right, adjust the windage dial accordingly; turn it right to move the point of impact right and left to move it left.
For shots high or low, use the elevation dial; turn it down to lower the impact and up to raise it.
Make small, incremental adjustments—usually one click at a time—and fire another group to see the effect.
Repeat this process until your shots consistently cluster near the bullseye, ensuring your scope is precisely sighted at 25 yards.
Consistency In Shooting Technique
After making adjustments to windage and elevation, it’s important to focus on maintaining consistency in your shooting technique. This guarantees your shots accurately reflect your scope’s alignment, not variations in how you shoot.
When firing your first shot group, keep your body position, grip, and trigger control steady. This way, you can confidently evaluate the group and make precise adjustments.
To maintain consistency, remember to:
- Use the same shooting stance every time
- Firmly but comfortably grip the firearm
- Control your breathing before each shot
- Squeeze the trigger smoothly without jerking
- Keep your eye aligned with the scope’s reticle
Sticking to these habits helps you identify true scope adjustments and improves your shooting accuracy.
Adjusting Your Scope’s Windage and Elevation at 25 Yards
Although you’ve zeroed in your scope at 25 yards, you’ll need to fine-tune the windage and elevation adjustments to guarantee your shots hit the exact point of aim. Begin by shooting a group of three to five rounds, then observe the impact relative to your target’s center. Adjust the windage knob to move the point of impact left or right, and the elevation knob to move it up or down. Make small, incremental changes, usually in quarter or half MOA clicks, then shoot again to confirm.
| Adjustment Type | Effect on Point of Impact |
|---|---|
| Windage | Moves impact left or right |
| Elevation | Moves impact up or down |
| Increment Size | Typically 1/4 or 1/2 MOA per click |
Confirming Your Zero Before Shooting Farther
Before you move on to longer distances, check your initial grouping to see where your shots are landing.
Make any needed windage and elevation adjustments to align your point of impact with your aim point.
Confirm that you’re consistently hitting your target before advancing farther.
Check Initial Grouping
Once you’ve made your initial adjustments, take a few shots to check your grouping at 25 yards. This step confirms if your scope zero is consistent and reliable before moving to longer distances.
Focus on maintaining the same shooting stance and trigger control to guarantee accuracy. Pay close attention to the size and tightness of your group; a tight cluster means your adjustments are working. If your shots are scattered, you may need to revisit your setup or technique.
Keep in mind:
- Consistency in your shooting position improves group accuracy
- Tight groups indicate a well-sighted scope
- Larger groups suggest further adjustment or technique refinement
- Environmental factors like lighting can affect shot placement
- Patience here saves time and ammunition later on
Adjust Windage And Elevation
After confirming your initial grouping, you’ll need to adjust the windage and elevation to fine-tune your zero at 25 yards.
Begin by checking where your shots land relative to your aiming point. If the group is left or right, adjust the windage turret accordingly—turn it in the direction you want your point of impact to move.
For shots high or low, manipulate the elevation turret similarly, moving the reticle to shift the impact point up or down.
Make small, precise adjustments, usually in quarter or half clicks, then fire another group to verify changes.
Repeat this process until your groups consistently hit your intended target spot.
Once you’ve dialed in both windage and elevation accurately, you’ll have a confirmed zero, setting a reliable baseline before extending your shots to longer distances.
Verify Consistent Aim Point
To guarantee your zero is truly reliable, you need to verify that your aim point remains consistent across multiple shots. This means shooting several rounds at the same target point without changing your position or aiming technique.
If your shots cluster tightly, your zero is solid. If they scatter, you need to reassess your setup.
Focus on these key steps:
- Maintain a steady shooting stance and grip
- Use the same aiming reference for each shot
- Control your breathing and trigger pull consistently
- Check your scope mounts for tightness
- Note any environmental factors affecting shot placement
Confirming your zero this way ensures confidence when you extend your shots beyond 25 yards.
Mistakes to Watch Out for at 25 Yards
Although sighting a scope at 25 yards might seem straightforward, several common mistakes can throw off your accuracy. First, don’t overlook proper target placement; placing it incorrectly can skew your zero.
Sighting a scope at 25 yards is simple but errors like poor target placement can throw off your accuracy.
Also, avoid inconsistent shooting positions—keep your stance, grip, and cheek weld the same every time. Don’t ignore environmental factors like lighting or wind, as they can affect bullet impact even at close range.
Another mistake is rushing—take your time to ensure each shot is deliberate. Finally, double-check your scope mounts; loose rings or mounts will cause shifts in your point of impact.
Staying aware of these pitfalls helps you zero your scope precisely, conserving time and ammunition while improving your shooting confidence.
Troubleshooting If Your Scope Won’t Zero Properly
When your scope won’t zero properly, it can be frustrating, but pinpointing the issue often reveals simple fixes.
Start by checking if your scope is securely mounted—loose rings or bases cause inconsistent impacts. Also, verify the turret adjustments match your target shift; sometimes a misread dial leads you astray.
Make sure your rifle is stable and you’re using consistent shooting positions, as movement can affect grouping. Don’t overlook the quality of your ammo; inconsistent loads can throw off your zero.
Finally, confirm your scope’s parallax is set correctly for 25 yards to avoid aiming errors.
- Ensure scope mounts and rings are tight
- Double-check turret clicks and directions
- Maintain consistent shooting stance and rest
- Use reliable, consistent ammunition
- Adjust parallax setting for 25 yards
How to Transition From 25 Yards to 100 Yards for Final Zero
Since you’ve already achieved a solid zero at 25 yards, shifting to 100 yards lets you refine your scope’s accuracy for longer-range shooting. Start by setting up a target at 100 yards and shoot a group to observe your point of impact. Adjust your elevation and windage knobs based on where your shots land relative to the bullseye. Take your time with incremental adjustments until your shots consistently hit the center.
| Step | Action | Tip |
|---|---|---|
| 1 | Move target to 100 yards | Use a clear, visible target |
| 2 | Fire a shot group | Shoot 3-5 rounds for accuracy |
| 3 | Adjust elevation/windage | Turn knobs in small increments |
| 4 | Confirm zero | Repeat shooting and adjusting |
This process guarantees your scope is accurately zeroed for real-world distances.
When to Check and Re-zero Your Scope
After fine-tuning your scope at both 25 and 100 yards, it’s important to know the right moments to check and re-zero your scope to maintain accuracy. You should regularly inspect your scope to avoid surprises in the field. Environmental changes, physical impacts, or even just heavy use can shift your zero. Checking your scope ensures your shots stay true and consistent.
Here are key times to check and re-zero your scope:
- After dropping or bumping your rifle
- When switching ammunition types
- Following extreme weather changes
- If you notice consistent shot group shifts
- Before any important shooting session or competition
Stay proactive to keep your scope reliable and your shots on target.
Frequently Asked Questions
Can I Sight My Scope Indoors at 25 Yards?
Yes, you can sight your scope indoors at 25 yards. Just make sure you have a safe backdrop, proper lighting, and a stable rest to get accurate adjustments before heading outdoors for final zeroing.
How Often Should I Clean My Scope Lenses?
Think of your scope lenses as windows to a clear world; you should clean them whenever dirt or smudges cloud your view. Regularly wiping them gently keeps your aim sharp and your target in perfect focus.
What Is the Difference Between MOA and MIL Adjustments?
MOA stands for Minute of Angle, adjusting your aim by 1.047 inches at 100 yards, while MIL, or milliradian, changes it by 3.6 inches at 100 yards. You’ll choose based on your preference and scope.
Will Changing Ammunition Affect My Scope Zero?
Changing ammunition can throw a wrench in your scope zero because different loads have varying velocities and trajectories. You’ll want to re-zero your scope whenever you switch ammo to keep your shots hitting the bullseye consistently.
Can Weather Conditions Impact My Scope’s Accuracy?
Yes, weather conditions can impact your scope’s accuracy. Wind can deflect your bullet, temperature affects air density, and humidity changes trajectory. You’ll want to adjust your aim accordingly to maintain precision in varying conditions.
Conclusion
Sighting your scope at 25 yards sets a solid, steady start for sharp shooting. With careful calibration, consistent control, and clear concentration, you craft confidence that carries you to longer distances. Stay sharp, spot mistakes swiftly, and savor the satisfaction of a seamless shot. Remember, regular re-checks keep your scope spot-on, securing success in every session. Stay steady, stay smart, and shoot with surety—your precision path begins here.