How To Sight In Iron Sights?
To sight in iron sights, start by aligning the front sight perfectly centered within the rear sight notch, with their tops level. Use a stable shooting position and consistent grip for accuracy. Fire groups, then adjust the rear sight horizontally and the front sight vertically based on where your shots land. Make small, deliberate adjustments and confirm your zero at different distances. Mastering these basics will set you up to improve your accuracy and confidence with iron sights.
Key Takeaways
- Align the front sight post centered and level within the rear sight notch, keeping the front sight sharp and the target slightly blurred.
- Use a stable shooting position with consistent grip, cheek weld, and stance to maintain accuracy and repeatability.
- Fire groups at your desired distance, then adjust the rear sight left or right and the front sight up or down based on shot placement.
- Make small, incremental sight adjustments and confirm zero by testing at multiple distances for consistent accuracy.
- Regularly check sight tightness and environmental factors like lighting or wind that can affect sight picture and bullet trajectory.
Understand What Iron Sights Are and How They Work
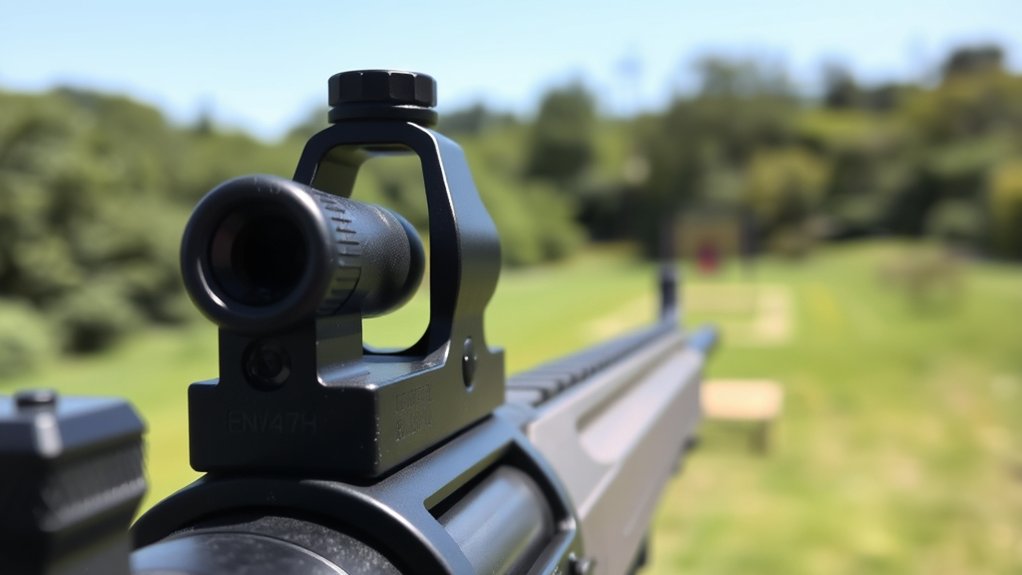
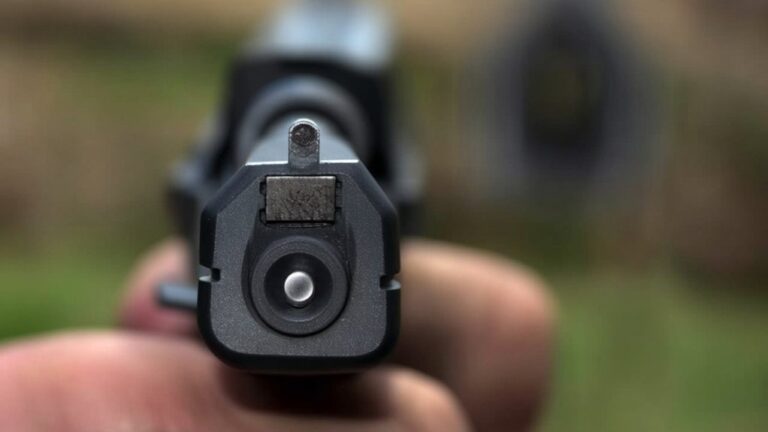
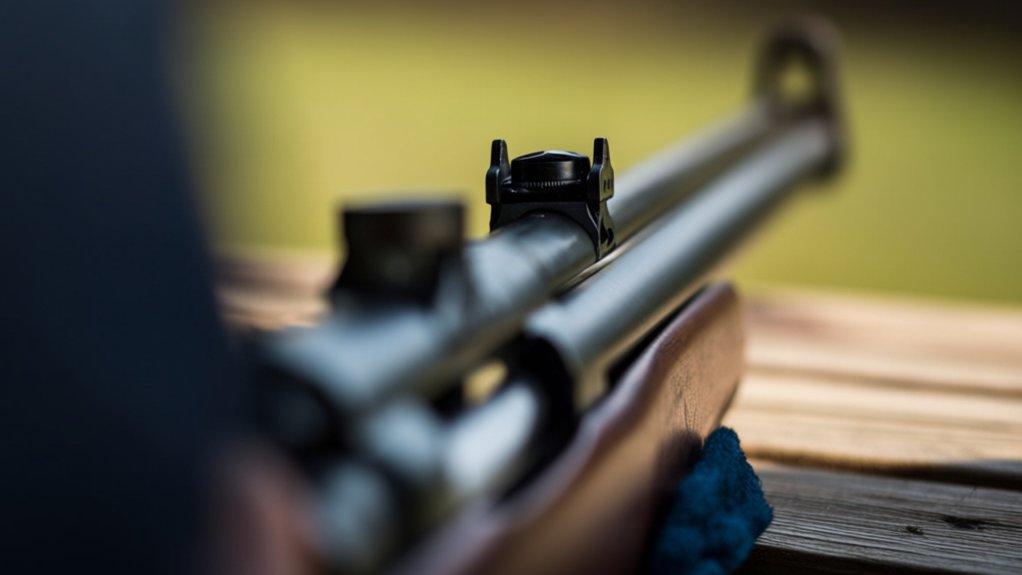
Before you begin sighting in your iron sights, it’s important to understand what they are and how they work. Iron sights are the basic aiming devices on most firearms, consisting of a front sight post and a rear sight aperture or notch.
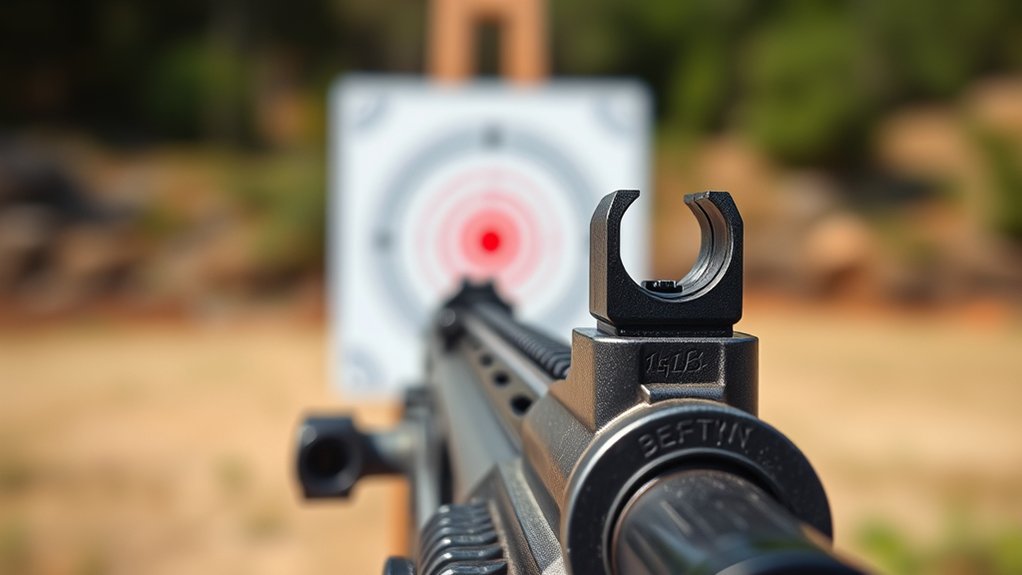
When you look through the rear sight and align it with the front sight, you create a sight picture that helps you aim accurately at your target. The key is to line up the top of the front sight with the center of the rear sight notch while centering the target above the front sight.
This alignment guarantees your shot goes where you want. Since iron sights don’t rely on batteries or electronics, they’re reliable and straightforward, making them essential for every shooter to master.
Learn Why Properly Sighting In Iron Sights Matters
Now that you know how iron sights function, it’s important to recognize why properly sighting them in makes a big difference. When your sights are accurately aligned, you can trust your aim and improve your shooting consistency.
Proper sighting guarantees your shots land exactly where you intend, boosting both safety and confidence. Here’s why you should invest time in this step:
- Increases shooting accuracy for better performance
- Reduces wasted ammunition by minimizing missed shots
- Enhances safety by ensuring predictable shot placement
- Builds your confidence during practice and real-life use
Gather What You’ll Need to Sight In Your Iron Sights
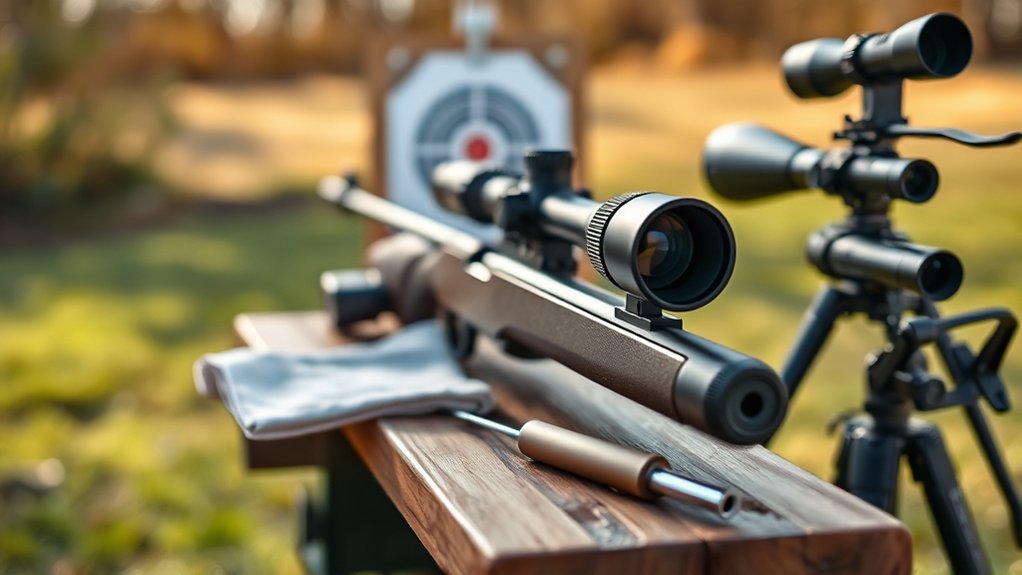
Before you start sighting in your iron sights, make sure you have all the essential equipment, including a stable rest and targets.
You’ll also want to choose the right ammunition, as different loads can affect your accuracy.
Gathering these items beforehand sets you up for a smoother, more effective sighting process.
Essential Equipment Checklist
Although sighting in your iron sights might seem straightforward, having the right equipment makes the process smoother and more accurate. Before you head to the range, make sure you’ve gathered everything you need to avoid interruptions and guarantee precise adjustments.
Start with a stable shooting rest or sandbags to keep your firearm steady. A reliable target, preferably with clear markings, helps you track your shots easily. Don’t forget a measuring tool like a ruler or caliper to gauge your sight adjustments.
Finally, bring a screwdriver or the appropriate tool to adjust your sights properly.
Here’s a quick checklist to get you started:
- Stable shooting rest or sandbags
- Clear, marked target
- Measuring tool (ruler or caliper)
- Sight adjustment tool (screwdriver or wrench)
Choosing Proper Ammunition
Having the right tools in place sets you up for success, but the ammunition you choose plays a big role in how accurate your iron sights will be.
Use the same type and brand of ammo that you plan to hunt or target shoot with regularly. Consistency in bullet weight and velocity reduces variables, making it easier to zero in your sights.
Avoid mixing different loads or brands during the sighting-in process, as this can cause inconsistent point-of-impact results.
Also, pick ammunition that matches your firearm’s specifications exactly to guarantee safety and reliability.
Keep enough rounds on hand to make multiple adjustments and confirm your zero.
Set Up Your Shooting Position for Accurate Iron Sight Use
When you set up your shooting position correctly, you’ll improve your accuracy with iron sights considerably. Your stance and grip lay the foundation for consistent aim, so focus on stability and comfort.
Keep your body relaxed but firm to reduce fatigue during shooting sessions. Here are key points to set your position:
- Stand with feet shoulder-width apart for balance
- Lean slightly forward, shifting weight onto the balls of your feet
- Hold the firearm firmly but don’t overgrip, allowing for controlled recoil
- Align your head naturally with the sights without straining your neck
This setup helps you maintain steady sight alignment and sight picture, essential for accurate shooting with iron sights. Practice this position until it feels natural.
Zero Your Rear Sight for Perfect Horizontal Alignment
Before you start adjusting your rear sight, make sure your firearm is securely positioned and you’re shooting at a proper target distance.
Begin by firing a group of shots to see where they land horizontally on the target. If your shots group to the left or right of the bullseye, you’ll need to modify your rear sight accordingly.
Move the rear sight in the direction you want your shots to shift—if your shots are left, move the rear sight right, and vice versa.
Make small, consistent adjustments, then fire another group to check your progress.
Repeat this process until your shots are centered horizontally on the target.
Zeroing your rear sight properly ensures your shots line up perfectly from left to right.
Adjust Your Front Sight to Achieve Vertical Accuracy
Now that your rear sight is zeroed, focus on adjusting your front sight to fine-tune vertical accuracy.
By moving the front sight up or down, you can correct the bullet’s point of impact on the target.
Pay close attention to these adjustments to guarantee your shots hit exactly where you want.
Understanding Front Sight Adjustment
Although adjusting the front sight might seem subtle, it plays a crucial role in achieving vertical accuracy. You’ll want to focus on small, precise movements to fine-tune your point of impact.
Remember, raising the front sight lowers your shot, while lowering it raises your shot. Here’s what to keep in mind when adjusting the front sight:
- Use a sight adjustment tool or a small punch for controlled movement
- Make incremental adjustments—don’t overcorrect in one go
- Check your target grouping after each adjustment
- Keep your shooting position consistent to accurately judge changes
Correcting Vertical Point Of Impact
How do you correct the vertical point of impact using your iron sights? Focus on adjusting your front sight post.
Moving the front sight up will cause your shots to hit lower, while lowering the front sight raises the point of impact. To make these adjustments, use a sight adjustment tool or a small punch if your front sight is drift-adjustable.
Start by firing a group of shots, then note where they hit compared to your target’s bullseye. If your shots land high, gently lower the front sight; if low, raise it.
Make small, incremental adjustments and test after each change. This precise tuning helps you achieve consistent vertical accuracy, ensuring your iron sights are properly aligned for reliable shooting.
Confirm Sight Alignment at Various Distances
Before you finalize your iron sights, you’ll want to confirm their alignment at various distances to guarantee accuracy in different shooting scenarios. This step ensures your shots stay true whether you’re aiming close or far.
Start by testing at your primary hunting or target distance, then move closer and farther to spot any inconsistencies. Adjustments might be necessary to maintain precision across the range.
Keep these tips in mind when confirming sight alignment:
- Use consistent shooting positions for each distance.
- Record your point of impact to track adjustments.
- Check alignment in different lighting conditions.
- Avoid rushing; take time between shots to evaluate results.
This process helps you build confidence in your iron sights’ performance at all ranges.
Top Tips to Maintain Consistent Aim With Iron Sights
To keep your aim steady with iron sights, focus on proper sight alignment every time you shoot.
You’ll also want to maintain a consistent shooting position to reduce variables.
These simple habits can greatly improve your accuracy.
Proper Sight Alignment
Even if you’re new to iron sights, mastering proper sight alignment is essential for consistent accuracy. Sight alignment means lining up the front sight post perfectly between the rear sight’s aperture or notch. When done right, your shots will hit exactly where you aim.
Focus on these key points:
- Center the front sight in the rear sight notch with equal space on both sides
- Keep the top of the front sight level with the top of the rear sight
- Maintain a clear, sharp front sight while the target and rear sight appear slightly blurred
- Align your eye directly behind the sights to avoid parallax errors
Practice this alignment every time you shoot, and you’ll build reliable, repeatable accuracy with your iron sights.
Consistent Shooting Position
Mastering proper sight alignment sets the foundation, but maintaining a consistent shooting position keeps your aim steady shot after shot. You want to adopt a stance that feels natural and repeatable every time you shoot. Consistency in grip, stance, and cheek weld reduces variables that affect accuracy.
| Tip | Why It Matters |
|---|---|
| Firm Grip | Controls recoil and movement |
| Stable Stance | Provides balance and support |
| Cheek Weld | Ensures eye stays aligned |
| Breathing Control | Prevents body sway |
| Follow Through | Keeps focus through the shot |
Common Mistakes to Avoid When Sighting Iron Sights
Although sighting iron sights can seem straightforward, many shooters make avoidable errors that compromise accuracy. To get the best results, you need to be aware of common mistakes and steer clear of them. Here are some pitfalls to avoid:
- Ignoring your grip and stance: An inconsistent grip or stance shifts your point of aim.
- Rushing the process: Take your time to align sights properly and shoot deliberately.
- Not confirming zero at multiple distances: Zeroing only at one range limits versatility.
- Failing to check sight tightness: Loose sights cause unpredictable shot placement.
How Weather and Lighting Conditions Impact Iron Sight Accuracy
When you rely on iron sights, weather and lighting conditions play a crucial role in your accuracy. Bright sunlight can cause glare on your sights, while low light reduces visibility, making it harder to align front and rear sights properly. Wind can affect bullet trajectory, so you need to compensate for these factors when sighting in.
| Condition | Impact on Iron Sights | Tips for Accuracy |
|---|---|---|
| Bright Sun | Glare on sights | Use anti-glare coatings or shade |
| Low Light | Poor sight visibility | Use ambient light or flashlight |
| Wind | Bullet drift | Adjust aim for wind direction |
| Rain | Water droplets on sights | Wipe sights regularly |
| Fog | Reduced visibility | Wait for clearer conditions |
Adjust your technique accordingly to maintain precision.
Troubleshoot and Fine-Tune Your Iron Sight Zero
If your shots aren’t grouping where you expect, it’s time to troubleshoot and fine-tune your iron sight zero. Start by checking your sight alignment and ensuring the front and rear sights line up perfectly.
Next, confirm your hold and trigger control are consistent—small errors here can throw off your grouping.
Don’t forget to inspect your sights for damage or looseness.
Finally, adjust your sights incrementally, testing after each change.
Here’s how to proceed efficiently:
- Verify sight alignment and sight picture
- Maintain consistent shooting stance and grip
- Tighten and inspect sights for damage
- Make small, deliberate sight adjustments
Following these steps will help you zero in accurately and shoot with confidence.
Frequently Asked Questions
Can Iron Sights Be Used Effectively for Hunting Large Game?
Yes, you can use iron sights effectively for hunting large game, but you’ll need practice to guarantee accuracy. They’re reliable and durable, but expect slower target acquisition compared to optics, especially at longer distances.
How Do Iron Sights Compare to Red Dot Sights in Low Light?
In low light, iron sights are like a flickering candle—reliable but limited—while red dot sights shine like a beacon, offering quicker target acquisition. You’ll find red dots give you an edge when shadows grow thick.
What Are the Best Cleaning Methods for Iron Sights?
You should clean your iron sights with a soft brush and a microfiber cloth to remove dirt and debris. Use a mild solvent or gun cleaner, avoid harsh chemicals, and always dry them thoroughly to prevent rust.
Are There Specific Iron Sights Recommended for Left-Handed Shooters?
Yes, you’ll find iron sights designed specifically for left-handed shooters, offering reversed windage adjustments and ambidextrous features. Look for models labeled “left-handed” or “ambidextrous” to guarantee comfortable, precise shooting tailored to your needs.
How Do Iron Sights Affect Shooting Speed in Competitive Shooting?
Iron sights can slow your shooting speed slightly because you need precise alignment, but with practice, you’ll build muscle memory and speed up. They improve accuracy, which often outweighs the minor time trade-off in competition.
Conclusion
Sighting in your iron sights might seem tricky at first, but with patience and practice, you’ll hit the bullseye every time. Remember, getting it right is the name of the game when accuracy counts. Keep your setup steady, avoid common pitfalls, and adjust for weather and lighting. Stick with it, and soon sighting in your iron sights will be second nature—turning your shooting from hit-or-miss to dead-on every shot.