How To Sight In Vortex Crossfire II 3-9X40?
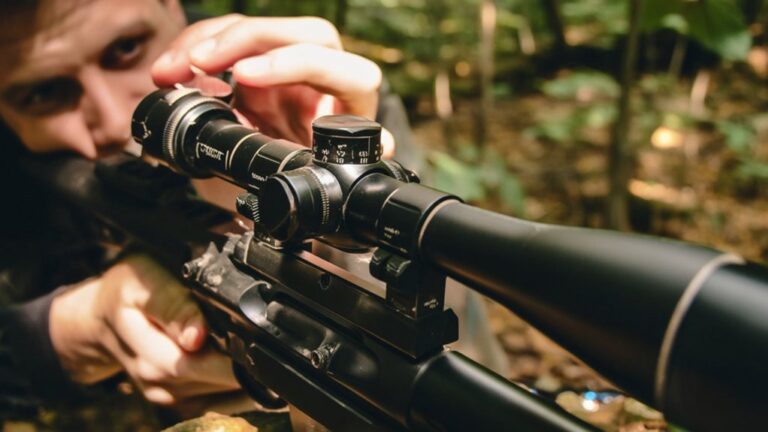
To sight in your Vortex Crossfire II 3-9×40, start by securely mounting the scope and setting up a stable shooting rest. Use consistent ammo and shoot groups at 25 yards, adjusting windage and elevation turrets incrementally based on shot placement. Confirm your zero at longer distances, like 100 yards, and at different magnifications. Record your settings and lock the adjustments. This guarantees reliable accuracy, and with a few more steps, you can fine-tune your setup for any environment.
Key Takeaways
- Mount the Vortex Crossfire II securely using matching rings and ensure proper eye relief and level reticle alignment.
- Use a stable rest and consistent ammo to shoot initial groups at 25 yards, observing shot placement for turret adjustments.
- Adjust windage and elevation turrets incrementally based on shot impact, noting each click’s value for precise alignment.
- Confirm zero at 100 yards and verify at multiple magnifications (3x, 6x, 9x) to ensure consistent accuracy.
- Record final windage and elevation settings, zeroing distance, and ammo type for future reference and quick re-zeroing.
Gather Essential Tools for Zeroing Your Vortex Crossfire II
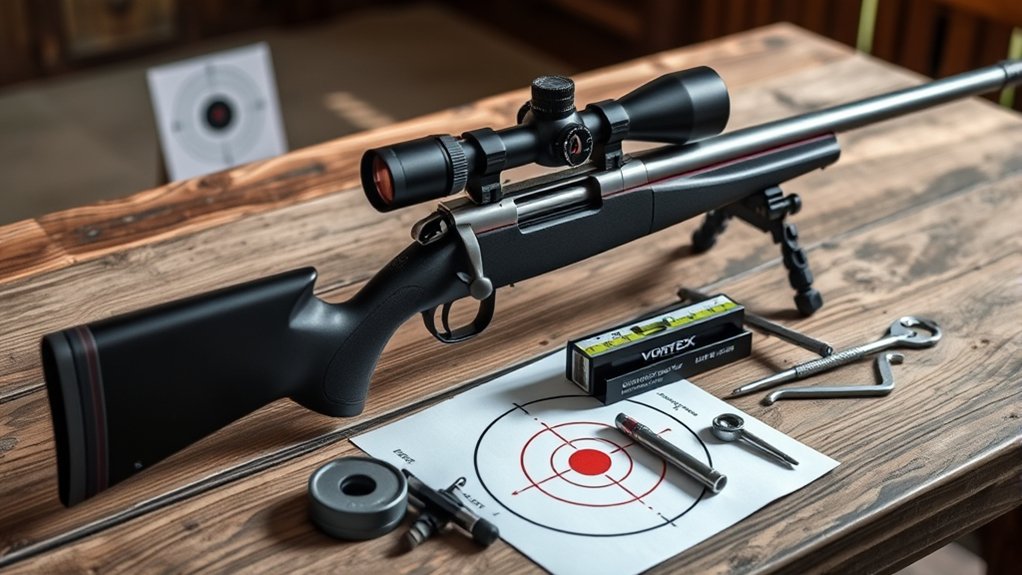
Before you begin zeroing your Vortex Crossfire II, gather all the essential tools to guarantee a smooth and accurate process.
Prepare all necessary tools before zeroing your Vortex Crossfire II for a smooth, accurate experience.
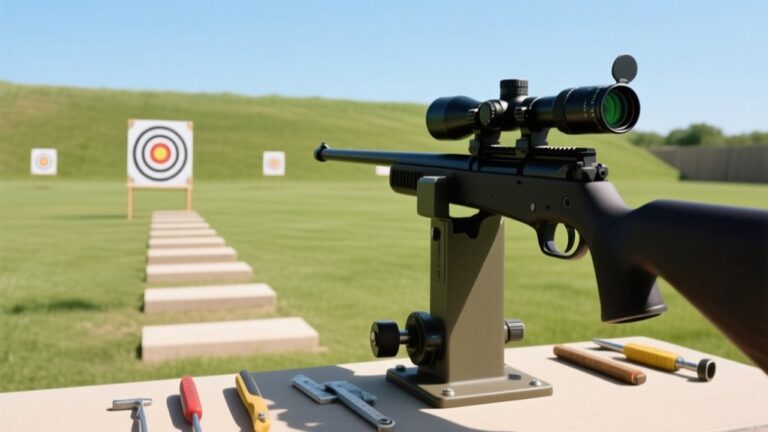
You’ll need a stable shooting rest or sandbags to keep your rifle steady.
A reliable target placed at your desired zeroing distance is vital—usually 25 to 100 yards.
Don’t forget quality ammunition that you regularly use, as consistency matters.
Bring a wind meter or note weather conditions since wind affects your shot.
Have a rangefinder handy if your zeroing distance varies.
A screwdriver or Allen wrench set is necessary for adjusting the scope mounts if needed.
Finally, carry a notepad or smartphone to record adjustments and results.
Having these tools ready will help you zero your scope quickly and precisely without unnecessary frustration.
Get to Know Your Vortex Crossfire II Reticle Features
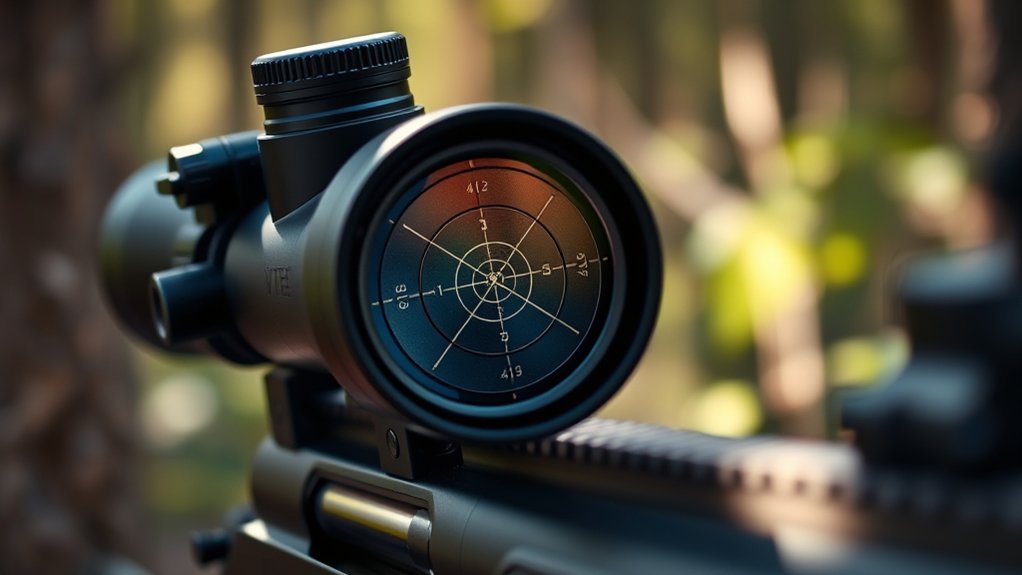
Though the Vortex Crossfire II 3-9×40 might look straightforward, understanding its reticle features is key to making accurate shots. The reticle isn’t just a simple crosshair; it’s designed to help you compensate for bullet drop and windage.
Knowing how to utilize these features ensures you hit your target precisely.
Here’s what you need to know about the reticle:
- It uses a Duplex reticle with thicker outer lines for quick target acquisition.
- The thinner center crosshair allows for precise aiming at smaller targets.
- Windage and elevation marks help adjust for environmental factors.
- The reticle is etched, providing a clear, non-illuminated aiming point.
Mastering these features will improve your shooting confidence and accuracy.
How to Mount Your Vortex Crossfire II Scope Properly
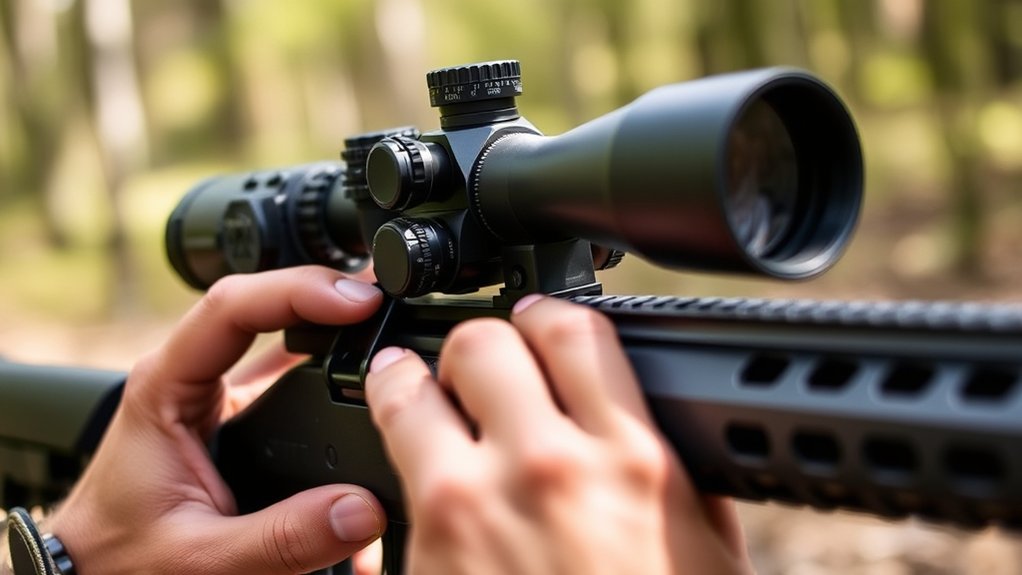
To mount your Vortex Crossfire II scope properly, start by choosing the right rings that fit both your rifle and scope securely.
Next, make certain to align the scope correctly to ensure a clear sight picture and accurate shot placement.
Taking these steps will set a solid foundation before you begin sighting in.
Choosing The Right Rings
When mounting your Vortex Crossfire II scope, selecting the right rings is vital for maintaining accuracy and guaranteeing a secure fit. The rings hold your scope firmly in place, so choosing ones that match both your rifle and scope specifications is essential.
You’ll want to take into account the following factors:
- Ring height: Ensure the rings provide enough clearance for your objective lens without interfering with the barrel.
- Material: Opt for durable materials like steel or aluminum for long-lasting stability.
- Diameter: Match the ring diameter to your scope tube size, typically 1 inch or 30mm.
- Mounting system compatibility: Confirm the rings are compatible with your rifle’s base or rail system.
Picking the right rings sets a solid foundation before you proceed to align your scope correctly.
Aligning The Scope Correctly
Before securing your Vortex Crossfire II scope in place, make sure you properly align it to guarantee accurate targeting and comfortable eye relief. Begin by mounting the scope loosely in the rings so you can adjust it as needed.
Position the scope so the reticle is level and the magnification ring is easily accessible. Look through the scope from your shooting position to ensure your eye naturally centers on the lens without strain.
Adjust the eye relief by sliding the scope forward or backward until the full sight picture appears without any black rings. Once everything feels comfortable and the reticle is perfectly horizontal, tighten the ring screws evenly.
This precise alignment ensures you’ll achieve consistent accuracy and a comfortable shooting experience with your Vortex Crossfire II.
Set a Stable Shooting Position for Accurate Zeroing
To get an accurate zero, you need a solid rest that keeps your rifle steady.
Make sure you maintain the same body position for every shot to avoid inconsistencies.
This stability helps you get reliable results with your Vortex Crossfire II.
Choosing a Solid Rest
Why does choosing a solid rest matter for accurate zeroing? Your rest directly affects stability, which impacts shot consistency. Without a steady platform, even small movements can shift your point of impact, making it hard to fine-tune your Vortex Crossfire II 3-9X40.
When picking a rest, consider these key factors:
- Firmness: Choose materials that don’t compress or wobble under weight.
- Adjustability: Ensure you can easily level and height-adjust for your shooting position.
- Comfort: Your rest should support the rifle comfortably without causing strain.
- Portability: If you hunt or shoot in multiple locations, a lightweight, compact rest is ideal.
Maintaining Consistent Body Position
Although a solid rest provides stability, maintaining a consistent body position is just as essential for accurate zeroing. You want to guarantee your posture, grip, and cheek weld remain the same with every shot.
Start by settling into a comfortable stance—whether prone, sitting, or standing—and lock it in. Keep your shoulders relaxed but firm, and place your cheek firmly on the stock to maintain the same eye alignment through the scope.
Avoid shifting your body or adjusting your grip between shots, as even slight changes can affect point of impact. Consistency here translates into repeatable results, helping you zero your Vortex Crossfire II 3-9X40 accurately.
Take your time to practice this setup before firing to build muscle memory and confidence.
Use a Bore Sighter for Quick Zeroing
When you want to save time and ammunition, using a bore sighter helps you get your Vortex Crossfire II 3-9×40 scoped rifle roughly zeroed before you hit the range. This tool aligns your scope with the barrel, giving you a solid starting point.
Here’s how to use it effectively:
- Remove the bolt or open the action to look down the barrel.
- Insert the bore sighter according to the manufacturer’s instructions.
- Adjust your scope’s reticle to match the bore sighter’s laser or image.
- Double-check the alignment to ensure the scope and barrel are as close as possible.
Take Initial Shots and Evaluate Your Grouping
After you’ve roughly aligned your scope using the bore sighter, it’s time to take your initial shots at the target. Fire a group of three to five rounds from a stable position, aiming at the center of the target. Then, closely examine your grouping to see where the shots are landing in relation to your aim point.
| Step | Action |
|---|---|
| 1 | Fire 3-5 shots at target |
| 2 | Observe shot grouping |
| 3 | Note the center of the group |
| 4 | Compare group’s center to bullseye |
| 5 | Record observations for adjustments |
This evaluation helps you understand how far off your initial alignment is before making precise adjustments.
Adjust Windage and Elevation Turrets for Precise Zeroing
Now that you’ve evaluated your grouping, it’s time to adjust the windage and elevation turrets for precise zeroing.
You’ll want to make small, calculated turns based on where your shots are landing.
Following a step-by-step process guarantees your scope aligns perfectly with your point of impact.
Understanding Turret Adjustments
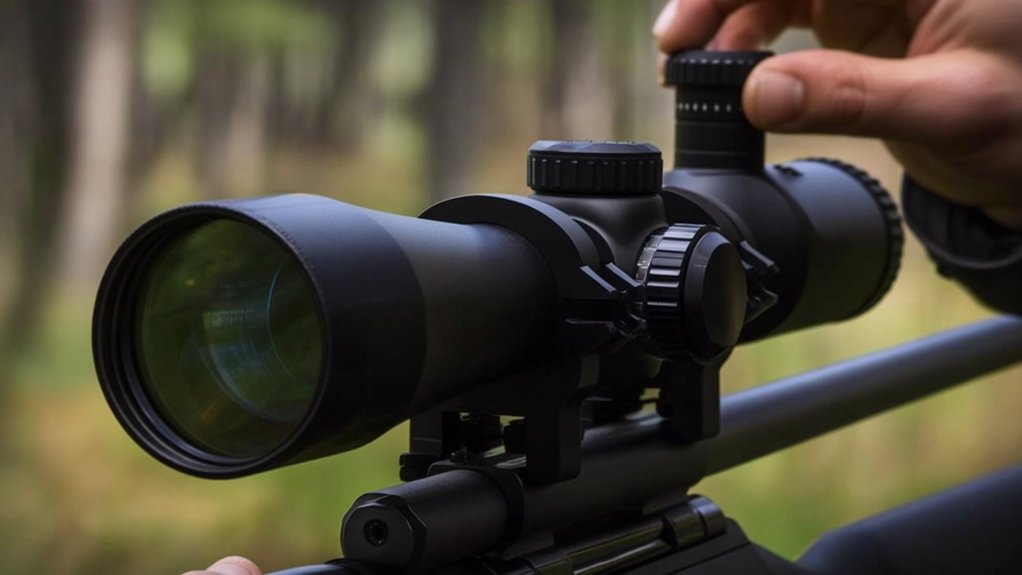
Although adjusting your scope’s turrets might seem intimidating at first, mastering windage and elevation settings is key to achieving a precise zero.
These turrets control the horizontal (windage) and vertical (elevation) alignment of your reticle, letting you compensate for bullet drop and wind drift.
Each click moves the point of impact by a specific value, usually measured in MOA or MIL.
Keep these in mind when adjusting:
- Windage turret shifts the reticle left or right to correct horizontal deviation.
- Elevation turret moves the reticle up or down for vertical alignment.
- Always note the direction of adjustment marked on the turrets.
- Make small, incremental adjustments and recheck your target after each click.
Understanding these basics helps you dial in your scope confidently.
Step-by-Step Zeroing Process
When you start zeroing your Vortex Crossfire II 3-9×40, begin by securing your rifle on a stable rest to minimize movement.
Next, take a shot at the center of a target placed 25 yards away. Check where your bullet hits in relation to your aiming point.
Adjust the windage turret to shift the reticle left or right, and the elevation turret to move it up or down. Each click moves the point of impact by a small, precise increment—usually ¼ MOA.
Fire another shot to see the effect of your adjustments. Repeat this process until your shots consistently hit the bullseye.
Finally, move the target to 100 yards to confirm your zero, making minor tweaks as needed for accuracy at longer distances.
Confirm Your Zero at Different Magnifications
Since your Vortex Crossfire II 3-9X40 allows for variable magnification, you’ll want to confirm your zero at different zoom levels to verify consistent accuracy. Start by checking your zero at the lowest magnification (3x), then gradually increase it to mid-range (6x), and finally to the highest (9x). This helps verify your point of impact doesn’t shift with zoom changes, which can happen if the scope isn’t perfectly aligned.
Here’s how to confirm your zero effectively:
- Shoot a group at each magnification level.
- Observe any point of impact shifts between magnifications.
- Adjust your scope if you notice inconsistencies.
- Repeat the process until your shots remain consistent across all zoom settings.
This step is essential for reliable performance in various shooting scenarios.
Fine-Tune Your Scope Zero With Follow-Up Shots
After taking your initial shots, check where your group landed in relation to the target.
Use those results to adjust your windage and elevation settings precisely.
Then, fire follow-up shots to confirm your scope is zeroed correctly before moving on.
Assess Initial Shot Group
How do you know if your scope is properly zeroed? After firing your initial shots, you’ll want to carefully assess the shot group on the target.
This group reveals how accurate your scope’s current settings are and whether adjustments are needed.
When evaluating your shot group, consider:
- Group Size: Smaller clusters indicate better precision.
- Point of Impact: Note where shots hit relative to the bullseye.
- Consistency: Check if shots cluster tightly or are scattered.
- Distance: Confirm that the group is assessed at your chosen zeroing range.
Adjust Windage And Elevation
Once you’ve evaluated your initial shot group, it’s time to adjust the windage and elevation turrets to bring your point of impact closer to the bullseye. Turn the windage turret to move the reticle left or right, correcting horizontal deviation. Use small, deliberate clicks—each usually corresponds to ¼ MOA or ¼ inch at 100 yards.
Next, adjust the elevation turret to raise or lower the reticle, fixing vertical alignment. Remember, clockwise typically moves the point of impact down, and counterclockwise moves it up.
After making adjustments, take a few more shots to see how your changes affect the group. This process lets you fine-tune your zero, minimizing error before confirming it. Patience and precision here save time and improve accuracy downrange.
Confirm Zero With Follow-Ups
Although you’ve made initial adjustments, confirming your zero with follow-up shots guarantees your scope is dialed in precisely. After your first group, take a few more shots to see if your point of impact stays consistent. This step helps you verify adjustments and catch any minor errors early.
Make sure you:
- Shoot from the same position and distance each time
- Record your follow-up groupings for comparison
- Adjust turrets incrementally if shots stray off target
- Confirm zero under varied light and weather conditions
Maintain Zero When Changing Ammo for Consistent Accuracy
When you switch ammo types, you’ll want to verify that your Vortex Crossfire II remains properly zeroed to guarantee consistent accuracy. Different bullet weights, powder charges, and velocities can slightly shift your point of impact.
After changing ammo, shoot a group at your preferred distance and observe any deviation from your original zero. If you notice a shift, make necessary adjustments to the windage and elevation turrets accordingly.
Always re-confirm zero with multiple shots to ensure consistency. Keeping a log of which ammo type corresponds to your zero settings can help you quickly switch back if needed.
Manage Environmental Factors That Affect Your Zero
Because environmental conditions can shift your bullet’s trajectory, managing factors like wind, temperature, and humidity is essential to maintaining your zero with the Vortex Crossfire II.
You need to adjust your scope and shooting technique based on these variables to keep your shots on target. For example, strong crosswinds can push your bullet off course, while colder temperatures may reduce velocity, affecting drop.
Keep these tips in mind:
- Check wind direction and speed before each shot
- Account for temperature changes that affect air density
- Consider humidity levels, which can alter bullet flight slightly
- Use consistent shooting positions to minimize environmental impact
Troubleshoot Common Zeroing Issues
Even with careful attention to environmental factors, you might still face issues while zeroing your Vortex Crossfire II. If your shots consistently land off target, first check that your scope is securely mounted and not shifting under recoil. Loose rings or bases can cause inconsistent impacts.
Ensure your Vortex Crossfire II scope is securely mounted to avoid inconsistent shot placement under recoil.
Also, confirm you’re using the correct ammunition; different loads can shift your point of impact. If your adjustments don’t seem to move the reticle as expected, verify you’re turning the turrets in the right direction and that they aren’t stuck.
Another common problem is parallax error—make sure your eye is properly aligned with the scope to avoid aiming mistakes.
Finally, always shoot from a stable rest to minimize human error during zeroing.
Sight-In Tips for Hunting vs. Target Shooting
Although both hunting and target shooting require precise sighting, your approach to zeroing the Vortex Crossfire II 3-9×40 should differ based on your activity.
For hunting, you’ll want a zero that covers typical distances quickly, while target shooting demands pinpoint accuracy at specific ranges. Adjust your scope and practice accordingly.
Here are some tips to contemplate:
- For hunting, zero at 100 yards to balance close and mid-range shots.
- In target shooting, zero at the exact distance you’ll compete or practice.
- Use natural light conditions similar to your hunting environment.
- Practice shooting from various positions for hunting; focus on stable bench rest for target shooting.
Tailoring your zeroing approach ensures you’re ready for the challenges of each activity.
Record and Remember Your Vortex Crossfire II Zero Settings
Once you’ve dialed in your Vortex Crossfire II 3-9×40 to suit your needs, keeping track of your zero settings will save you time and frustration in the future.
Write down the exact elevation and windage adjustments along with the distance at which you zeroed your scope. Note the ammunition type and environmental conditions like temperature and wind, as these can affect your zero.
You can use a dedicated notebook, a smartphone app, or even take a photo of your scope’s turrets and settings.
Having this information handy lets you quickly return to your preferred zero after transport or adjustments, ensuring consistent accuracy every time you head out.
Don’t rely on memory—recording these details is a smart step toward better shooting performance.
Final Checks Before You Head to the Range or Field
Before you head to the range or field, double-check your scope’s settings and your gear to make certain everything is ready for accurate shooting.
Make certain your Vortex Crossfire II 3-9×40 is securely mounted and zeroed, and your adjustments are locked in place. Inspect your rifle and ammunition to avoid any malfunctions or inconsistencies that could affect your sighting process.
Also, confirm that your tools, like screwdrivers and cleaning kits, are packed.
Here’s a quick checklist:
- Verify the scope’s reticle brightness and clarity
- Ensure batteries (if any) are fresh and functional
- Confirm your shooting rest or bipod is stable
- Pack protective covers for your scope lenses
Taking these steps will help you focus on precision and get the most out of your sighting session.
Frequently Asked Questions
What Is the Warranty Coverage for the Vortex Crossfire II 3-9×40?
You get Vortex’s lifetime warranty, which means they’ll repair or replace your Crossfire II 3-9×40 if it ever breaks or has defects. They stand behind their scopes with no hassle and no time limit.
Can I Use the Vortex Crossfire II on Different Rifle Calibers?
You can use the Vortex Crossfire II on different rifle calibers, as long as your rifle and scope mounts are compatible. Just adjust the zero for each caliber, and you’ll be ready for various shooting adventures.
How Durable Is the Vortex Crossfire II Under Harsh Weather Conditions?
You’ll find the Vortex Crossfire II highly durable in harsh weather—it’s waterproof, fog proof, and shockproof. You can trust it to perform reliably in rain, snow, or extreme temperatures without losing zero or clarity.
Does the Vortex Crossfire II Have Illuminated Reticle Options?
Coincidentally, the Vortex Crossfire II 3-9×40 doesn’t have illuminated reticle options. You’ll rely on its clear, crisp optics instead, perfect for daylight use but less so in low-light conditions where illumination helps visibility.
What Accessories Are Compatible With the Vortex Crossfire II Scope?
You can use Vortex mounts, lens covers, throw levers, scope rings, and sunshades with your Crossfire II. Additionally, Vortex’s flip-up caps and cleaning kits fit perfectly, enhancing your shooting experience and protecting your scope.
Conclusion
Now that you’ve sighted in your Vortex Crossfire II 3-9×40, you’re set for precision. Did you know that over 70% of hunters miss critical shots due to improper zeroing? Taking the time to zero your scope properly can make all the difference between a clean hit and a frustrating miss. Remember, consistent practice and recording your settings guarantee you’re always ready, whether at the range or in the field. Happy shooting!