How To Sight In My Scope?
To sight in your scope, start by securely mounting it and aligning the reticle with your rifle bore using a bore sighter or a stable rest. Choose a clear target and zero your scope at a practical distance like 25 or 100 yards, making small adjustments to windage and elevation based on your shot groups. Maintain consistent eye placement and shooting position to build accuracy. Adjust for environmental factors and check zero regularly. Keep going to uncover tips for perfecting your setup and technique.
Key Takeaways
- Mount the scope securely and align the reticle vertically and horizontally with the bore using a stable rest or bore sighter.
- Position yourself comfortably with consistent eye relief and a stable shooting stance to maintain a clear, steady sight picture.
- Choose a target with a clear aiming point and shoot initial groups at 25-50 yards to observe bullet impact.
- Adjust windage and elevation turrets in small increments based on shot placement, rechecking groups after each adjustment.
- Confirm zero at your preferred distance, considering environmental factors like wind and temperature for precise long-range accuracy.
Why Properly Sighting In Your Scope Ensures Accurate Shots
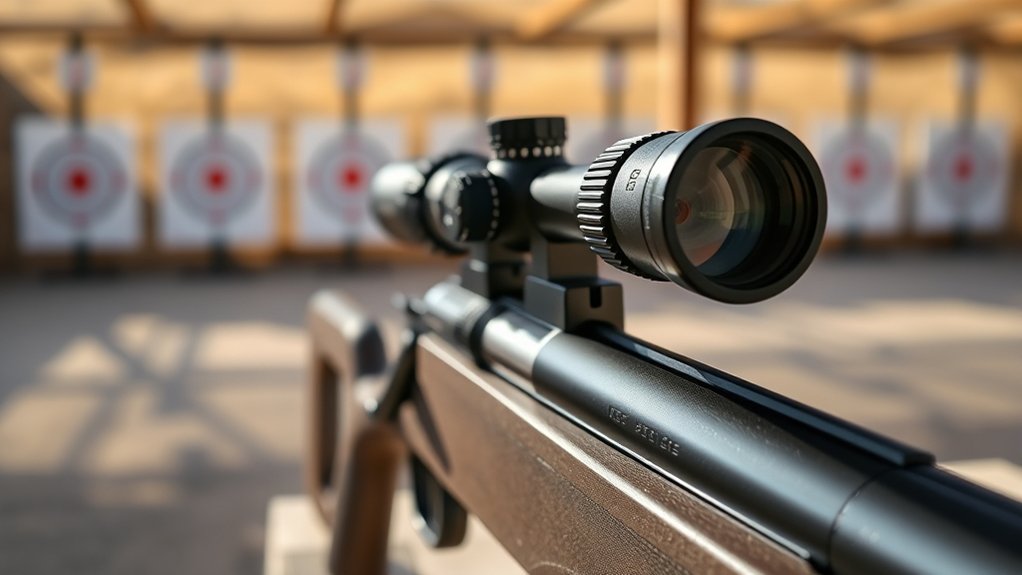
When you properly sight in your scope, you guarantee that your point of aim matches the point of impact, giving you accurate shots every time. This alignment is essential because even a slight misalignment can cause your shots to stray off target, especially at longer distances.
By adjusting your scope’s windage and elevation settings, you ensure that the bullet’s trajectory corresponds precisely to where you’re aiming. Proper sighting also builds confidence; you’ll know exactly where your bullet will hit, reducing guesswork and improving consistency.
Without this step, you risk missing targets and wasting ammunition. So, taking the time to sight in your scope translates directly to better shooting performance, whether you’re hunting, target shooting, or practicing marksmanship.
How to Choose the Right Target for Sight-In
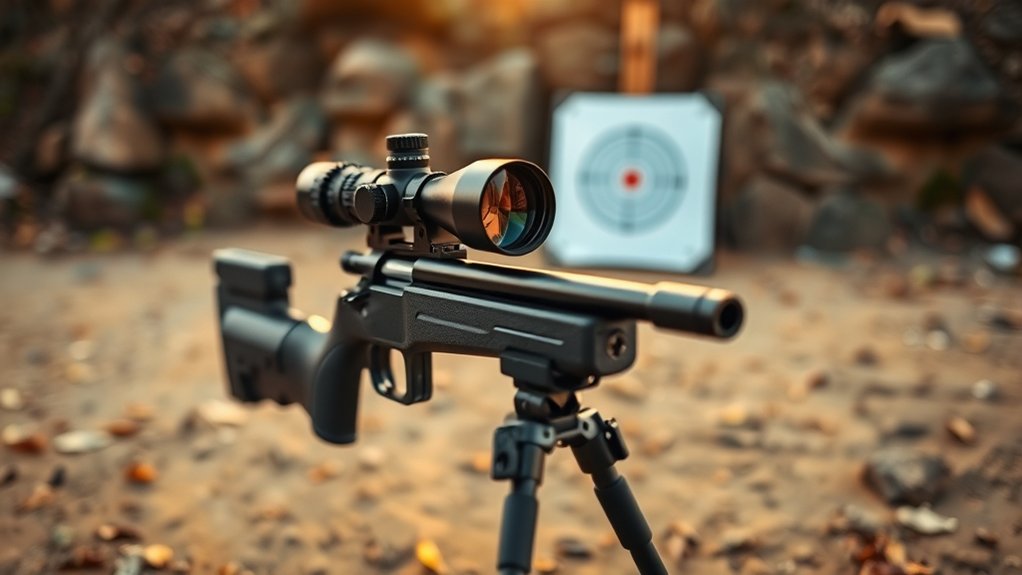
Although selecting the right target might seem simple, it plays a crucial role in how effectively you can sight in your scope. Choose a target with a clear, distinct aiming point, like a bullseye or a grid pattern. This helps you easily identify where your shots land and make precise adjustments.
Opt for a target size that matches your shooting distance; larger targets work better for longer ranges, while smaller ones suit closer distances. Make sure the target material is sturdy enough to withstand multiple shots without fading or tearing quickly.
Also, avoid overly complex patterns that can distract you or complicate shot placement. By picking a target designed for sight-in practice, you set yourself up for quicker, more accurate zeroing sessions.
What Distance Should You Zero Your Scope?
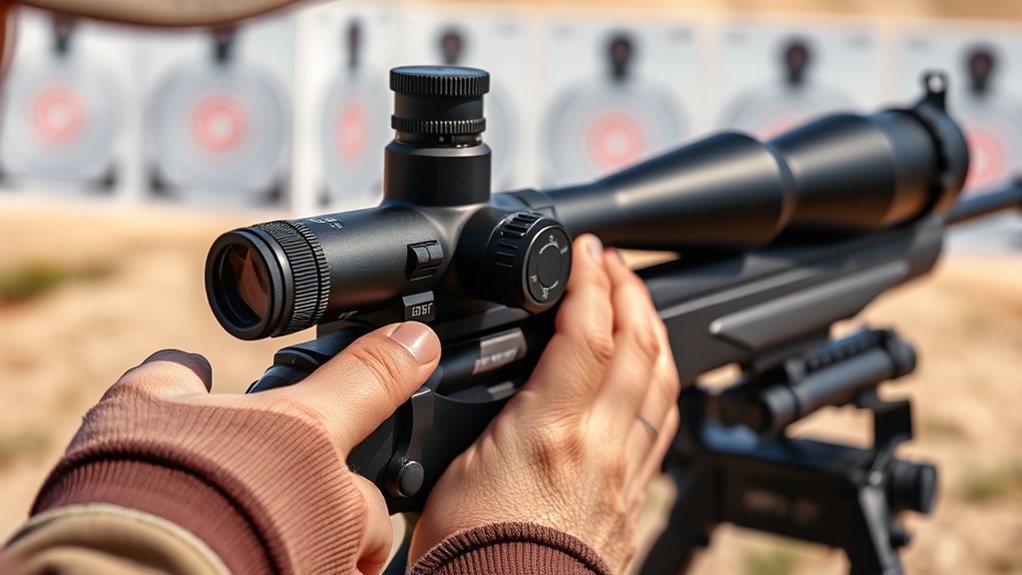
You’ll want to pick a zeroing distance that matches how you plan to use your rifle. Common distances range from 25 to 100 yards, but factors like your typical shooting range and bullet trajectory will influence your choice.
Let’s explore how to figure out the best distance for your setup.
Common Zeroing Distances
Where should you zero your scope for the best accuracy? It depends on your typical shooting distance, but some common zeroing distances work well for most situations. Zeroing at these distances helps guarantee your shots land where you expect without constant adjustments.
Here are three popular zeroing distances:
- 25 yards: Ideal for close-range shooting and quick target acquisition.
- 50 yards: A versatile mid-range zero suitable for many hunting and tactical scenarios.
- 100 yards: The classic choice for long-range accuracy, especially for rifles.
Choosing one of these distances simplifies your shooting experience and improves your confidence in the field.
Once you pick a zeroing distance, practice consistently at that range to master your scope’s performance.
Factors Influencing Distance
Because your shooting needs vary, several factors influence the ideal distance to zero your scope. First, consider the type of shooting you’ll do—whether it’s close-range hunting, target shooting, or long-distance precision. Your typical engagement range should guide your zero.
Second, think about your firearm and ammunition; different calibers and bullet trajectories affect how your point of impact shifts over distance.
Environmental conditions like altitude, temperature, and wind also play roles. For example, higher elevations can change bullet drop, requiring adjustments to your zero distance.
In conclusion, personal preference matters—some shooters prefer a zero that balances bullet drop at multiple ranges, like a 100-yard zero for general use.
Assess these factors to pick a zero distance that suits your unique shooting scenarios.
How to Align Your Scope With Your Rifle
Before you start adjusting your scope, make certain it’s properly aligned with your rifle’s bore. This alignment ensures your point of aim matches the bullet’s path.
Ensure your scope is perfectly aligned with your rifle’s bore before making any adjustments.
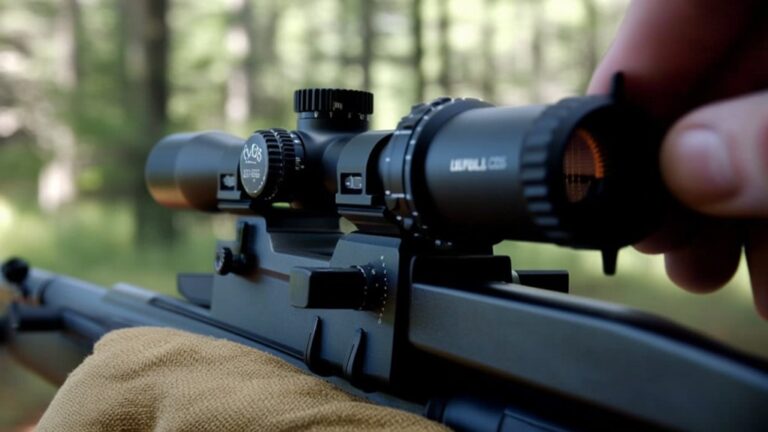
Begin by securely mounting your scope using quality rings and bases. Next, position your rifle on a stable rest to minimize movement. Look through the scope and adjust its position so the reticle is centered when the rifle is pointing at a target roughly 25 yards away.
Use the following steps to get started:
- Loosen the scope rings slightly to allow minor adjustments.
- Align the reticle vertically and horizontally using the rifle’s bore as a reference.
- Tighten the rings evenly, avoiding overtightening to prevent scope damage.
Proper alignment sets the foundation for successful zeroing.
Using a Bore Sighter to Speed Up Zeroing
Although you can zero your scope by trial and error at the range, using a bore sighter speeds up the process considerably. A bore sighter helps you align your scope close to the target before firing any rounds.
Simply insert the bore sighter into your rifle’s barrel or chamber, depending on the model. Then, adjust your scope reticle until the crosshairs match the bore sighter’s projected dot or laser on the target.
This initial alignment reduces the guesswork and saves ammo. While it won’t replace live-fire adjustments, it gets you on paper quickly.
Make sure your rifle is securely rested during this step to avoid misalignment. Using a bore sighter is an effective way to start zeroing efficiently and confidently.
How to Take Your First Shots for Initial Adjustment
Once you’ve aligned your scope using a bore sighter, it’s time to take your first shots to begin fine-tuning the zero. Set up a target at a known distance, usually 25 to 50 yards, to start. Fire a three-shot group while aiming at the center of the target. This helps you see where your bullets are hitting compared to your point of aim.
Before adjusting anything, check for consistent shooting form and verify your rifle is steady. Record where your shots land to guide your next steps.
- Use a stable rest or shooting bench to reduce movement.
- Fire in controlled, slow shots to maintain accuracy.
- Keep notes on group placement for reference.
This initial shooting session sets the foundation for precise zeroing.
How to Adjust Windage and Elevation on Your Scope
Now that you’ve taken your initial shots, it’s time to adjust your scope’s windage and elevation.
You’ll learn how to fine-tune windage to correct left or right shifts.
Use elevation adjustments to align your point of impact vertically.
These tweaks are key to hitting your target accurately.
Understanding Windage Adjustment
When you’re sighting in your scope, understanding windage adjustment is crucial for accuracy. Windage controls the horizontal alignment of your reticle, allowing you to compensate for left or right bullet drift caused by factors like wind or rifle imperfections.
Adjusting windage properly ensures your shots hit where you’re aiming on the horizontal plane.
Here’s how to approach windage adjustment:
- Identify the direction your shots are off (left or right) after firing a group.
- Use the windage turret on your scope to dial in corrections, usually marked in MOA or MIL increments.
- Make small, precise adjustments and re-test by shooting groups to verify accuracy.
Mastering windage makes your scope reliable in varying conditions and improves your overall shooting precision.
Elevation Calibration Techniques
Although adjusting windage is essential, calibrating elevation is just as important to guarantee your scope aligns perfectly with your point of impact vertically.
Start by zeroing in on a target at your preferred distance, then fire a group of shots. Observe if the bullet hits high or low relative to your aim point.
Use the elevation turret to adjust accordingly—turn it clockwise to lower the point of impact or counterclockwise to raise it. Make small increments, typically in minutes of angle (MOA) or milliradians (MIL), depending on your scope.
After each adjustment, shoot another group to verify your changes. Repeat this process until your shots consistently hit the target center.
Proper elevation calibration guarantees you compensate for bullet drop and achieve accurate, reliable shooting results.
How to Confirm Your Scope Zero With Grouping Shots
Before you finalize your scope zero, you’ll want to verify it by firing a series of grouping shots. This step guarantees your adjustments are accurate and your point of impact is consistent.
Start by aiming at the center of your target and firing three to five shots without changing your scope settings. Analyze the group size and location to check if your shots cluster tightly around the bullseye. If your group is off-center, you’ll know adjustments are still needed.
To effectively confirm your zero, remember to:
- Use the same ammunition type throughout the process
- Keep a stable shooting position to reduce human error
- Record your results for reference during future adjustments
How to Fine-Tune Your Scope for Different Ranges
Since your bullet’s trajectory changes over distance, you’ll need to fine-tune your scope for different ranges to maintain accuracy. Start by zeroing your scope at a baseline distance, often 100 yards.
Then, adjust your elevation turret to compensate for bullet drop at longer ranges, using your ballistic chart or rangefinder data. For closer targets, dial down the elevation to prevent shots from hitting too high.
Windage adjustments might also be necessary if you notice consistent lateral shifts. Always make small, incremental changes and shoot groups after each adjustment to confirm accuracy.
Keep notes of your settings for various distances so you can quickly switch when needed. This method helps you stay precise across multiple ranges without guessing, maximizing your scope’s effectiveness in the field.
How Environmental Factors Affect Your Scope’s Accuracy
How do environmental factors influence your scope’s accuracy? When you’re sighting in your scope, conditions like wind, temperature, and humidity can subtly shift your bullet’s path. Ignoring these can lead to missed shots even if your scope is perfectly calibrated.
Here’s what you should consider:
- Wind: It pushes your bullet sideways, so stronger gusts require you to adjust your aim.
- Temperature: Changes affect the air density, altering bullet velocity and drop.
- Humidity: Surprisingly, more moisture in the air reduces air density, slightly affecting the bullet’s trajectory.
Troubleshooting Common Problems When Sighting In
If your shots aren’t grouping where you expect, start by adjusting the windage and elevation settings.
Check for scope parallax issues that can throw off your aim at various distances.
Also, make sure your scope is mounted correctly, as alignment errors can cause consistent misses.
Adjusting Windage And Elevation
When you notice your shots consistently veering left or right, or falling short or high, it’s time to adjust the windage and elevation on your scope.
Windage controls horizontal alignment, so turn the corresponding turret to move your point of impact left or right. Elevation adjusts the vertical alignment, letting you raise or lower your shot placement.
Make sure to make small, deliberate adjustments, then fire a group to check your progress. Remember, each click usually moves the point of impact by a fraction of an inch at a set distance.
- Start with zeroed turrets before adjusting
- Adjust windage for horizontal shifts, elevation for vertical
- Always confirm changes with a test shot group before finalizing adjustments
Identifying Scope Parallax Issues
Although you might’ve adjusted windage and elevation perfectly, parallax issues can still throw off your shot accuracy.
Parallax occurs when the reticle shifts against the target as you move your eye slightly off-center. To identify this, look through your scope and shift your head side to side or up and down.
If the reticle seems to move independently of the target, parallax is present. Many scopes have a parallax adjustment knob or side focus; use it to bring the target and reticle onto the same plane.
This eliminates the shifting effect and guarantees your point of aim matches the point of impact. Checking for parallax is vital before zeroing your scope to maintain consistent accuracy at varying distances.
Correcting Mounting Alignment Errors
Mounting alignment errors can considerably affect your scope’s accuracy, so you’ll want to catch and rectify these issues early in the sighting-in process.
If your shots consistently group off to one side despite adjustments, your scope mightn’t be properly aligned with the barrel. Start by loosening the mount screws and carefully repositioning the scope to ensure it’s centered and level. Use a bubble level or alignment tool to confirm straightness.
Once aligned, tighten the screws evenly to avoid shifting. Key steps include:
- Double-check the scope rings for even pressure and secure fit.
- Use a flat surface or bore sighter to verify the scope’s alignment with the barrel.
- Make small, incremental adjustments while frequently rechecking alignment to achieve precise sighting.
Correcting mounting errors early saves time and improves shot consistency.
How to Maintain Your Scope’s Zero for Consistent Accuracy
Keeping your scope’s zero intact requires regular checks and careful handling after every shooting session. After each use, inspect your scope and mounts for any signs of loosening or damage. Tighten screws gently but firmly to avoid shifting zero.
Always transport your firearm in a padded case to prevent bumps that can knock your scope off alignment. When cleaning, avoid harsh chemicals near the lenses or adjustment knobs.
Store your rifle in a stable environment, protecting it from extreme temperatures and moisture, as these can affect your scope’s components.
Before heading to the range, confirm your zero by firing a few test shots at a known distance. By consistently following these steps, you’ll maintain your scope’s zero and enjoy reliable accuracy every time you shoot.
Setting Up Your Shooting Position for Scope Accuracy
To get the most accuracy from your scope, you need a stable shooting platform that keeps you steady.
Make sure your body is properly aligned to maintain consistent shots.
Also, keep a consistent eye relief to avoid shifting your point of aim.
Stable Shooting Platform
Because a stable shooting platform directly impacts your scope’s accuracy, you’ll want to establish a solid, steady position before taking your shot. Stability reduces movement and helps you maintain consistent aim, which is critical when sighting in your scope.
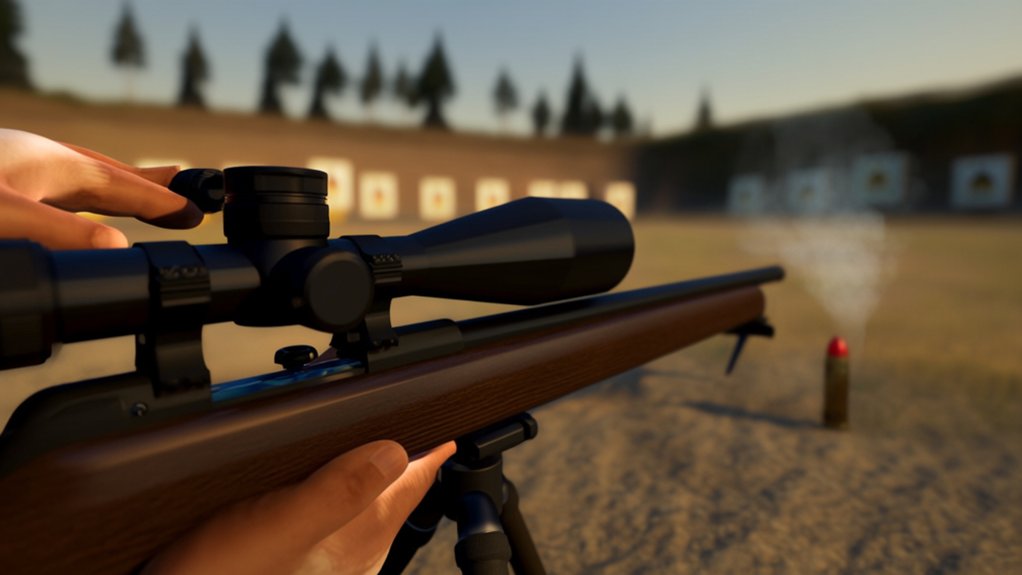
Start by finding a flat, firm surface to support your shooting setup. Use a rest or sandbags to minimize recoil and sway. Keep your firearm supported but relaxed, avoiding unnecessary tension that could shake your aim.
To create a stable shooting platform:
- Use a bench or solid ground to rest your elbows and forearms.
- Employ a bipod or shooting sticks for front-end support.
- Position sandbags or a shooting mat to stabilize the rifle’s stock and reduce movement.
This foundation ensures precise adjustments during scope sighting.
Proper Body Alignment
Three key elements define proper body alignment when setting up your shooting position for scope accuracy: posture, head placement, and eye alignment.
First, maintain a comfortable yet stable posture—keep your body relaxed but firm to minimize movement.
Next, position your head so it naturally rests on the stock, avoiding unnecessary strain that can cause inconsistent shots.
Finally, align your eye directly with the scope’s center, ensuring your line of sight is straight and unobstructed. This alignment reduces parallax errors and helps you see a clear, consistent reticle image.
Consistent Eye Relief
While proper body alignment sets the stage, maintaining consistent eye relief guarantees you get a clear and full sight picture through your scope every time you shoot.
Eye relief is the distance between your eye and the scope’s eyepiece, and if it changes, your view can blur or narrow. To keep it steady, set your shooting position carefully and stick to it.
Here’s how to maintain consistent eye relief:
- Adjust your stock position so your eye naturally falls at the right distance.
- Avoid moving your head forward or backward while aiming.
- Practice your stance and cheek weld to build muscle memory.
Consistent eye relief not only improves accuracy but also protects your eye from recoil.
Tips for Sighting In Your Scope in the Field
When you’re out in the field, sighting in your scope requires adapting to changing conditions and limited resources. Start by finding a stable shooting position and use natural rests like rocks or sticks. Remember to verify your zero at a practical distance. Adjust for wind and light changes by making small, incremental tweaks.
Here are some quick tips to keep in mind:
| Tip | Why It Matters |
|---|---|
| Use natural rests | Stabilizes your shot |
| Adjust in small clicks | Prevents over-correction |
| Confirm zero regularly | Ensures accuracy despite changes |
Frequently Asked Questions
What Tools Do I Need to Clean My Rifle Before Sighting In?
You’ll need cleaning rods, patches, bore brush, solvent, and lubricant. Don’t forget a cleaning jag and a soft cloth to wipe down the exterior. These tools guarantee your rifle’s clean and ready before sighting in.
How Do Different Types of Ammunition Affect Sighting In?
Ammunition is the paintbrush; different types change your target’s picture. You’ll notice variations in bullet drop, velocity, and recoil, so always sight in with the ammo you plan to use for the most accurate shot.
Can I Sight in My Scope Without a Rifle Rest?
Yes, you can sight in your scope without a rifle rest, but it’s harder to stay steady. Try using a sturdy surface, sandbags, or even your shooting bag to reduce movement and improve accuracy while adjusting your scope.
How Often Should I Check the Scope Mounts for Tightness?
“Better safe than sorry” applies here—you should check your scope mounts for tightness before every shooting session. Regularly inspecting them guarantees accuracy and prevents damage, keeping your setup reliable and ready when you need it most.
What Are the Best Lighting Conditions for Sighting in My Scope?
You’ll want to sight in your scope during bright, consistent daylight—preferably mid-morning or late afternoon—to avoid harsh shadows or glare. Overcast days also work well since the lighting stays even and steady.
Conclusion
If you skip sighting in your scope, you might as well be shooting blindfolded—your shots will scatter like fireworks on the Fourth of July! Taking the time to zero your scope properly guarantees pinpoint accuracy and turns you into a sharpshooting legend. So don’t rush it—align, adjust, and practice until your scope sings with precision. Trust me, once you nail it, every shot feels like magic hitting dead center every single time!