How To Sight In A Red Dot Scope Without Shooting?
You can sight in your red dot scope without shooting by first mounting it properly and ensuring it’s level. Use a laser bore sighter or insert a bore sighter into the barrel to align the red dot with a target at close range. You can also adjust using a flat wall or reflective surface to fine-tune your zero. Check brightness and parallax for accuracy. Keep following for detailed tips to perfect your setup before live fire.
Key Takeaways
- Use a laser bore sight to align the red dot with the barrel without firing live rounds.
- Mount the scope level and ensure your eye is centered behind it for consistent sighting.
- Adjust windage and elevation by aiming the red dot at a marked point on a flat, vertical surface.
- Verify red dot brightness and clarity in different lighting conditions to ensure visibility.
- Check parallax by moving your head side to side and adjust for the intended shooting distance.
Why Sight In a Red Dot Scope Without Shooting?
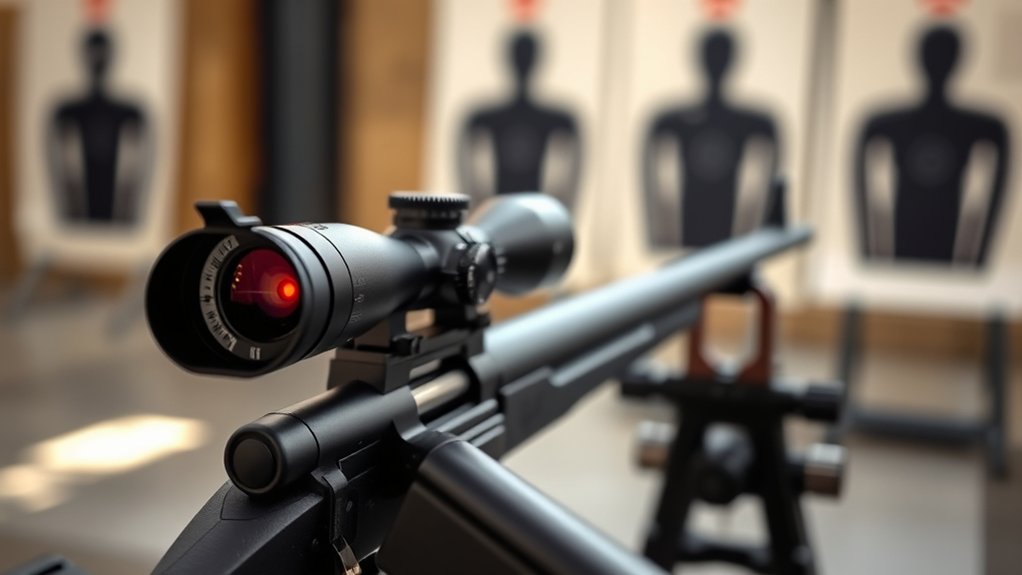
Although sighting in a red dot scope typically involves shooting, you can begin the process without firing a single round. Doing this helps you save ammo and avoid unnecessary wear on your firearm.
By initially adjusting your scope to roughly align with your point of aim, you reduce the time spent on corrections once you start shooting. This method also prevents frustration, especially if you’re new to red dot optics.
Before you pull the trigger, you want your sight picture to be as close to accurate as possible. Starting without shooting allows you to make those essential adjustments in a safe, controlled setting.
It’s a smart way to maximize efficiency and confidence when you finally move to live firing.
How to Use a Wall or Target to Align Your Red Dot
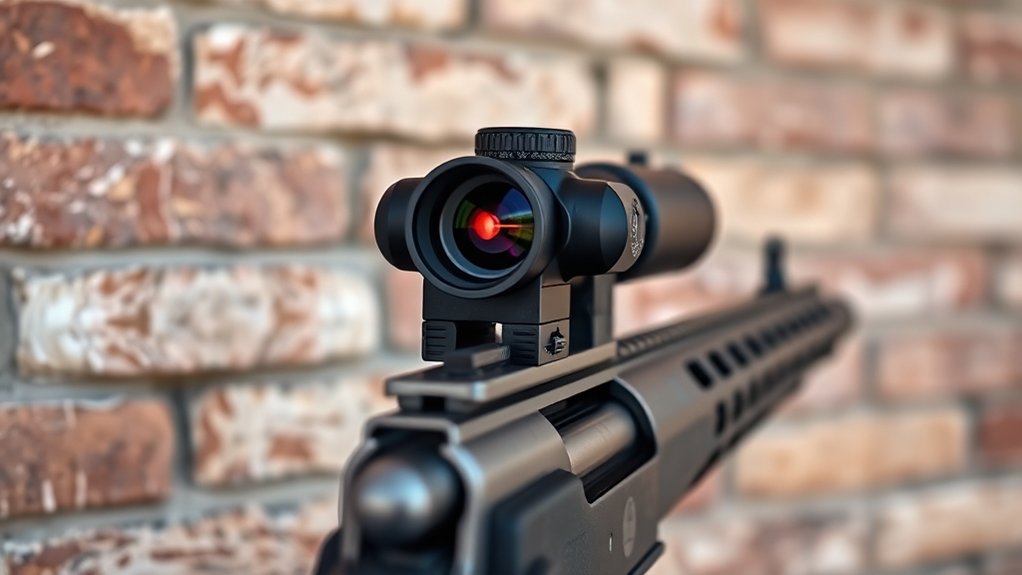
Once you’ve roughly adjusted your red dot scope without shooting, the next step is to fine-tune its alignment using a wall or a target. Pick a flat, vertical surface like a garage door or a blank wall. Mark a clear, visible point—such as a small piece of tape or a sticker—to serve as your aiming reference.
Position your firearm so the red dot rests on that mark. Adjust the windage and elevation turrets on your scope until the red dot sits exactly on the target point. Keep your firearm steady and repeat the process from the same distance to ensure consistency.
This method lets you precisely align your scope without firing a single round, saving time and ammo while preparing for accurate shooting later.
How to Set Up a Bore Sighter to Zero Your Red Dot
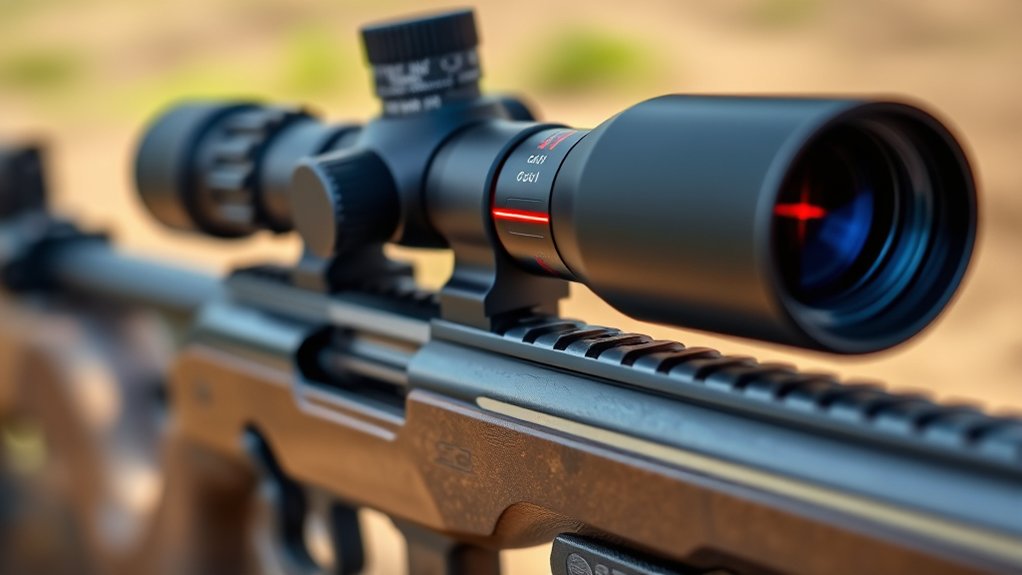
Before you start zeroing your red dot scope with live fire, setting up a bore sighter can save you time and ammunition by getting your initial alignment close. A bore sighter helps you line up the scope with the barrel’s bore, reducing guesswork.
Here’s how to set it up:
- Remove the bolt or open the action to access the barrel.
- Insert the bore sighter into the barrel or chamber.
- Adjust the sighter so it points at a target about 10-15 yards away.
- Look through your red dot and align the dot with the target the bore sighter is aimed at.
Once aligned, your red dot will be close to zero, making live fire adjustments quicker and more efficient.
Using a Laser Bore Sighter for Precise Red Dot Zeroing
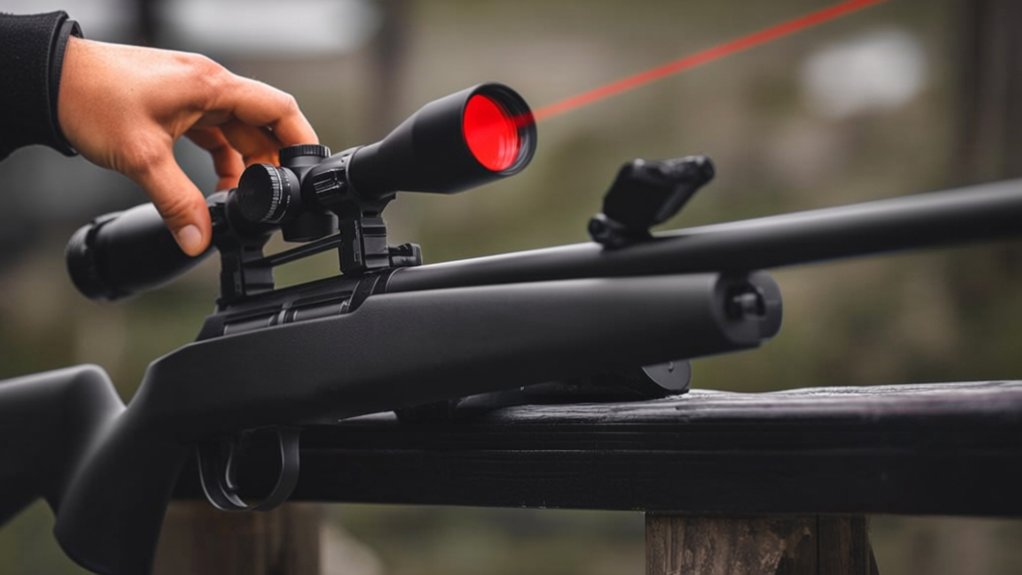
Using a laser bore sighter can save you time and improve accuracy when zeroing your red dot scope.
You’ll align the laser with your barrel, then adjust your red dot to match the laser’s point on the target.
Follow a few simple steps, and you’ll have a precise zero without firing a single shot.
Laser Bore Sighter Benefits
Although sighting in a red dot scope can be done manually, a laser bore sighter makes the process faster and more accurate. It projects a precise laser beam aligned with your barrel, allowing you to adjust your red dot without firing a single shot. This saves time and ammo while ensuring your scope is close to zero before heading to the range.
Here are some key benefits:
- Quick alignment: Instantly shows where your barrel is pointing.
- Cost-effective: Reduces the need for multiple live-fire adjustments.
- Safe: Eliminates the risk of accidental discharge during initial sighting.
- User-friendly: Easy to use, even for beginners or those unfamiliar with scopes.
Using a laser bore sighter streamlines your zeroing process and boosts confidence in your setup.
Step-by-Step Zeroing Process
Once you have your laser bore sighter securely in place, you can start zeroing your red dot scope with confidence.
First, power on the laser and position your firearm so the laser dot hits your target’s center.
Next, look through your red dot scope and adjust the windage and elevation turrets to align the red dot precisely over the laser dot.
Make small, deliberate adjustments, checking after each turn.
Once the red dot matches the laser spot perfectly, your scope is effectively zeroed at that distance.
Finally, remove the bore sighter and double-check alignment.
This step-by-step process gets you on target without firing a single round, saving time and ammo while ensuring your red dot is accurately sighted.
How to Adjust Parallax on Your Red Dot Scope
Before you can achieve accurate shots, you need to adjust the parallax on your red dot scope. Parallax occurs when the dot shifts relative to your target as your eye moves.
To fix this, start by setting the scope to the correct distance, usually marked on the adjustment ring.
Then, follow these steps:
- Look through the scope and move your head side to side.
- Notice if the dot stays on the target or shifts.
- Adjust the parallax dial or focus ring until the dot remains steady.
- Confirm the adjustment by checking from different eye positions.
How to Use a Camera or Smartphone to Align Your Red Dot
After adjusting the parallax to keep your red dot steady, you can use a camera or smartphone to fine-tune the alignment.
First, place your red dot sight in front of a plain, well-lit background.
Begin by positioning your red dot sight against a simple, brightly lit backdrop.
Position your camera or smartphone lens directly behind the optic, aiming straight through the scope.
Take a photo or video, ensuring the red dot appears centered in the frame.
Review the image to see if the dot aligns perfectly with your intended point of aim.
If it’s off-center, adjust the windage and elevation turrets accordingly, then repeat the process.
This method helps you confirm alignment without firing a shot, saving time and ammo while ensuring your red dot is accurately sighted for when you do shoot.
How to Use Reflections to Check Your Red Dot Alignment
How can you quickly verify your red dot’s alignment without firing a shot? Using reflections is a simple, effective method. Find a smooth, reflective surface like a window or mirror.
Position your firearm so the red dot projects onto the reflection. Then, check if the dot aligns with your target point in the reflection.
To do this correctly, keep these tips in mind:
- Use a bright environment for a clear red dot reflection
- Ensure the reflective surface is flat to avoid distortion
- Keep your eye and the dot aligned to prevent parallax errors
- Adjust your firearm’s position until the dot and target overlap perfectly in the reflection
This approach helps you confirm your red dot’s accuracy without pulling the trigger.
How to Fine-Tune Your Red Dot Zero Without Shooting
Even if you haven’t fired a single shot, you can still fine-tune your red dot zero by relying on precise adjustments and careful observation.
Start by mounting your firearm securely on a stable rest or sandbag to eliminate movement.
Next, position yourself at a known distance from a flat, vertical surface like a wall.
Align the red dot with a clearly visible reference point on the surface.
Adjust the windage and elevation turrets in small increments, moving the dot exactly toward the point you want to hit.
After each tweak, verify the dot’s position and confirm it stays steady when you shift your eye slightly.
This process helps you achieve a near-perfect zero without firing.
Keep refining until the dot consistently lines up with your chosen target point.
Common Mistakes When Zeroing Your Red Dot Without Firing
When zeroing your red dot without firing, you might misalign the scope and throw off your accuracy.
Don’t overlook environmental factors like lighting and terrain, as they can affect your sight picture.
Catching these mistakes early saves you time and frustration down the line.
Misaligning The Scope
Although it might seem straightforward to zero your red dot scope without firing, misaligning the scope is a common pitfall that can throw off your accuracy. When you don’t align the scope correctly, your point of aim won’t match the point of impact.
To avoid this, watch out for these mistakes:
- Mounting the scope crooked or not level on the rail
- Failing to verify your eye is perfectly centered behind the scope
- Neglecting to check that the red dot itself is centered within the sight window
- Overlooking adjustments needed for proper parallax alignment at your intended shooting distance
Ignoring Environmental Factors
Since environmental factors can drastically affect your point of impact, ignoring them while zeroing your red dot scope can lead to frustrating inaccuracies. You might set your scope perfectly indoors, but once outside, wind, temperature, and lighting conditions can shift your aim.
Don’t overlook wind direction and speed—they can push your bullet off target. Temperature changes can affect both your equipment and ammunition performance.
Lighting also plays a vital role; glare or shadows can make your red dot appear differently, causing misalignment. Always consider these elements when sighting in, even without shooting.
Accounting for environmental factors guarantees your adjustments are reliable and your red dot stays true, saving you time and frustration when you eventually hit the range.
Tips for Confirming Your Red Dot Zero Before Live Fire
Before you head to the range for live fire, double-checking your red dot zero can save you time and ammunition. Verify your zero ahead of time to ensure accuracy and build confidence in your setup.
Here’s how to do it effectively:
- Mount a laser bore sight to align the red dot with the barrel.
- Use a stable rest or sandbag to keep your firearm steady.
- Look through the red dot from your shooting position and adjust it to match a known reference point.
- Verify the dot’s brightness and clarity in different lighting conditions.
Frequently Asked Questions
How Often Should I Sight in My Red Dot Scope?
You should sight in your red dot scope whenever you notice accuracy issues or after any significant impact or adjustment. Regularly checking it before important shooting sessions helps guarantee consistent performance and confidence in your shots.
Can Weather Conditions Affect Red Dot Accuracy?
Yes, weather conditions can affect your red dot’s accuracy. Wind, rain, fog, and temperature changes can distort your sight picture or shift the dot’s alignment. Always check and adjust your scope after harsh weather exposure.
What Is the Difference Between Red Dot and Holographic Sights?
You’ll find red dot sights use LED to project a simple dot, while holographic sights create a detailed reticle using laser interference. Red dots are lighter and cheaper; holographics offer better target clarity and faster acquisition.
Are There Recommended Brands for Reliable Red Dot Scopes?
Like a compass guiding a sailor, Aimpoint, EOTech, and Trijicon lead the way in reliable red dot scopes. You’ll appreciate their durability, clear optics, and battery life, ensuring your shots stay true every time.
How Do Battery Types Impact Red Dot Performance?
Battery types impact red dot performance by affecting brightness, runtime, and reliability. You’ll want lithium batteries for longer life and consistent power, while alkaline ones might dim faster. Using quality batteries guarantees your sight stays sharp and dependable.
Conclusion
You’ve learned to align your red dot with a wall, to set up a bore sighter, to adjust parallax, and to use reflections—all without pulling the trigger. You’ve avoided wasted ammo, saved time, and sharpened your aim before stepping to the range. Now, you’re ready to confirm your zero with confidence, to fine-tune your sight with care, and to trust your red dot when it counts most. Sight in smart, shoot sharp, and stay safe.