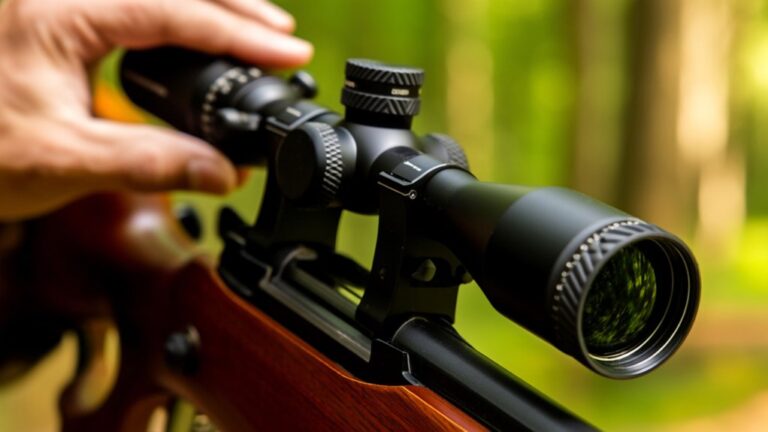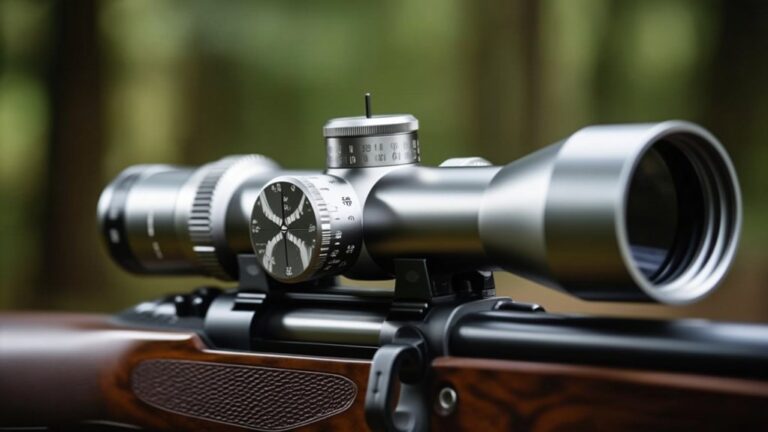
How To Sight In A Rifle Scope?
To sight in your rifle scope, start by securely resting your rifle and choosing a zero distance matching your shooting needs. Fire groups at a target and adjust windage and elevation knobs to align your point of impact with your aim. Use consistent ammo and confirm your zero with test shots, fine-tuning for different rounds if needed. Be mindful of environmental factors and avoid rushing adjustments. Keep following this guide to master precise and reliable accuracy step by step.
Key Takeaways
- Secure your rifle on a stable rest and use consistent ammunition for accurate sighting.
- Select an appropriate zero distance based on your shooting purpose and typical range.
- Fire a group of shots at the target’s center, then adjust windage and elevation based on impact points.
- Make small incremental adjustments and confirm zero with repeated test shots for tight, centered groups.
- Account for environmental factors like wind, temperature, and humidity, and re-zero as conditions or ammo change.
Why You Need to Sight In Your Rifle Scope
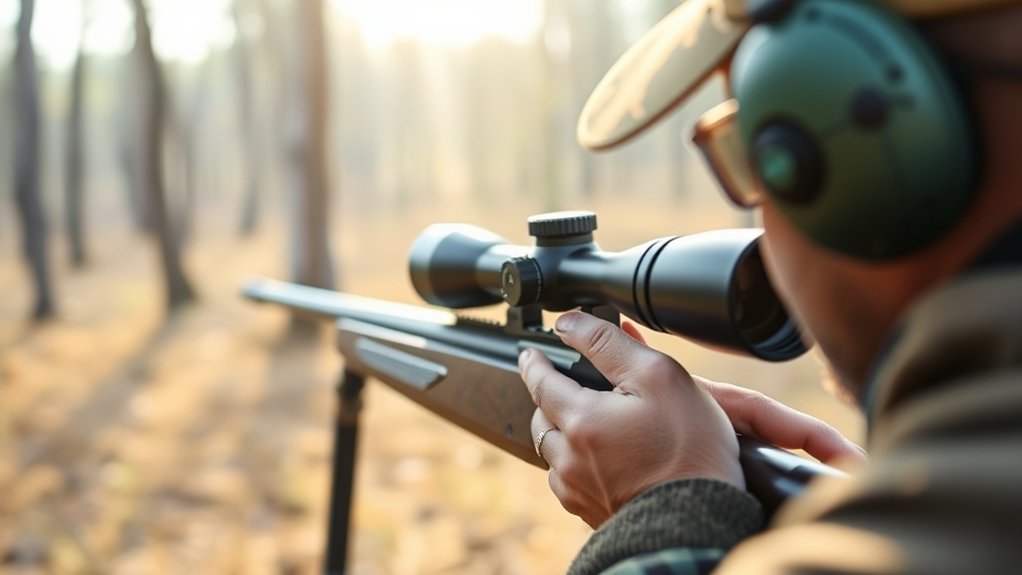
Although it might seem straightforward, sighting in your rifle scope is essential because it guarantees your shots hit where you aim. You can’t just trust the factory settings; every rifle and scope combination behaves differently.
Sighting your rifle scope is crucial—factory settings aren’t enough since every setup performs uniquely.
Factors like bullet type, barrel length, and even environmental conditions affect accuracy. If you skip this step, you risk missing your target, wasting ammo, or worse, causing unsafe situations.
Properly sighting in ensures you know exactly where your bullet will land at various distances. It boosts your confidence, helping you shoot with precision whether you’re hunting or target shooting.
Taking the time to sight in also helps you understand your rifle’s capabilities better, making every shot count when it matters most.
What Tools You Need to Sight In Your Rifle Scope
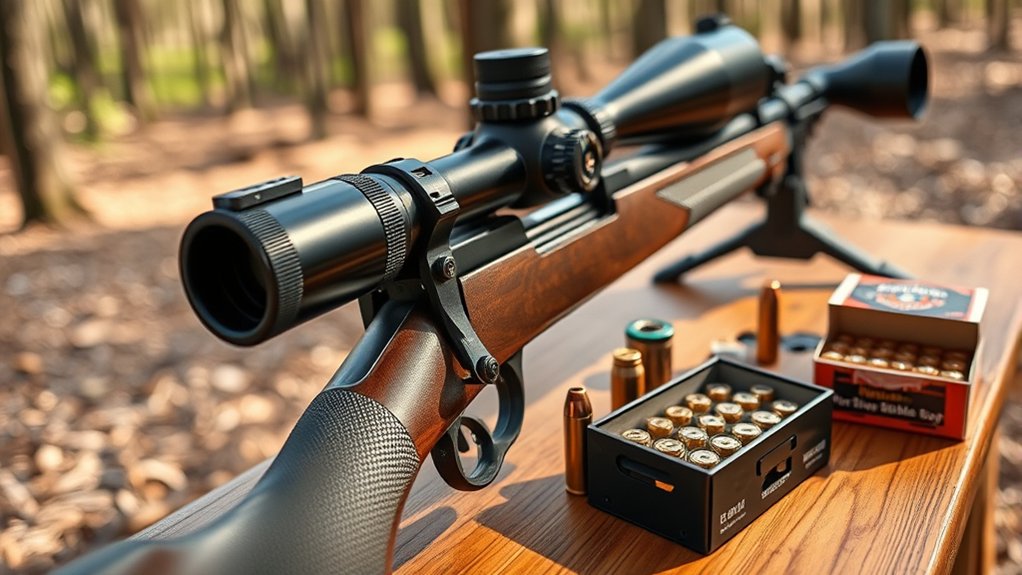
Before you begin sighting in your rifle scope, you’ll need a few essential tools to make the process accurate and efficient.
First, bring a reliable target—paper targets with clear grids or bullseyes work best for precise adjustments.
You’ll also need quality ammunition, preferably the same type you plan to use regularly, to guarantee consistent results.
Don’t forget a spotting scope or binoculars to see your bullet impacts clearly from a distance.
A screwdriver or scope adjustment tool is necessary for making windage and elevation changes.
Finally, have a rangefinder or tape measure handy to confirm your shooting distance.
With these tools ready, you’ll set yourself up for a smooth and accurate sight-in session.
How to Secure Your Rifle for Stable Zeroing
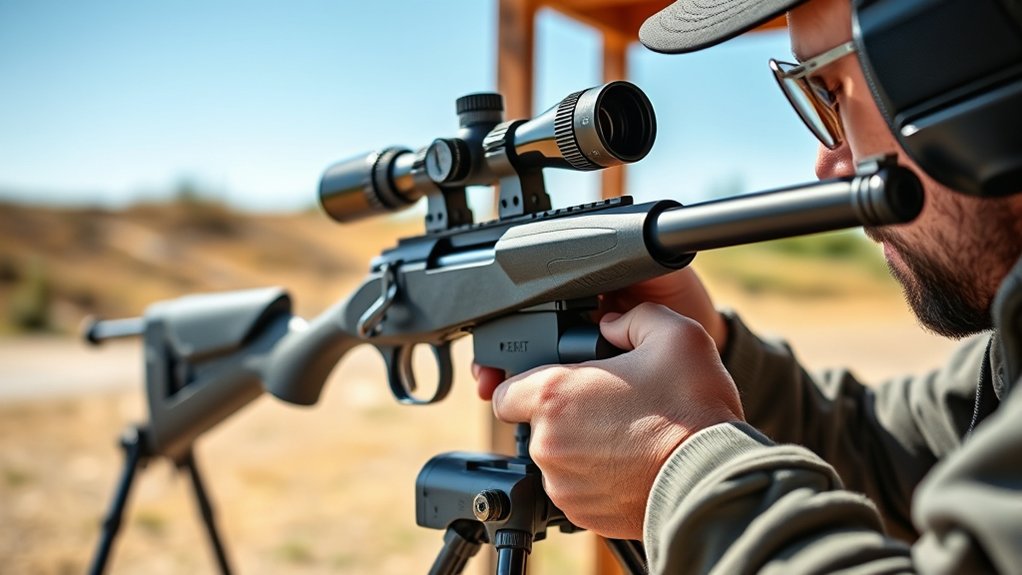
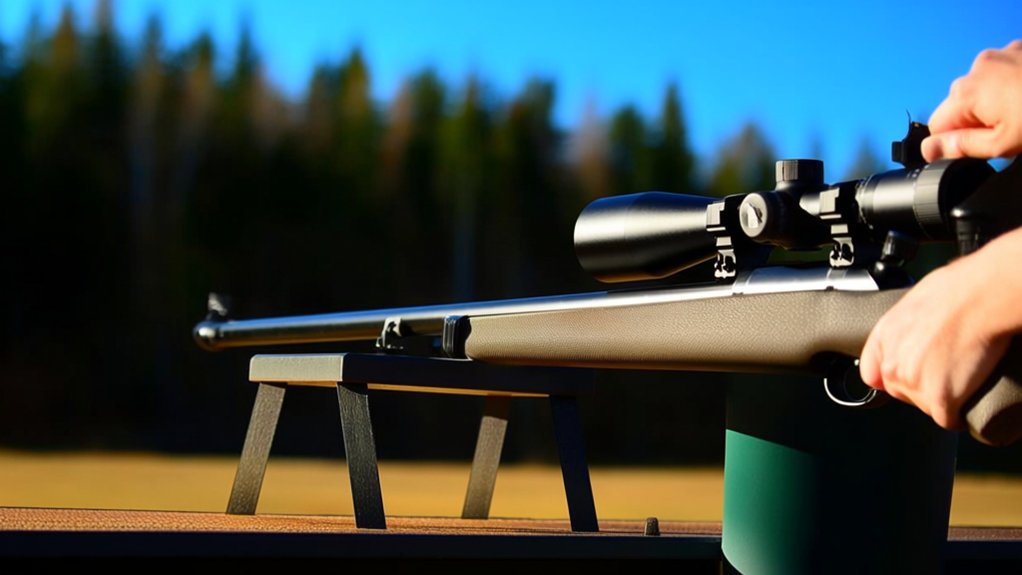
To achieve a stable zero, you need to secure your rifle firmly to minimize movement during shooting. Start by using a sturdy shooting rest or sandbags to support your rifle’s stock and barrel. This setup reduces recoil impact and keeps your aim consistent.
Make sure your rifle is comfortably seated without forcing it, so it doesn’t shift when you pull the trigger. Additionally, use a solid bench or platform to steady yourself and avoid muscle fatigue during shooting sessions.
Keep your body relaxed but stable to prevent unintentional movement. Finally, avoid gripping the rifle too tightly, as this can introduce torque and affect your shot placement.
Properly securing your rifle ensures repeatable, accurate shots essential for zeroing your scope effectively.
Picking the Best Distance to Zero Your Scope
When you start zeroing your scope, choosing the right distance is crucial because it directly affects your accuracy in the field. You want a zero distance that matches your typical shooting range and intended use.
Here are three key points to help you pick the best distance:
Here are three essential tips to help you choose the perfect zeroing distance for your scope.
- Know Your Purpose – Zero closer for small game or target shooting, and farther for big game or long-range shots.
- Consider Your Rifle and Ammo – Different calibers and loads have varying trajectories that influence ideal zero distance.
- Think About Terrain – If you hunt in dense woods, a shorter zero works better; open plains call for longer zeroing distances.
Setting Up a Stable Shooting Position
To get accurate shots, you need a solid rest that keeps your rifle steady.
Make sure you maintain the same body posture with every shot to avoid shifting your aim.
Consistency in your position is key to sighting in your scope effectively.
Choosing A Solid Rest
Because your rifle’s accuracy depends heavily on stability, choosing a solid rest is vital before you start sighting in your scope. A good rest minimizes movement, letting you focus on fine adjustments.
Here’s what to take into account:
- Material – Opt for heavy-duty rests made from metal or dense polymer to absorb recoil and prevent slipping.
- Adjustability – Pick a rest with adjustable height and angle, so you can customize your position for comfort and precision.
- Portability – If you’re sighting in outdoors, choose a rest that’s easy to carry and set up without compromising sturdiness.
A solid rest creates a consistent foundation, reducing human error and helping you achieve tight groupings. Invest time in selecting the right rest; it’s essential for efficient and accurate scope zeroing.
Maintaining Consistent Body Posture
Although choosing the right rest is essential, maintaining consistent body posture plays an equally important role in stabilizing your shot.
You want to position yourself comfortably and firmly, ensuring your body doesn’t shift between shots. Keep your shoulders relaxed but steady, and plant your feet evenly to create a solid base.
Align your body naturally with the rifle to avoid unnecessary strain, which can cause movement. Support your shooting arm firmly while allowing your trigger hand to remain relaxed for smooth trigger pulls.
Consistency is key—each time you shoot, replicate the same posture to build muscle memory. This helps reduce variables that can affect accuracy, making your sighting process more reliable and efficient.
How to Align Your Scope Reticle With the Barrel
Before you start zeroing your rifle, you’ll need to make certain the scope reticle is perfectly aligned with the barrel. Misalignment can cause your shots to consistently miss the target.
To align your scope reticle with the barrel, follow these steps:
- Secure your rifle: Place it on a stable rest or sandbags to minimize movement.
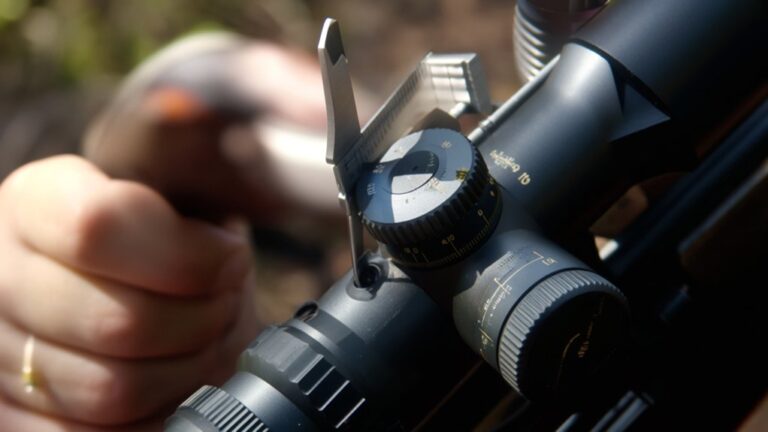
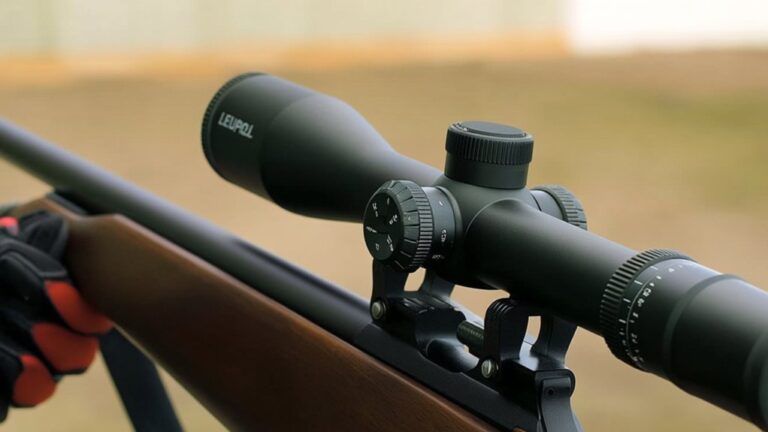
- Adjust the turrets: Rotate the windage and elevation turrets to center the reticle while looking through the scope at a distant target.
- Check for cant: Use a bubble level on the rifle and scope tube to ensure the rifle isn’t tilted, which can skew your reticle alignment.
This process guarantees your scope is square with the barrel, setting the foundation for accurate zeroing.
Step-by-Step Guide to Adjusting Windage and Elevation
Now that your reticle is aligned, it’s time to adjust windage and elevation for accuracy. You’ll learn how to move the point of impact left or right and up or down by mastering these controls.
Fine-tuning your scope settings guarantees every shot lands where you want it.
Understanding Windage Adjustments
When you start adjusting your rifle scope, understanding windage is essential because it controls the horizontal alignment of your reticle. Windage adjustments help correct left or right drift caused by external factors like wind or rifle cant.
Here’s how you handle it:
- Identify the Point of Impact: Fire a group of shots and observe where they land relative to your target’s center.
- Turn the Windage Knob: If shots land left, turn the knob to move the reticle right; if they land right, turn it left. Usually, one click moves the point of impact a specific fraction of an inch at 100 yards.
- Repeat and Fine-Tune: Continue adjusting and shooting until your shots consistently hit the target’s center horizontally.
Mastering windage ensures your shots stay true side to side before moving on to elevation adjustments.
Mastering Elevation Controls
After you’ve fine-tuned your windage to center your shots horizontally, it’s time to focus on elevation adjustments to align your reticle vertically.
Begin by firing a group of shots at your target from a stable position. Note how far your point of impact is above or below the bullseye.
Use the elevation turret, usually marked with “UP” or arrows, to adjust the reticle accordingly. Turn it in the direction that moves your point of impact toward the target—usually clockwise to raise and counterclockwise to lower.
Make small adjustments, then shoot another group to confirm changes. Repeat this process until your bullet holes consistently cluster at the desired height.
Mastering elevation controls guarantees your scope is dialed in for precise vertical alignment.
Fine-Tuning Scope Settings
Although you’ve adjusted both windage and elevation individually, fine-tuning these settings together guarantees your scope delivers pinpoint accuracy. Here’s how you can do it step-by-step:
- Shoot a group at your target, aiming at the bullseye to see where your bullets land.
- Adjust windage and elevation based on the group’s impact point—move the crosshairs horizontally for windage and vertically for elevation.
- Repeat shooting and adjusting until your shots cluster tightly around the bullseye.
How to Confirm Your Rifle Scope Zero With Test Shots
Because your adjustments are only as good as your proof, you’ll need to verify your rifle scope zero with test shots before relying on it in the field.
Start by firing a three-shot group at your chosen distance, aiming at the exact center of your target. After each group, carefully observe the point of impact relative to your point of aim.
If your shots consistently land off-center, adjust your scope’s windage and elevation knobs accordingly. Repeat this process until your group is tight and centered on the target.
Confirming your zero this way ensures accuracy and builds confidence in your setup. Remember, each test shot provides valuable feedback, so don’t rush.
Take your time, and you’ll have a reliable zero ready for any situation.
Fine-Tuning Your Scope for Different Ammunition Types
When you switch ammunition types, you’ll notice your bullet’s impact can shift from your original zero.
Adjust your reticle to match these variations and keep your shots precise.
Fine-tuning your scope for each ammo type ensures consistent performance every time you shoot.
Adjusting Reticle for Ammo
Since different types of ammunition can vary in velocity and trajectory, you’ll need to calibrate your reticle to maintain accuracy. When switching ammo, don’t assume your previous settings will hold.
Here’s how to fine-tune your reticle effectively:
- Confirm Ballistics: Check the bullet’s velocity and drop data for the new ammo.
- Make Incremental Adjustments: Use your scope’s elevation and windage turrets to align the reticle with your ammo’s trajectory.
- Test at Multiple Distances: Shoot at varying ranges to ensure the reticle remains accurate throughout the bullet’s path.
Impact Point Variations
Adjusting your reticle for different ammunition types is just the start—you’ll also notice how each ammo affects your bullet’s impact point.
Different cartridges vary in velocity, weight, and ballistic coefficient, all influencing where your bullet lands on the target. Once you’ve zeroed your scope with one ammo type, test others to see how their impact points shift.
Record these differences and adjust your elevation and windage accordingly when switching ammo in the field. This fine-tuning guarantees consistent accuracy regardless of the cartridge you choose.
How Weather and Environment Affect Your Scope Zero
Although your rifle scope may be perfectly zeroed in ideal conditions, changes in weather and environment can quickly affect its accuracy. You need to understand these factors to maintain a reliable zero.
A perfectly zeroed rifle scope can lose accuracy with changing weather and environmental conditions.
Here are three key environmental influences:
- Temperature – Extreme heat or cold can alter the barrel’s metal and the scope’s internal components, shifting your point of impact.
- Humidity – High humidity can affect bullet flight by changing air density, causing slight trajectory variations.
- Wind – Even moderate wind can push your bullet off course, requiring adjustments to your aim.
Mistakes to Avoid When Sighting In Your Rifle Scope
When sighting in your rifle scope, avoiding common mistakes can save you time and frustration. Don’t rush adjustments; take your time to guarantee accuracy. Avoid neglecting a solid shooting rest, as instability skews results. Don’t forget to check your scope’s mounting tightness; loose mounts cause inconsistent shots. Finally, avoid adjusting your scope in poor lighting—it leads to errors.
| Mistake | Effect | Emotion Evoked |
|---|---|---|
| Rushing adjustments | Inaccurate zero | Frustration |
| Skipping solid rest | Unstable shots | Annoyance |
| Loose scope mounts | Inconsistent impact points | Confusion |
| Poor lighting | Misaligned adjustments | Disappointment |
| Ignoring ammo variation | Unreliable zeroing | Regret |
Avoid these pitfalls to sight in your scope effectively and confidently.
When and How Often to Re-Zero Your Rifle Scope
Since regular use and environmental factors can affect your rifle scope’s accuracy, you should re-zero it periodically to maintain precision. Knowing when and how often to do this keeps your shots on target.
Regular use and environment affect scope accuracy; re-zero periodically to keep your shots precise and on target.
Here are three key times to re-zero:
- After any significant impact or drop to your rifle, which can shift the scope’s alignment.
- When changing ammunition brands or types, as different rounds can affect bullet trajectory.
- Following extreme weather changes, like temperature or humidity shifts, since these influence ballistics.
Regularly checking zero every few hundred rounds or before critical shooting sessions ensures consistent accuracy.
Don’t wait for a miss to realize your scope needs adjustment. By staying proactive, you keep your rifle ready and reliable for every shot.
Frequently Asked Questions
What Type of Rifle Scope Is Best for Beginners?
You’ll want a simple, durable rifle scope with low magnification (3-9x) and clear reticles. Look for one with easy adjustments and good light transmission to help you quickly learn and improve your shooting accuracy.
Can You Sight in a Rifle Scope Without a Tripod?
Oh, sure, you can totally sight in a rifle scope without a tripod—if you enjoy shaky, frustrating shots. But if you want steady, accurate results, you’ll want to brace your rifle on something stable instead.
How Does Parallax Adjustment Affect Rifle Scope Accuracy?
Parallax adjustment helps you align the reticle with your target at different distances, reducing image shift and improving accuracy. When you adjust parallax correctly, your shots stay true, even if your head moves slightly.
Is It Necessary to Use Special Ammo for Sighting In?
You don’t need to reinvent the wheel; you can use your regular hunting or target ammo for sighting in. Consistency matters more than special rounds because your scope zeroes best with the ammo you plan to shoot regularly.
Can Temperature Changes Impact the Rifle Scope’s Zero?
Yes, temperature changes can impact your rifle scope’s zero. Extreme heat or cold causes metal parts to expand or contract, slightly shifting your point of impact. Always recheck and adjust your zero when conditions change considerably.
Conclusion
Sighting in your rifle scope is essential for accuracy—did you know even a tiny misalignment can cause a bullet to miss the target by over 6 inches at 100 yards? By following the right steps and avoiding common mistakes, you’ll improve your shooting precision and confidence. Remember to re-zero regularly, especially when changing ammo or conditions. Taking the time to properly sight in your scope makes every shot count, whether you’re hunting or target shooting.