How To Turn On Red Dot Sight?
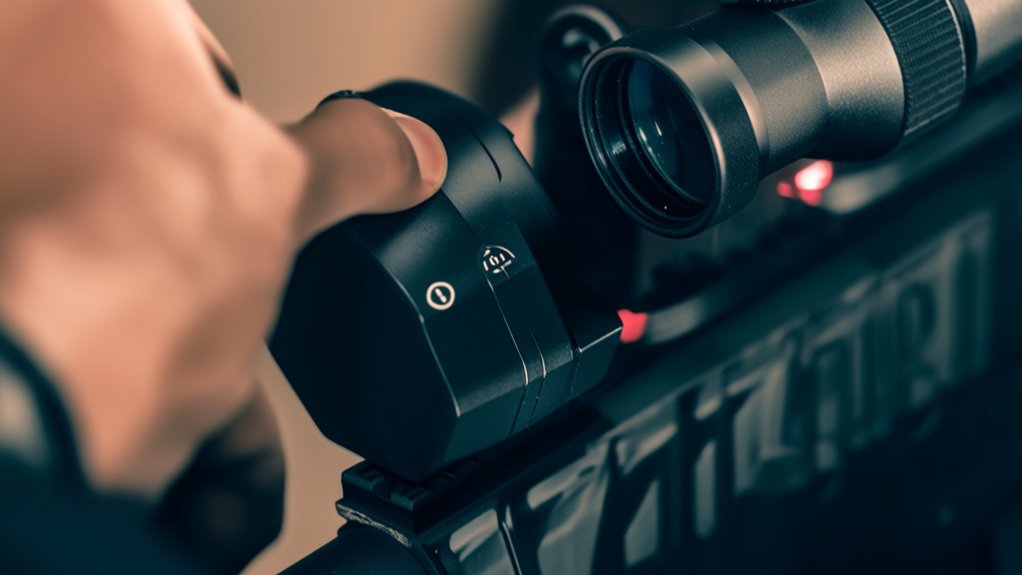
To turn on your red dot sight, first locate the power button or dial, usually found on the side or top. Press or rotate it according to your sight’s design—some use push-buttons, others twist knobs. Check for symbols like a circle with a line to find the switch. Once powered, adjust brightness as needed for your environment. If it doesn’t turn on, double-check battery placement and power settings. Learn how different brands and features can affect operation for smoother use.
Key Takeaways
- Locate the power button, dial, or switch, usually marked with a power symbol, on the side or top of the red dot sight.
- Press, twist, or push the designated power control based on the brand’s design (e.g., Aimpoint twist knob, Holosun push-button).
- Verify the sight is on by checking for the illuminated reticle or indicator light.
- Adjust brightness settings after powering on to suit lighting conditions for optimal visibility.
- Consult the user manual for specific power-on instructions and brand-specific activation methods.
Identify the Power Controls on Your Red Dot Sight
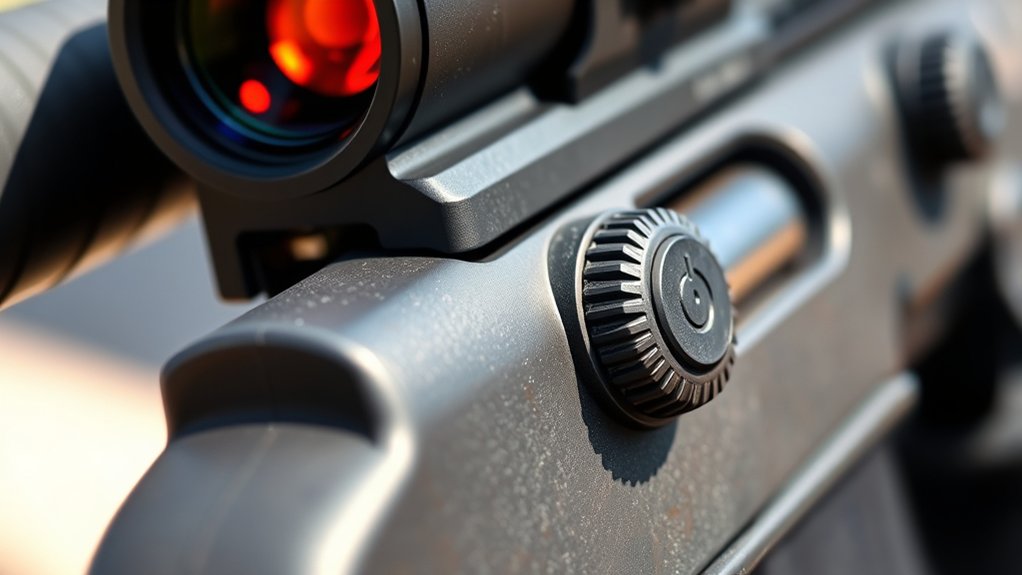
Before you can turn on your red dot sight, you need to locate its power controls. Most red dot sights have a clearly marked power button or dial, usually positioned on the side or top of the device.
Look for symbols like a circle with a line through the top, which typically indicate the power switch.
Some models feature a push-button, while others use a rotating dial to adjust brightness and power on or off simultaneously.
Check your sight’s manual if you’re unsure where these controls are.
You might also find protective caps covering the power controls to prevent accidental activation.
Identifying these will verify you’re ready to power up your sight quickly and efficiently when needed.
Turn On Your Red Dot Sight: Step-by-Step
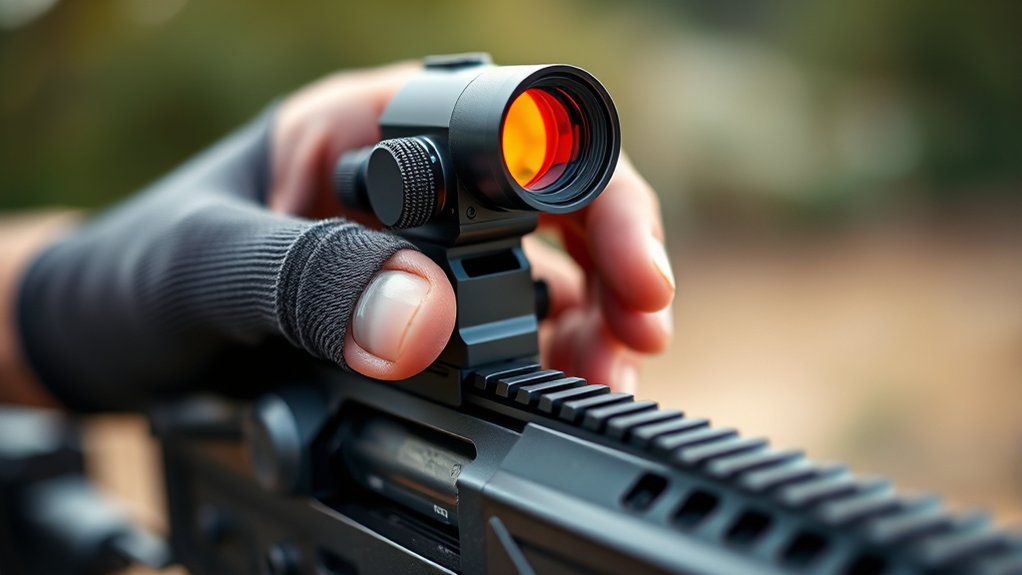
First, find the power button on your red dot sight and press it to turn the device on.
Next, adjust the brightness settings to suit your environment and preferences.
These simple steps will get your sight ready for accurate aiming.
Locate Power Button
Where exactly is the power button on your red dot sight? Typically, it’s located on the side or top of the unit, designed for easy access. You’ll want to identify it quickly to turn your sight on without fumbling. The button usually has a distinct marking or texture to differentiate it from other controls.
Here’s a quick guide to help you locate it:
| Location | Description |
|---|---|
| Side Panel | Often a small, round button near the battery compartment |
| Top Surface | Flat or slightly raised button, sometimes with a power symbol |
| Front Edge | Less common but accessible on some models |
Finding the power button is your first step to activating your red dot sight efficiently.
Adjust Brightness Settings
Once you’ve powered on your red dot sight, you’ll need to adjust the brightness to match your environment. Proper brightness guarantees your dot is visible without overwhelming your vision.
Start by locating the brightness controls, usually buttons or a dial. Then, follow these steps:
- Increase brightness in bright daylight to keep the dot clear.
- Decrease brightness in low-light or indoor settings to avoid glare.
- Test the dot against various backgrounds to find the ideal setting.
- Use the lowest brightness that keeps the dot visible to conserve battery.
- Adjust brightness gradually, making small changes for accuracy.
Adjust Red Dot Sight Brightness for Visibility
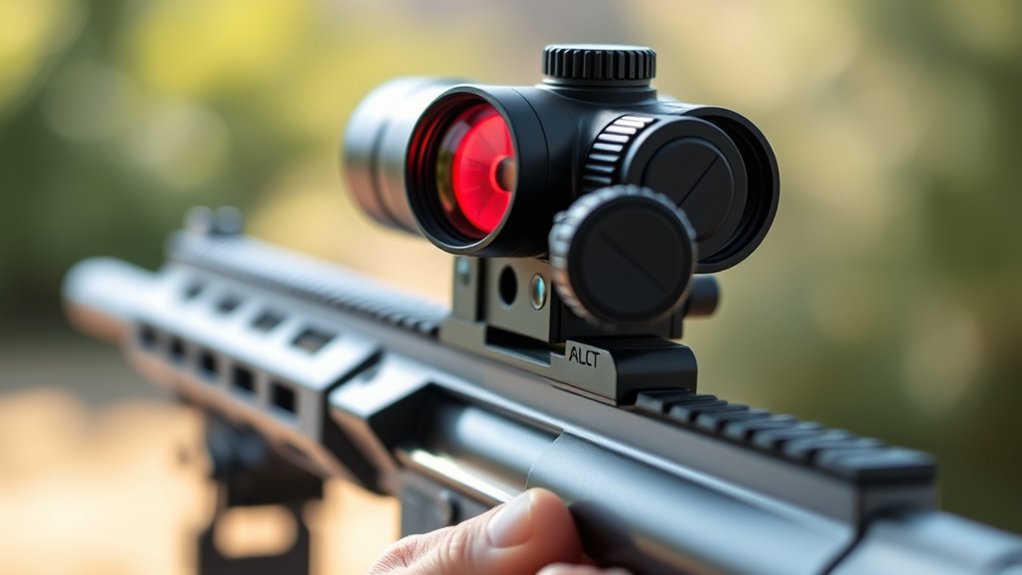
Although red dot sights are designed to be bright and clear, you’ll need to adjust the brightness to match your environment for ideal visibility. Start by turning on your sight and locating the brightness adjustment controls, usually buttons or a dial.
In bright daylight, increase the brightness so the dot stands out against your target without washing out. In low-light or indoor settings, lower the brightness to prevent the dot from overpowering your sight picture.
Avoid setting it too dim, or the dot might be hard to see. Take a moment to test different brightness levels in your current lighting until you find the sweet spot where the dot is sharp and easy to track.
Proper brightness adjustment improves your accuracy and speed when aiming.
Recognize Power Modes and Settings on Your Sight
First, find the power button on your red dot sight to turn it on.
Next, get familiar with adjusting the brightness to match your environment.
Finally, learn how to switch between different power modes for peak performance.
Identifying Power Button Location
Before you can power on your red dot sight, you need to locate the power button, which is often discreetly placed to maintain the sight’s sleek design. Typically, the button won’t stand out, so you’ll want to check carefully around the sight’s body.
Here are some common locations to look for the power button:
- On the side of the sight near the lens housing
- On the top or rear end of the sight
- Integrated into a multifunction button alongside brightness controls
- Underneath a protective rubber cover or flap
- Near the battery compartment or close to mounting rails
Once you find it, you’ll be ready to power on and begin adjusting settings to suit your shooting needs.
Understanding Brightness Adjustment
When you turn on your red dot sight, you’ll notice various brightness settings designed to adapt to different lighting conditions. These settings allow you to increase or decrease the dot’s intensity to guarantee it remains visible without overwhelming your target view.
Usually, you can adjust brightness using buttons or a dial near the power switch. Start with a medium setting and tweak it depending on whether you’re in bright sunlight or dim environments.
Too bright, and the dot can blur or cause glare; too dim, and it’s hard to see. Understanding these adjustments helps you maintain accuracy and reaction time.
Familiarize yourself with your sight’s brightness levels so you can quickly modify them as conditions change during use.
Switching Between Power Modes
Although each red dot sight may have unique features, you’ll typically find several power modes designed to extend battery life and optimize performance. Knowing how to switch between these modes helps you use your sight efficiently in different conditions.
Most sights allow you to toggle power modes by pressing or holding a button. Here are common power modes you’ll encounter:
- On/High Power: Full brightness for clear visibility in bright environments.
- Low Power: Dimmer setting for battery conservation and low-light use.
- Auto Mode: Adjusts brightness automatically based on ambient light.
- Sleep Mode: Powers down after inactivity but quickly wakes up.
- Off: Completely shuts the sight to save battery.
Mastering these settings ensures your red dot sight is ready whenever you need it.
What to Do When Your Red Dot Sight Won’t Turn On
If your red dot sight won’t turn on, the issue usually lies with the battery or the power connection. First, check if the battery is properly installed and seated. Sometimes, a loose battery can prevent power flow. Remove and reinsert it to guarantee a solid connection.
Next, inspect the battery contacts for dirt or corrosion; clean them gently if needed. Also, confirm the power switch is fully engaged—sometimes it’s easy to miss the click.
If your sight has an automatic shutoff feature, make sure it hasn’t activated.
Finally, test with a fresh battery if you have one available.
If it still won’t turn on after these steps, there might be an internal fault, and you should consider professional repair or contacting the manufacturer for support.
Common Battery Types for Red Dot Sights
You’ll find that most red dot sights use popular battery models like CR2032 or CR1632. Knowing the typical battery life helps you plan when to replace them before they run out.
Let’s go over some tips to keep your batteries fresh and your sight ready.
Popular Battery Models
Several popular battery models power red dot sights, each offering distinct advantages based on size, capacity, and availability. Choosing the right battery can simplify maintenance and guarantee reliable performance.
Here are five common models you’ll encounter:
- CR2032: Compact and widely available, perfect for smaller sights.
- CR123A: Offers higher voltage, ideal for high-performance optics.
- AA: Larger size but easy to find and replace, good for extended use.
- AAA: Smaller than AA, common in budget-friendly red dots.
- CR2: Compact with good capacity, often used in tactical models.
Make sure you check your sight’s manual to match the battery type correctly before powering it on.
Using the recommended model keeps your red dot functioning smoothly.
Battery Life Expectancy
Battery life expectancy varies considerably among common battery types used in red dot sights, directly impacting how long your sight remains operational in the field. Typically, lithium batteries like CR2032 offer excellent longevity, often lasting between 1,000 to 3,000 hours depending on brightness settings.
Alkaline batteries, while more affordable, usually provide shorter runtimes, roughly 100 to 300 hours. Some red dot sights use rechargeable batteries, which can be convenient but generally need recharging after 20 to 50 hours of use.
Your choice of battery affects how often you’ll need to power up your sight and how reliable it stays during extended use. Understanding these differences helps you plan better for your shooting sessions or tactical needs without unexpected downtime.
Battery Replacement Tips
Although red dot sights come with various power options, knowing how to replace the batteries correctly guarantees your sight stays functional when you need it most. Most red dot sights use common battery types that are easy to find and replace.
Before swapping batteries, check the manual for the right type and polarity to avoid damage.
Here are the most common battery types you’ll encounter:
- CR2032: Popular for its long life and compact size
- CR1632: Slightly smaller, used in some compact sights
- CR2: Offers higher voltage, common in advanced models
- AA or AAA: Occasionally used in larger or combo sights
- Rechargeable lithium-ion: Found in some high-end electronic sights
Always carry spare batteries to ensure your red dot sight never fails.
How to Replace and Insert Batteries Correctly
When you need to replace the batteries in your red dot sight, it’s important to handle the process carefully to guarantee proper function. First, remove the sight from your firearm if possible to avoid damage.
Locate the battery compartment, usually secured with a screw or cap. Gently unscrew or twist it open. Take out the old battery and check for any corrosion or debris inside the compartment; clean if necessary.
Find the battery compartment, carefully open it, remove the old battery, and clean any corrosion or debris.
Insert the new battery, making sure the positive (+) and negative (-) ends align correctly with the markings inside the compartment. Avoid forcing the battery in place.
Once inserted, secure the compartment tightly to prevent moisture or dirt from entering. Finally, test your sight to ensure it powers on smoothly and functions as expected.
Auto-Shutoff Features Explained
After replacing the batteries and ensuring your red dot sight powers on correctly, understanding the auto-shutoff feature can help extend battery life and maintain performance. This feature automatically turns off your sight after a period of inactivity, so you don’t have to worry about draining the battery when you forget to power it down.
Here’s what you should know about auto-shutoff:
- It activates after a preset time, often 2 to 12 hours of no use.
- Prevents battery waste, saving you money and hassle.
- May reset when you adjust brightness or press buttons.
- Some models allow you to disable or customize this feature.
- Knowing this helps avoid unexpected power-offs during use.
Tips to Extend Your Red Dot Battery Life
To get the most out of your red dot sight’s battery, you’ll want to adopt a few simple habits that minimize power drain without sacrificing performance.
First, always turn off your sight when you’re not using it, even if you plan to return soon. Use the auto-shutoff feature if available; it’s designed to save power efficiently.
Always power down your sight when idle and enable auto-shutoff to maximize battery life.
Adjust the brightness to the lowest setting that’s still visible in your environment, as higher brightness consumes more battery.
Store your sight in a cool, dry place to prevent battery degradation.
Regularly check your battery’s condition and replace it promptly when it shows signs of weakness.
Calibrate Your Red Dot Sight After Powering On
Extending your red dot sight’s battery life is only part of the equation; ensuring accurate aim means calibrating your sight every time you power it on. Calibration aligns the red dot with your point of impact, so you hit your target precisely.
Here’s how to do it right:
- Secure your firearm on a stable rest or bipod.
- Power on the red dot sight and allow it to stabilize.
- Aim at a target set at a known distance, typically 25 yards.
- Adjust the windage and elevation knobs until the dot matches the bullet impact.
- Re-check and fine-tune as needed to confirm accuracy.
Taking these steps each time guarantees your sight performs ideally, giving you confidence in every shot.
How Powering On Varies by Red Dot Sight Brand
While most red dot sights share similar functions, the way you power them on can vary considerably between brands. For example, some models like Aimpoint use a simple rotating knob that you twist to activate the sight, while others, such as Holosun, often rely on a push-button switch.
EOTech sights typically have side-mounted buttons that you press and hold briefly. Some brands integrate an auto-on feature when you adjust brightness, so you don’t need a separate power step.
It’s important to familiarize yourself with the specific controls of your sight’s brand to avoid confusion or accidentally draining the battery. Checking the user manual or manufacturer’s website will give you clear instructions tailored to your model, ensuring you power on your red dot sight efficiently every time.
Using Remote Switches and Alternative Power Options
Although most red dot sights power on directly via buttons or knobs, you might find remote switches and alternative power options offer added convenience and flexibility. Remote switches let you activate your sight without moving your hands off the weapon, which can be vital in fast-paced situations.
Alternative power sources ensure your sight stays functional even when primary batteries run low.
Consider these options:
- Remote pressure switches for hands-free activation
- External battery packs for extended runtime
- Rechargeable battery modules to reduce waste
- Solar-powered models for eco-friendly use
- Backup CR2032 coin cells for emergencies
Safety Tips When Operating Your Red Dot Sight
Because red dot sights enhance target acquisition and accuracy, handling them safely is essential to prevent accidents and damage.
Always confirm your firearm is unloaded before adjusting or turning on your red dot sight.
Keep the sight’s lens clean and free from debris to maintain clear visibility.
Avoid dropping or striking the sight, as impacts can misalign or damage internal components.
Store the sight in a protective case when not in use to shield it from moisture and dust.
Use the correct batteries and avoid mixing old and new ones to prevent leakage.
Finally, regularly check your sight’s zero to ensure it maintains accuracy.
And always follow firearm safety rules when operating your red dot sight to keep yourself and others safe.
Frequently Asked Questions
Can a Red Dot Sight Improve My Shooting Accuracy?
Yes, a red dot sight can improve your shooting accuracy by providing a clear aiming point, allowing you to focus on the target quickly and maintain better control, especially in fast-paced or low-light situations.
Are Red Dot Sights Waterproof or Weather-Resistant?
Imagine rain dripping off your red dot sight while you focus on your target—most sights are waterproof or weather-resistant, so you don’t have to worry. Just keep it clean and dry after wet conditions to maintain performance.
How Do I Clean and Maintain My Red Dot Sight?
You should clean your red dot sight with a microfiber cloth and lens cleaner. Avoid harsh chemicals. Regularly check the battery, tighten mounts, and store it in a dry place to maintain peak performance and longevity.
Can I Use a Red Dot Sight on Different Firearms?
Yes, you can use a red dot sight on different firearms as long as they have compatible mounting systems. Just make sure to adjust the sight’s zero for each firearm to maintain accuracy and reliability.
What Is the Typical Lifespan of a Red Dot Sight?
You can expect a typical red dot sight to last between 2,000 and 5,000 hours of continuous use, depending on battery type and quality. Proper care and battery replacement will help you extend its lifespan considerably.
Conclusion
Turning on your red dot sight is like awakening a laser-guided masterpiece of precision—once powered, you’re practically wielding the future of aiming technology. Don’t just flip a switch; ignite a game-changing tool that transforms your shooting experience. Master the controls, adjust brightness like a pro, and banish any power glitches with ease. With your red dot sight blazing, you’ll dominate every target with pinpoint accuracy and unstoppable confidence.