How To Zero Iron Sights?
To zero your iron sights, start by securely mounting your rifle and selecting a stable rest. Choose a zero distance that fits your shooting needs, like 25 or 100 yards. Look through the sights, aligning the front post centered in the rear aperture with equal light on both sides. Fire test shots, then adjust the rear sight height to move impact up or down as needed. Keep making small tweaks until your shots group tightly on target. Understanding these basics will help you master precise and consistent aiming.
Key Takeaways
- Secure the rifle on a stable rest and ensure iron sights are clean and properly installed before starting the zeroing process.
- Select an appropriate zeroing distance (e.g., 25, 50, or 100 yards) based on your shooting needs for optimal accuracy.
- Align the front sight post centered and level within the rear sight aperture while focusing on the front sight, not the target.
- Adjust the rear sight elevation incrementally: lower to raise bullet impact, raise to lower impact, and test shot groups after each change.
- Confirm consistent shot grouping around the point of aim, regularly inspect sights for stability, and re-zero as needed for maintained accuracy.
What Are Iron Sights And Why Should You Zero Them?
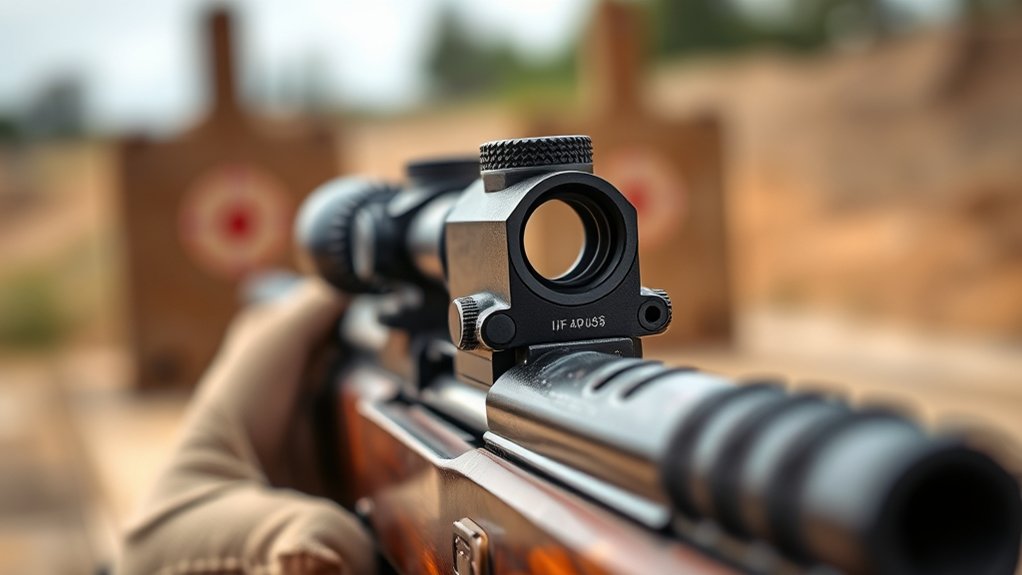
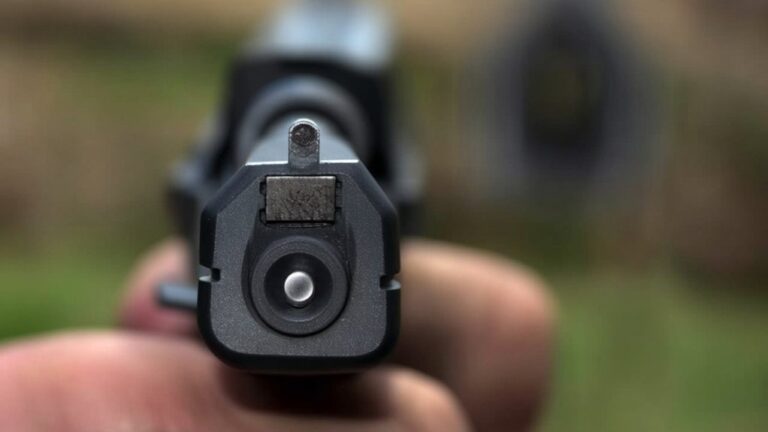
Although iron sights are a basic aiming system on many firearms, you need to understand what they’re and why zeroing them matters. Iron sights are simple, mechanical devices consisting of a front sight post and a rear sight notch or aperture. They help you align your firearm with the target without relying on optics.
Zeroing iron sights means adjusting them so your point of aim matches the bullet’s impact at a specific distance. If you don’t calibrate your sights, your shots may consistently miss the target, even if your technique is perfect.
Zeroing ensures accuracy, boosts confidence, and improves your shooting effectiveness. By properly zeroing your iron sights, you make sure every shot counts, whether you’re hunting, practicing, or defending yourself.
Getting Your Rifle Ready To Zero Iron Sights
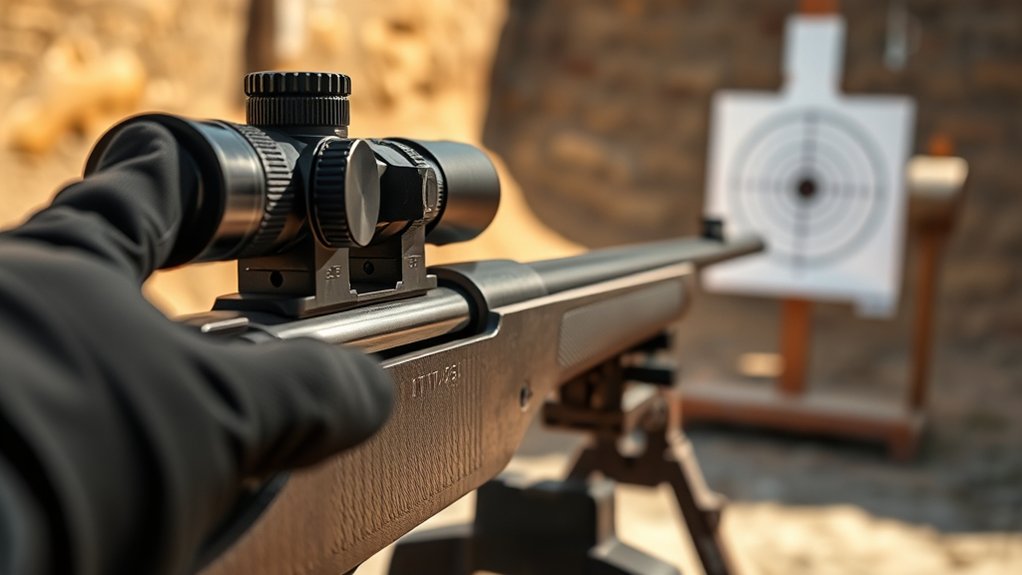
Where should you begin when preparing to zero your iron sights? Start by ensuring your rifle is clean and properly maintained. A dirty barrel or loose components can affect accuracy, so give it a thorough inspection and cleaning.
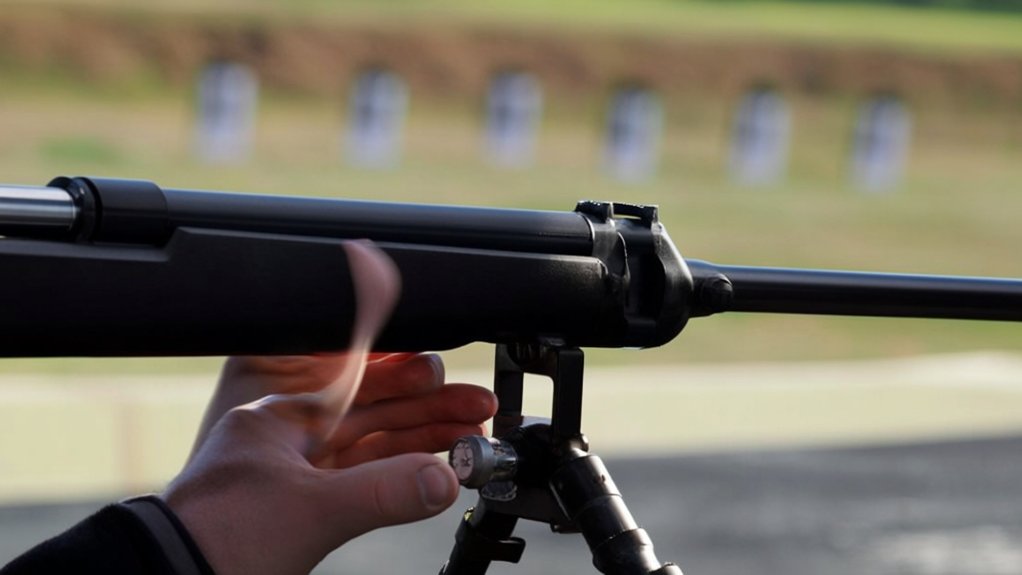
Next, securely mount your rifle on a stable rest or bipod to eliminate movement during shooting.
Confirm your iron sights are properly installed and adjusted to their midpoints, allowing room for fine-tuning.
Check that the front sight post and rear sight aperture are aligned and free of damage.
Before firing, make sure you have the appropriate ammunition and that your safety gear is ready.
Taking these preparation steps sets a solid foundation, ensuring your zeroing process is accurate and efficient.
Choosing The Right Distance To Zero Your Iron Sights
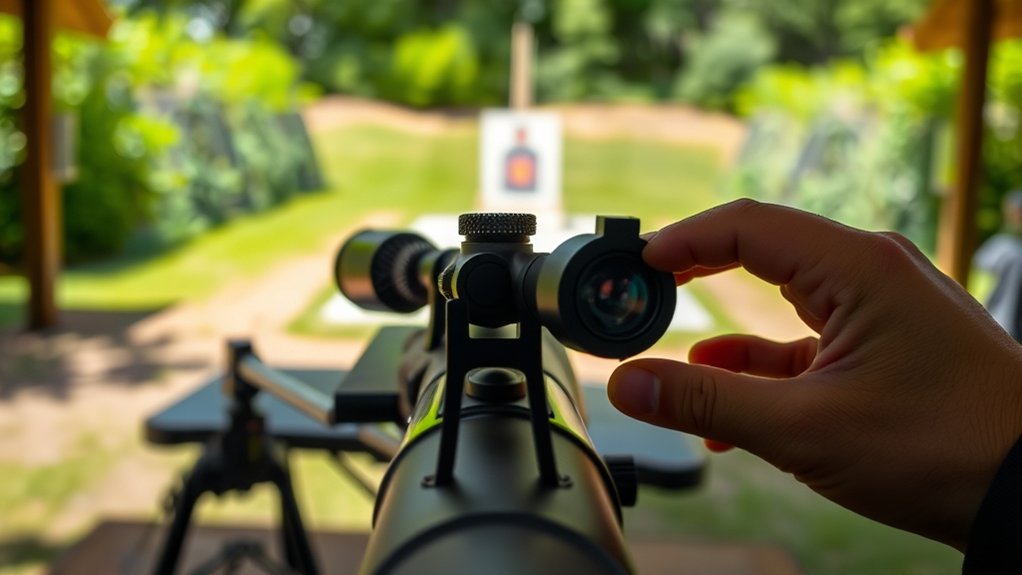
When you zero your iron sights, selecting the right distance plays a crucial role in how accurately your rifle will perform. Typically, 25 yards is a common starting point for zeroing because it offers a manageable range to make initial adjustments.
However, you should consider your shooting purpose: for close-quarters, a shorter distance like 15 yards might be better, while for longer-range targets, 50 or 100 yards could be more appropriate.
Remember, the zero distance affects where your bullet hits relative to the sights at various ranges. Choose a distance that balances your primary shooting scenarios, ensuring your point of impact aligns well with your point of aim.
This choice sets the foundation for precise shooting, so pick thoughtfully.
Setting Up A Stable Shooting Position For Zeroing
To zero your iron sights accurately, you need a solid base that keeps you steady. Align your body and rifle so everything feels natural and balanced.
Focus on minimizing movement and sway to maintain consistent shots.
Choosing A Solid Base
How do you guarantee your shots stay consistent while zeroing iron sights? You start by choosing a solid base. A stable foundation minimizes movement and helps you replicate the same shooting conditions every time. Whether you’re shooting prone, benchrest, or standing, focus on surfaces or supports that don’t shift. Use sandbags, bipods, or solid rests to enhance stability.
Here’s a quick reference for solid bases:
| Position | Recommended Base | Stability Level |
|---|---|---|
| Prone | Sandbags or bipods | High |
| Benchrest | Rifle rest or sandbags | Very High |
| Standing | Shooting sticks | Moderate |
| Kneeling | Elbow on knee support | Moderate-High |
Pick the base that suits your environment and gear for best results.
Aligning Body And Rifle
Although choosing a solid base sets the foundation, aligning your body and rifle properly guarantees you maintain a stable shooting position for zeroing.
Start by positioning your feet shoulder-width apart, with your body angled slightly toward the target. Keep your weight balanced and lean slightly forward to absorb recoil comfortably.
Bring the rifle up while keeping your head upright and eyes level with the sights. Confirm your dominant eye is aligned directly with the sight picture, and your cheek rests firmly against the stock for consistent sight alignment.
Hold the rifle firmly but don’t tense up; tension can cause fatigue.
A steady, natural stance paired with proper rifle alignment helps you achieve repeatable shots during the zeroing process, making adjustments more accurate and effective.
Minimizing Movement And Sway
When you minimize movement and sway, you increase your chances of hitting the target consistently.
Start by planting your feet firmly, shoulder-width apart, to create a solid base.
Keep your body relaxed but engaged, avoiding unnecessary tension that can cause shaking.
Use a bench or bipod if possible to stabilize your rifle further.
Control your breathing—take a deep breath, exhale halfway, and hold it while squeezing the trigger.
This reduces natural body movement.
Keep your cheek firmly against the stock to maintain a consistent sight picture.
Finally, focus on a smooth trigger pull rather than jerking or flinching, which can shift your aim.
Aligning Your Iron Sights Before You Shoot
Before you take your shot, you’ll need to make sure your iron sights are perfectly aligned. Focus on the front sight post and center it within the rear sight aperture. The top of the front sight should be level with the top of the rear sight.
Keep equal light on both sides of the front sight, creating a balanced “equal height, equal light” pattern. Don’t let the front sight dip below or rise above the rear sight’s top edge.
Maintain a clear, sharp sight picture by keeping your eye relaxed and focused on the front sight, not the target. Proper alignment guarantees your point of impact matches your point of aim, which is essential before firing.
This step sets the foundation for accurate shooting.
Taking Your First Shots To Check Your Zero
Once you’ve aligned your iron sights, it’s time to take your first shots to check your zero. Set up a target at your intended distance and fire a controlled group of three to five shots. Focus on consistent breathing and trigger control to get accurate results. After shooting, carefully inspect the group’s placement on the target. Note whether your shots hit high, low, left, or right of the bullseye.
| Shot # | Group Location | Notes |
|---|---|---|
| 1-3 | Slightly right | Keep steady trigger |
| 4-5 | Low and center | Check sight alignment |
| 6-7 | Centered | Zero looks good |
This data helps confirm if your sights are properly zeroed or if adjustments are needed.
How To Adjust Windage On Your Iron Sights
After confirming that your shots are consistently off to one side, it’s time to adjust the windage on your iron sights. Windage controls the horizontal alignment, so you’ll move the rear sight left or right to bring your point of impact in line with your point of aim.
If your shots land to the right, adjust the rear sight slightly to the right to move the impact left, and vice versa. Use a small screwdriver or the tool provided to turn the windage knob or screw incrementally.
After each adjustment, take a few shots to check the new impact point. Repeat this process until your shots group centered horizontally on the target.
How To Adjust Elevation On Your Iron Sights
Now that you’ve adjusted windage, it’s time to focus on elevation.
You’ll learn how changing the rear sight height influences your point of impact and how to test and fine-tune your adjustments.
This step guarantees your shots hit at the right height every time.
Understanding Elevation Basics
Although adjusting elevation on your iron sights might seem tricky at first, you’ll quickly get the hang of it by understanding how your sights control the bullet’s vertical impact point.
Elevation adjustments move the point of impact up or down by changing the angle at which you’re aiming. When you raise the front sight or lower the rear sight, your barrel tilts upward, causing the bullet to hit higher.
Conversely, lowering the front sight or raising the rear sight directs the barrel downward, making the bullet hit lower.
Remember, small changes can produce noticeable differences downrange, so make adjustments in precise increments.
Mastering this basic principle lets you zero your sights effectively, ensuring your shots land exactly where you intend.
Adjusting Rear Sight Height
When you adjust the rear sight height, you directly control your rifle’s elevation, which affects where your shots land vertically.
To raise your point of impact, lower the rear sight, which makes you aim higher. Conversely, raising the rear sight lowers your point of impact.
Most rear sights have a screw or a sliding mechanism for elevation adjustments. Use a proper tool or your fingers, depending on the design, and make small, deliberate changes.
After each adjustment, ensure the sight is firmly secured to maintain consistency.
Avoid large shifts in one go; incremental changes help you zero in faster.
Keep in mind that adjusting the rear sight height only affects elevation, so don’t touch it when you need to correct windage (horizontal alignment).
Testing And Fine-Tuning
Once you’ve made initial elevation adjustments, it’s time to test your iron sights by firing a group of shots at your target. Aim carefully and note where the shots land compared to your point of aim.
If the group is consistently high or low, adjust the rear sight accordingly—lower it to raise your point of impact, or raise it to lower the impact. Make small, incremental changes, then fire another group to evaluate.
Keep repeating this process until your shots cluster tightly around the bullseye. Remember, wind and distance can affect your results, so test under consistent conditions.
Fine-tuning your sights this way guarantees accuracy and confidence in your shooting, so don’t rush—patience pays off.
Common Problems That Cause Iron Sights To Go Out Of Zero
Even the most carefully zeroed iron sights can shift, and you’ll want to understand why this happens to keep your accuracy sharp. One common cause is loose sight screws or mounting hardware—vibration and recoil can gradually work them free.
Another issue is physical damage from drops or rough handling that can misalign your sights. Dirt, debris, or rust buildup can also affect sight alignment, so keeping your sights clean is essential.
Additionally, inconsistent shooting positions or improper cheek weld can make it seem like your sights are off.
Finally, changing ammunition or environmental conditions like temperature and humidity sometimes alter point of impact, making your zero appear shifted.
Being aware of these factors helps you maintain consistent accuracy.
Confirming Your Zero And Fine-Tuning Your Iron Sights
Now that you’ve zeroed your iron sights, it’s essential to verify your shot grouping for consistency.
If your shots aren’t hitting where you expect, adjust the windage and elevation accordingly.
This fine-tuning guarantees your sights stay accurate in real-world use.
Verify Grouping Consistency
Before you finalize your iron sights zero, you should verify grouping consistency by firing multiple shots at the same target point. This step guarantees your shots land closely together, confirming your sights are reliably aligned.
Aim carefully and maintain a steady shooting position for each shot. If your group is tight and centered near your point of aim, your zero is consistent.
However, if shots scatter widely, it means something’s off—whether it’s your hold, trigger control, or sights.
Consistent grouping shows you can trust your zero in real conditions. Take your time to confirm this before moving on.
This way, you avoid adjusting sights based on random shot placement, securing a solid foundation for accurate shooting.
Adjust Windage And Elevation
Once you’ve confirmed your grouping is consistent, it’s time to adjust your iron sights for windage and elevation to fine-tune your zero.
Start by determining where your shots hit relative to your target. Adjust windage to move the point of impact left or right, and elevation to move it up or down.
Keep these tips in mind:
- Turn the windage knob clockwise to shift impact right, counterclockwise for left.
- Adjust elevation by turning its knob clockwise to lower impact, counterclockwise to raise it.
- Make small adjustments, then fire a few rounds to verify changes.
Repeat this process until your point of aim and point of impact align perfectly. This ensures your iron sights are zeroed for accuracy in the field.
How To Speed Up Zeroing Your Iron Sights
Although zeroing iron sights can be a slow process, you can speed it up by focusing on consistent shooting techniques and making precise adjustments after each group of shots.
Start by shooting small groups of three to five rounds, aiming carefully each time. This approach helps you identify the exact point of impact more quickly.
Begin with small groups of three to five shots to quickly pinpoint your point of impact.
Use a stable shooting position and maintain a consistent sight picture to minimize variables.
After each group, adjust your windage and elevation based on where your shots landed relative to the target center. Avoid over-correcting; small, deliberate changes save time.
Finally, keep notes on your adjustments and results so you can track progress efficiently.
How To Maintain Your Iron Sight Zero Over Time
To keep your iron sights reliably zeroed, you need to regularly check and adjust them as conditions change. Environmental factors, recoil, and handling can subtly shift your sights over time. Stay on top of these changes to maintain accuracy.
Here’s how you can maintain your iron sight zero effectively:
- Perform routine inspections: After each shooting session, examine your sights for any movement or damage.
- Re-zero periodically: Even if your shots seem accurate, verify zero at least every few hundred rounds.
- Protect your sights: Use covers or cases during transport to prevent bumps or drops from altering your settings.
Frequently Asked Questions
Can I Zero Iron Sights on a Handgun Instead of a Rifle?
Yes, you can zero iron sights on a handgun. Just make sure you’re at a proper distance, aim carefully, and adjust the sights based on where your shots land until your point of aim matches your point of impact.
How Do Different Weather Conditions Affect Zeroing Iron Sights?
Ever tried shooting in the wind? You’ll notice it can push your bullet off course. Rain, fog, and temperature changes also affect your bullet’s path, so you’ll need to adjust your iron sights accordingly each time.
Are There Specific Tools Needed for Zeroing Iron Sights?
You don’t need many tools—just a stable rest, a target, and your firearm. A bore sighter helps, but isn’t required. Patience and good lighting matter more than fancy equipment when zeroing iron sights accurately.
Can Zeroing Iron Sights Improve Accuracy With Scopes?
Of course, zeroing iron sights magically boosts scope accuracy—if you want your scopes to perform like outdated tech. But seriously, aligning iron sights sharpens your fundamentals, which indirectly helps you trust and use scopes more effectively.
How Often Should I Re-Zero My Iron Sights After Heavy Use?
You should re-zero your iron sights after every heavy use or if you notice any shift in your point of impact. Regular checks keep your accuracy sharp, especially after rough handling, recoil, or environmental changes.
Conclusion
Zeroing your iron sights might seem like a bit of a dance, but once you get the rhythm, it’s smooth sailing. By preparing your rifle, choosing the right distance, and settling into a steady position, you’re setting yourself up for success. Remember, small tweaks keep your sights singing in tune. With practice, maintaining that perfect aim becomes second nature—turning what once felt tricky into your new shooting comfort zone.