How To Remove Glock Rear Sight?
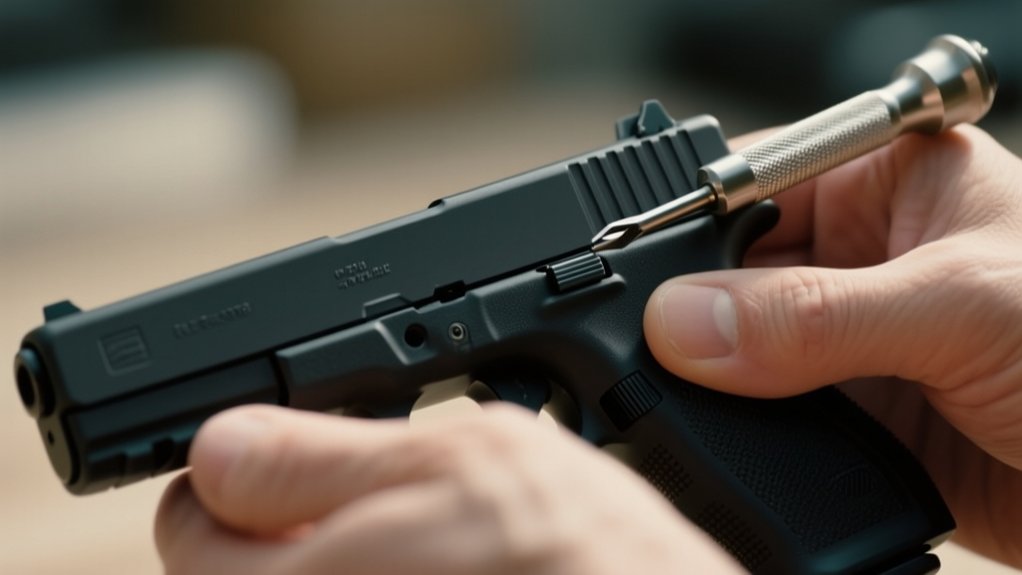
To remove your Glock rear sight, first unload and secure your firearm on a stable surface. Identify your sight type and gently heat it with a low heat source to loosen any adhesive. Use a sight pusher tool or a brass punch with careful, controlled taps to avoid damaging the slide. If it’s stuck, apply penetrating oil and be patient. After removal, you’ll find tips on installing and adjusting your new sight for precise accuracy ahead.
Key Takeaways
- Ensure the Glock is unloaded and secure the slide on a stable, non-slip surface before starting removal.
- Use a sight pusher tool designed for Glock or gently tap with a brass punch and hammer to avoid slide damage.
- Heat the rear sight evenly with a low setting heat gun or hairdryer for 1-2 minutes to loosen adhesive.
- Apply slow, steady pressure when pushing or tapping the sight to prevent scratches or bending.
- If the sight is stuck, apply penetrating oil, wait 10–15 minutes, then gently tap with a brass or nylon punch.
Tools Needed to Remove Your Glock Rear Sight
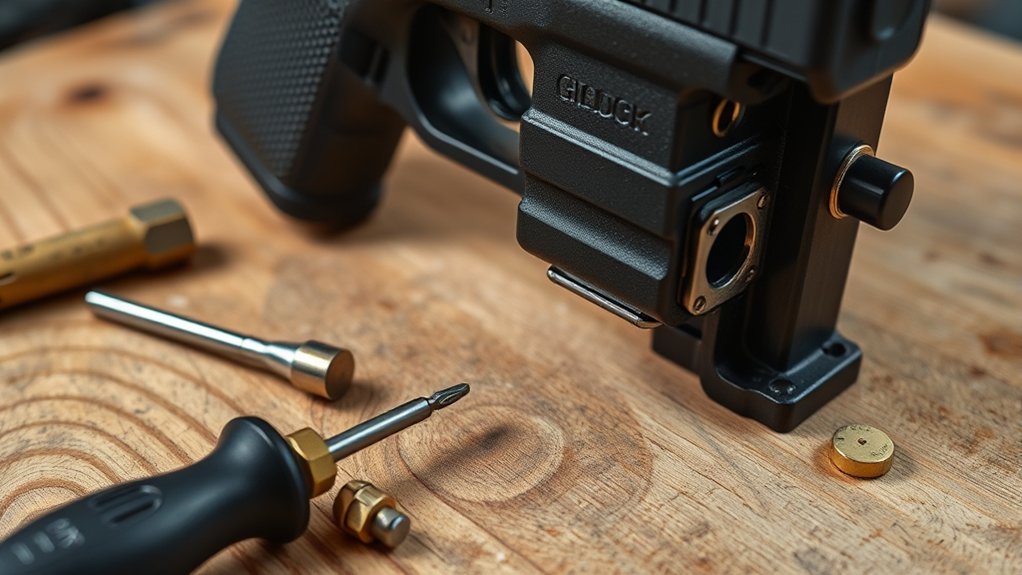
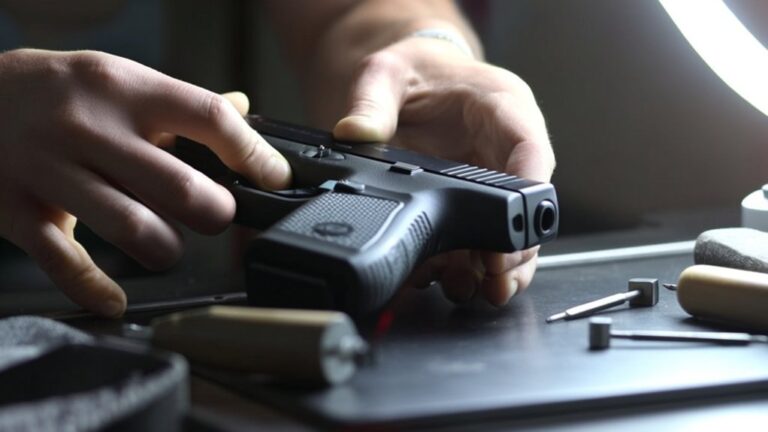
Before you begin removing your Glock rear sight, make sure you have the right tools on hand. You’ll need a sight pusher tool designed specifically for Glock models to avoid damaging the slide.
A brass punch and a small hammer are useful for gently tapping the sight out if you don’t have a sight pusher. Have a set of quality screwdrivers or Allen wrenches ready for any screws you may encounter.
Keep a soft cloth or mat nearby to protect your firearm and catch small parts. Also, having some gloves can improve your grip and protect your hands.
Having these tools ready guarantees you can work efficiently and safely, minimizing the risk of scratches or damage to your Glock during sight removal.
Safely Securing Your Glock Before You Begin
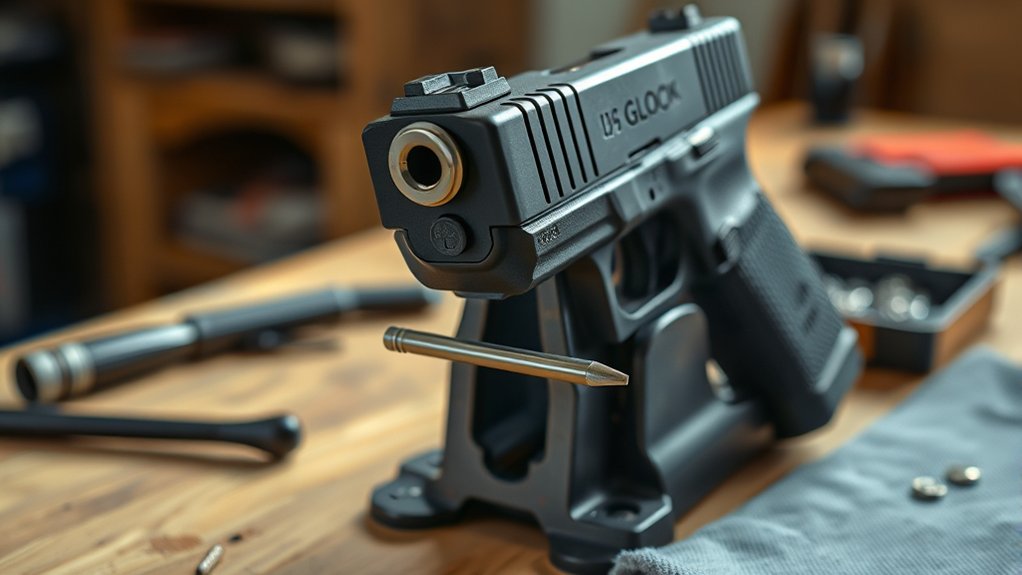
Although it might seem simple, securing your Glock properly guarantees your safety and prevents damage while removing the rear sight.
Properly securing your Glock ensures safety and prevents damage during rear sight removal.
Before you start, make sure the firearm is unloaded by removing the magazine and checking the chamber visually and physically.
Next, place your Glock on a stable, non-slip surface to avoid accidental slips or falls during the process.
Finally, use a proper gun vise or clamp designed for pistols to hold the firearm firmly without scratching or deforming it.
Remember these key steps to keep everything safe:
- Clear the chamber and magazine to eliminate any risk of accidental discharge.
- Work on a flat, secure surface to maintain control over your Glock.
- Use a dedicated gun vise for steady, damage-free handling.
Identifying Your Glock’s Rear Sight Type
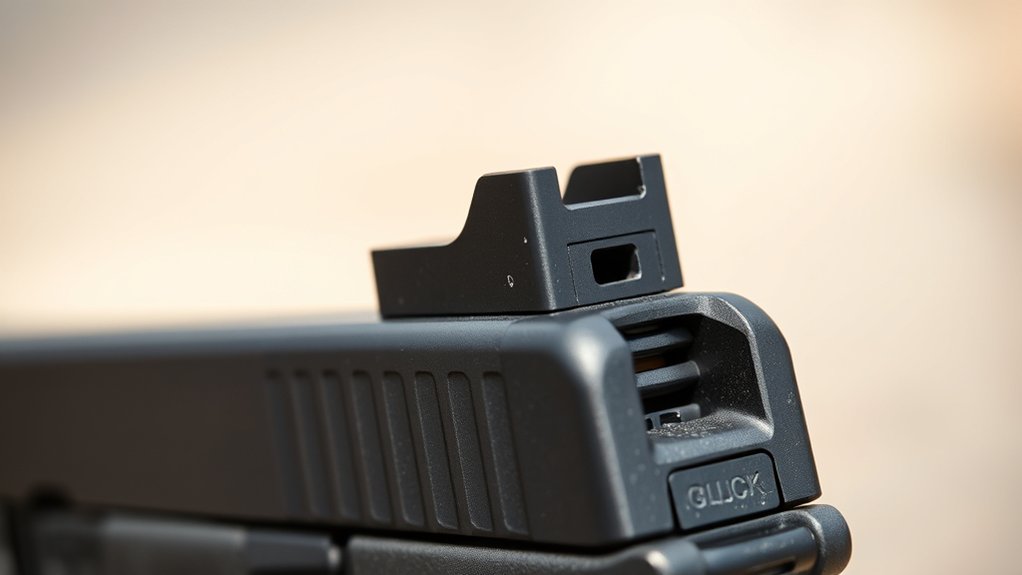
Before removing your Glock’s rear sight, you need to identify its type. Glock sights usually come in standard, night, or fiber optic variations, each with distinct visual features.
Knowing these differences helps you choose the right tools and method for removal.
Types Of Rear Sights
How can you tell which type of rear sight your Glock has? Knowing this helps you remove or replace it properly.
Glock rear sights generally fall into three categories:
- Fixed Sights: These are non-adjustable and usually simple, making removal straightforward but limiting customization.
- Drift Adjustable Sights: These allow for lateral movement to fine-tune windage. You’ll need tools like a sight pusher or punches for removal.
- Tritium Night Sights: Designed for low-light conditions, they often look similar to fixed or adjustable sights but contain glowing inserts.
Identifying your sight type lets you choose the right method and tools for removal, ensuring you don’t damage your Glock.
Each type has unique features, so be sure you know what you’re dealing with before starting.
Visual Identification Tips
When you look closely at your Glock’s rear sight, certain features will help you quickly identify its type. First, check the shape: standard sights usually have a square notch, while tactical or adjustable sights might feature a U-shaped or rounded notch.
Next, observe the material and finish—polymer sights tend to look matte and less reflective, whereas metal sights often have a glossy or matte black finish.
Also, look for any markings or screws; adjustable sights will have visible screws or windage knobs. Glow-in-the-dark or night sights often have small tritium inserts or colored dots.
Heating the Rear Sight for Easier Removal
Although the rear sight on your Glock is firmly attached, applying heat can loosen the adhesive and make removal much easier. Before you start, make sure the firearm is unloaded and take safety precautions.
Use a heat source like a hairdryer or heat gun on a low setting to avoid damaging the sight or slide. Focus the heat directly on the rear sight for about 1-2 minutes.
Remember to:
- Heat evenly to prevent warping or damage
- Avoid excessive heat that could affect the firearm’s finish or internal parts
- Use protective gloves to handle hot components safely
Heating softens the adhesive, reducing resistance when you pry or tap the sight off. This method prepares the sight for smoother, less forceful removal without risking damage.
Using a Sight Pusher Tool on Your Glock
Why struggle with prying or tapping off your Glock’s rear sight when a sight pusher tool can make the job much easier? This tool is designed to apply even, controlled pressure, allowing you to slide the rear sight off smoothly without damaging your slide.
First, securely clamp your Glock in a stable vice or holder to prevent movement. Then, position the sight pusher so its contact points rest firmly against the sight and slide.
Slowly turn the tool’s screw to push the sight laterally off the dovetail. Take your time to avoid bending the sight or marring the slide.
Using a sight pusher tool gives you precision and control, minimizing risks while making removal safer and more efficient.
Removing the Rear Sight With Hammer and Punch
If you don’t have access to a sight pusher tool, you can still remove the Glock rear sight using a hammer and punch.
First, make sure the slide is unloaded and secure it in a vise with soft jaws to avoid damage.
Ensure the slide is unloaded and firmly held in a vise with soft jaws to prevent damage.
Use a punch that fits snugly against the sight’s dovetail to prevent slipping.
Gently tap the punch with a hammer, pushing the sight out of its slot.
Remember these key points:
- Always tap lightly to control the sight’s movement.
- Work from the side opposite the direction you want the sight to move.
- Keep your hands clear to avoid injury from accidental slips.
This method requires patience but effectively removes the rear sight without specialized tools.
Tips to Avoid Damage During Rear Sight Removal
To protect your Glock during rear sight removal, make sure you use the right tools designed for the job.
Always secure the firearm firmly to prevent any slips or movement.
Apply controlled force carefully to avoid damaging the sight or slide.
Use Proper Tools
Although removing the rear sight on your Glock might seem straightforward, using the proper tools is vital to prevent damage to both the sight and the slide. Don’t rely on makeshift tools or excessive force, as they can scratch or warp components.
Instead, equip yourself with the right instruments:
- Sight pusher tool: Designed specifically to apply even pressure when sliding the sight out without damaging the slide.
- Brass or nylon punch: Softer than steel, it prevents marring the sight or slide during tapping.
- Rubber mallet: Delivers controlled taps, reducing the risk of slipping or overstriking.
Using these tools ensures a smooth removal process, protects your Glock’s finish, and keeps the sight intact for reuse or replacement.
Secure The Firearm
Before you start removing the rear sight, make sure you secure your Glock firmly to prevent any movement that could cause damage. Use a gunsmith’s vise with soft jaws or a dedicated pistol vise block to hold the slide securely without scratching or deforming it. Avoid clamping directly on the slide’s finish or delicate parts.
If you don’t have a vise, place the firearm on a non-slip mat on a stable surface to minimize shifting. Keep the firearm unloaded and remove the magazine for safety.
Properly securing the slide lets you work confidently, reducing the risk of slipping tools or accidental scratches. Taking these precautions protects your Glock and guarantees a smoother, safer rear sight removal process.
Apply Controlled Force
When you start applying force to remove the Glock rear sight, you’ll want to do so gradually and with precision to avoid damaging the slide or sight itself. Apply steady pressure rather than sudden jerks, which can cause scratches or bending. Use tools designed for sight removal, ensuring they fit properly to prevent slipping.
Remember, controlled force means knowing when to stop and reassess if the sight doesn’t budge.
Keep these tips in mind:
- Use a punch or sight pusher tool that matches the sight size
- Apply even pressure from one side to avoid tilting or uneven wear
- Work slowly, checking alignment frequently to prevent damage
This approach protects your firearm and keeps the sight intact for reuse or replacement.
Cleaning the Sight Mount After Removal
Once you’ve removed the rear sight, you’ll want to thoroughly clean the sight mount to guarantee no debris or residue affects the sight’s future performance.
Start by wiping the area with a dry cloth to remove loose dirt and metal shavings. Next, use a small brush—like a toothbrush—to scrub away any stubborn particles lodged in the grooves or corners.
Apply a bit of gun cleaning solvent to break down built-up residue, then wipe it clean with a lint-free cloth. Make sure the mount is completely dry before proceeding, as moisture can cause rust or interfere with sight installation.
Taking these steps ensures a smooth, secure fit when you reinstall or replace your Glock rear sight, maintaining accuracy and reliability.
Troubleshooting a Stuck Rear Sight
If your Glock rear sight refuses to budge, you’re likely dealing with a stuck sight caused by corrosion, debris, or overtightened screws. To troubleshoot effectively, start by evaluating the sight’s condition and the cause of the resistance.
Here’s what you can do:
- Apply a penetrating oil around the sight base and let it sit for 10–15 minutes to loosen corrosion.
- Use a nylon or brass punch with a hammer to gently tap the sight, avoiding damage to the slide.
- Check if the sight screw is overtightened; carefully back it out with the correct screwdriver or sight tool.
Don’t force the sight off, as this can damage your slide. Patience and the right tools make all the difference in freeing a stuck Glock rear sight.
Replacing Your Glock Rear Sight
Although removing the rear sight can be challenging, replacing your Glock rear sight is a straightforward process if you have the right tools and follow the steps carefully.
First, clean the sight dovetail and slide to ensure no debris interferes with the fit.
Next, align the new rear sight with the dovetail on the slide.
Use a sight pusher tool or a brass punch and hammer to gently tap the sight into place, making sure it seats evenly without tilting.
Avoid applying excessive force to prevent damage.
Once the sight is secure, double-check that it’s firmly seated and flush with the slide.
Your Glock is now ready with a new rear sight, setting the stage for an improved shooting experience.
Adjusting Your New Rear Sight for Accuracy
Now that your new rear sight is installed, you’ll want to fine-tune it for accuracy.
Start by adjusting the windage to move your point of impact left or right.
Then, calibrate the elevation to guarantee your shots hit at the right height.
Windage Adjustment Techniques
When you adjust the windage on your Glock’s rear sight, you’ll fine-tune the horizontal alignment to make certain your shots hit their mark. Start by loosening the windage screw slightly so the sight can move smoothly.
Then, use a small tool or the provided adjustment tool to shift the rear sight left or right, depending on where your shots are grouping. Remember, small movements make a big difference.
Here’s how to approach it:
- Fire a group of shots to identify the horizontal deviation.
- Adjust the sight incrementally toward the side opposite the shot group.
- Test again and repeat until your point of impact aligns with the point of aim.
This process guarantees your Glock’s accuracy is dialed in perfectly.
Elevation Calibration Methods
After you’ve fine-tuned the windage on your Glock’s rear sight, the next step is to modify the elevation to guarantee your shots hit at the correct height. Elevation calibration usually involves moving the rear sight up or down.
To raise the point of impact, lower the rear sight; to lower it, raise the sight. Use a sight adjustment tool or a small punch to carefully tap the sight in the desired direction. Always make small, incremental adjustments, then test your aim at the range.
Remember, elevation changes affect bullet trajectory vertically, so consistent testing is key. Adjust, shoot, and repeat until your group centers perfectly at your target’s bullseye.
This precise calibration will maximize your Glock’s accuracy and performance.
Maintaining Your Glock After Sight Replacement
Though replacing your Glock’s rear sight enhances accuracy, maintaining it properly guarantees consistent performance and longevity. After installation, regularly check the sight for tightness and alignment to avoid shifts during use.
Clean the sight and slide area to prevent debris buildup, which can affect sight picture and firearm function.
Finally, store your Glock in a dry, secure place to minimize corrosion and damage.
Here’s what you should do:
- Inspect and tighten screws or set screws periodically.
- Use a soft brush or cloth to remove dirt and residue.
- Apply a light coat of lubricant on metal parts, avoiding the sight lenses.
These steps help you keep your Glock ready and accurate every time you shoot.
When to Get Professional Help Removing Your Rear Sight
Maintaining your Glock after replacing the rear sight helps guarantee it stays accurate and reliable, but removing the rear sight itself can be tricky. If you’re unsure about the process or lack the right tools, it’s best to seek professional help.
Avoid forcing the sight off, as this can damage the slide or sight dovetail. Also, if the sight feels stuck due to corrosion or previous improper installation, a gunsmith has the expertise to safely remove it without causing harm.
Don’t attempt removal if you’re worried about misalignment or damaging your firearm’s finish. Professionals can ensure the sight is removed cleanly and prepare your Glock for a new sight installation, saving you time and potential costly repairs.
Frequently Asked Questions
Can I Use a Blowtorch Instead of a Heat Gun to Remove the Sight?
You shouldn’t use a blowtorch instead of a heat gun; it’s too intense and can damage your Glock. A heat gun provides controlled heat, making sight removal safer and more precise without risking damage or injury.
How Long Does the Rear Sight Removal Process Typically Take?
You’ll find the process usually dances between 10 to 20 minutes. If you’re gentle and patient, you won’t rush; instead, you’ll carefully coax the sight free, making sure everything stays smooth and flawless.
Will Removing the Rear Sight Affect My Glock’s Warranty?
Yes, removing your Glock’s rear sight can void the warranty since it involves modifying the firearm. You should check Glock’s official policy or consult an authorized dealer before making any changes to avoid losing warranty coverage.
Are There Specific Brands of Rear Sights Recommended for Glock Pistols?
You’ll find Trijicon, AmeriGlo, and Meprolight are popular rear sight brands for Glock pistols. They offer durability and improved visibility, ensuring you get reliable performance and quick target acquisition every time you shoot.
Can I Reuse the Old Rear Sight After Removal?
You can reuse the old rear sight if it’s undamaged, like a well-worn book you might revisit. Just make sure it still fits snugly and aligns properly; otherwise, it’s better to replace it for accuracy.
Conclusion
So, removing your Glock’s rear sight isn’t exactly a walk in the park—if it were, everyone would do it blindfolded. But with the right tools, a bit of patience, and maybe some heat, you’ll have it off before you know it. Just remember, if it feels like you’re trying to wrestle a grizzly bear, don’t hesitate to call a pro. Sometimes, the “easy DIY” isn’t so easy after all!