How Do You Sight In A Crossbow Scope?
To sight in your crossbow scope, start by securely mounting the crossbow on a stable rest and pick a typical distance, like 20-30 yards. Fire several bolts, then adjust the windage and elevation turrets based on where your shots land relative to the bullseye. Use consistent bolts and settings throughout to guarantee accuracy. Make small adjustments, verifying your grouping after each. Following these steps will give you a solid zero and improve your shooting confidence, with more tips to enhance precision.
Key Takeaways
- Use a stable rest and identical bolts to ensure consistent shooting conditions during scope sighting.
- Start zeroing at 20-30 yards by shooting groups and adjusting windage and elevation turrets accordingly.
- Make small, deliberate scope adjustments after analyzing shot group placement relative to the bullseye.
- Account for environmental factors like wind and lighting when sighting in the scope for accuracy.
- Regularly check scope mounting and re-sight after transport or rough handling to maintain accuracy.
Essential Gear and Setup Before Sighting In Your Crossbow Scope
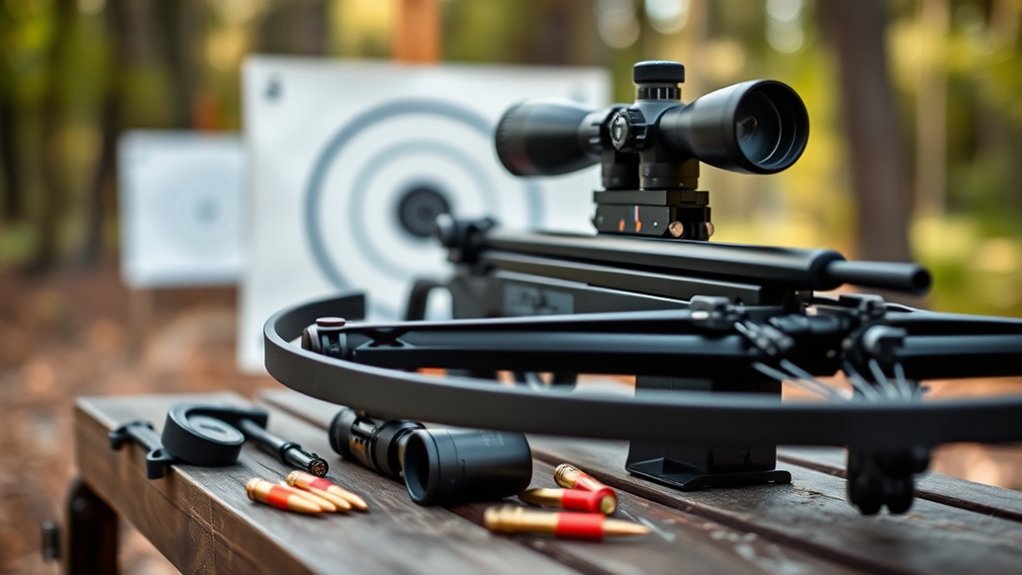
Before you start sighting in your crossbow scope, make sure you have the right gear and a proper setup. You’ll need a stable shooting rest or sandbags to steady your crossbow, guaranteeing consistent shots.
Bring several bolts that match your crossbow’s specifications to maintain accuracy during sighting. Don’t forget a target designed for crossbow use, placed at a known distance—usually 20 to 30 yards for initial zeroing.
Use bolts matching your crossbow and a target at 20 to 30 yards for precise initial zeroing.
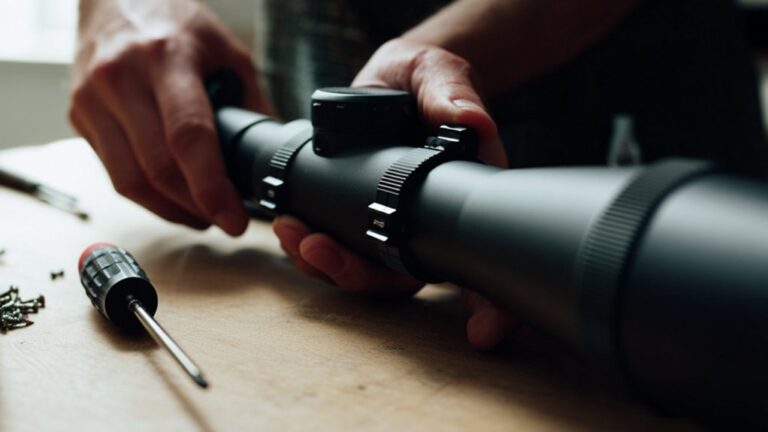
A reliable measuring tape or rangefinder helps confirm that distance precisely. Also, have a screwdriver or Allen wrench handy to adjust your scope’s turrets.
Finally, wear safety glasses and ensure you’re in a safe, controlled environment where no one can accidentally walk into your shooting lane. With these essentials, you’ll be ready to sight in your scope effectively.
Set Up Your Crossbow Safely Before Zeroing
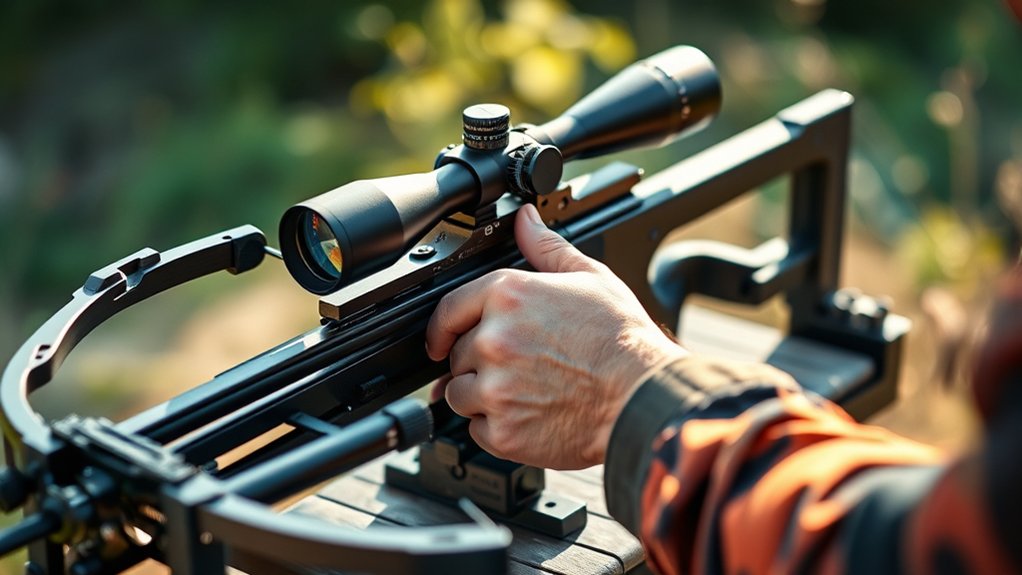
Before you start zeroing your crossbow scope, make sure you follow a safety precautions checklist to prevent accidents.
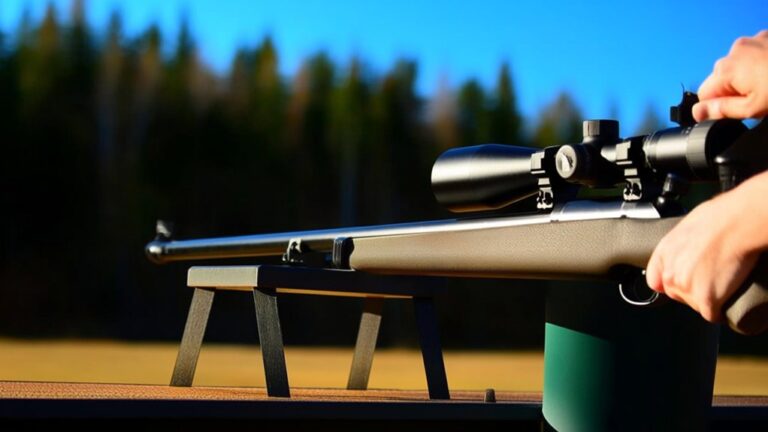
Position your crossbow securely on a stable rest or bench to keep it steady.
Taking these steps will help you sight in accurately and safely.
Safety Precautions Checklist
Although setting up your crossbow scope might seem straightforward, taking essential safety precautions guarantees you prevent accidents and protect both yourself and others. Before you start zeroing in, follow this safety checklist to assure a secure setup.
- Inspect your crossbow thoroughly. Check for any damage or loose parts that could affect performance or safety.
- Choose a safe shooting area. Make sure your target is backed by a proper safety net or a clear, unobstructed space to catch stray bolts.
- Engage the safety mechanism. Always keep the safety on until you’re fully ready to shoot to avoid accidental firing.
Proper Crossbow Positioning
When you set up your crossbow for zeroing, make certain you position it steadily and comfortably to guarantee accurate adjustments. Begin by placing your crossbow on a stable shooting rest or sandbags to minimize movement. Keep the crossbow level and aligned with the target to avoid skewed shots.
Ensure your shooting area is clear and safe before you start. Sit or stand in a natural shooting stance that you’ll use consistently, so your zero remains reliable. Avoid gripping the crossbow too tightly, as this can cause slight shifts in aim.
Take your time to adjust your positioning until you feel stable and relaxed. Proper setup minimizes errors and helps you sight in your scope effectively.
Why Consistent Bolts and Settings Matter for Accuracy
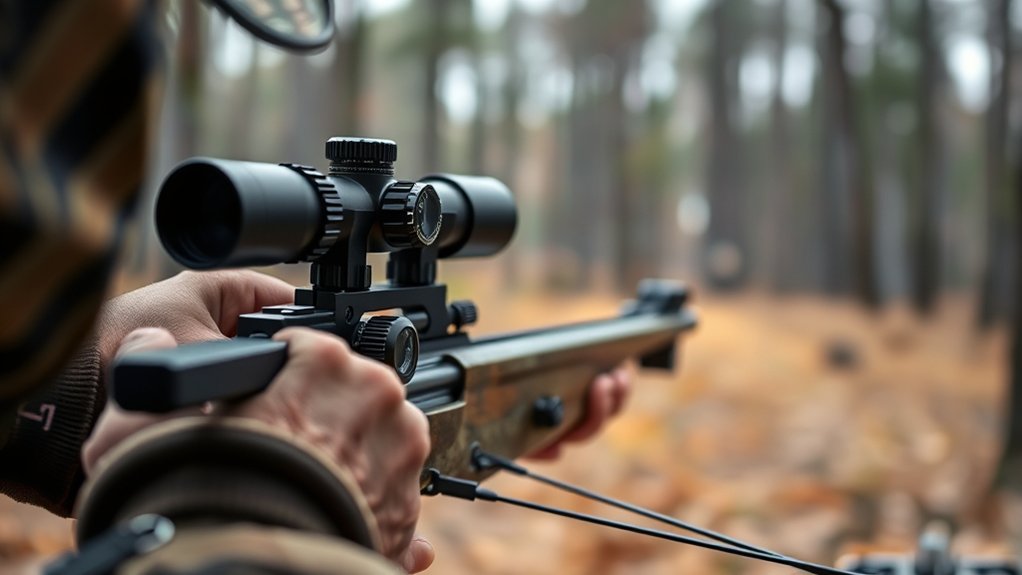
Consistency plays a crucial role in achieving accuracy with a crossbow scope because even minor variations in bolts or settings can throw off your shot.
When you rely on consistent equipment and settings, you reduce variables that affect where your bolt lands. To keep your shots precise, focus on:
- Using the same type and weight of bolts every time
- Maintaining identical scope and crossbow settings during each shot
- Ensuring consistent draw length and trigger pressure
If you mix different bolts or change scope adjustments without re-sighting, your accuracy will suffer. Sticking to consistent gear and settings creates a reliable baseline, making it easier to diagnose issues and trust your shots.
This foundation is key to getting the most out of your crossbow and scope.
Choosing the Right Distance for Sighting In Your Crossbow Scope
You’ll want to start by picking a common sighting distance, like 20 or 30 yards, that matches your typical shooting range.
The distance you choose affects your crossbow’s accuracy, so adjusting your scope to your hunting range is key.
Common Sighting Distances
How far should you set your crossbow scope for the best results? Choosing the right sighting distance depends on your typical shooting scenarios. Here are common distances to consider:
- 20 yards: Ideal for close-range hunting, giving you quick target acquisition.
- 30-40 yards: A versatile range for most hunting conditions, balancing accuracy and practicality.
- 50 yards or more: Useful if you often take longer shots, but requires more precise adjustments.
Start by zeroing your scope at a distance matching your usual shots. This ensures your crossbow performs optimally where it matters most.
Distance Impact on Accuracy
Although selecting the right sighting distance might seem straightforward, it directly affects your crossbow’s accuracy and effectiveness in the field.
When you sight in at too close a range, your shots may group tightly but won’t reflect real hunting conditions, leading to missed targets at longer distances.
Conversely, choosing a distance that’s too far can make initial adjustments tricky and less precise.
Ideally, pick a distance that matches where you expect most of your shots to occur—commonly around 20 to 30 yards for typical hunting scenarios.
This balance helps your scope’s reticle align more accurately with your bolt’s trajectory, reducing guesswork.
Adjusting For Hunting Range
Where should you set your crossbow scope to guarantee the best performance in the field? You want to zero your scope at a distance that matches your typical hunting range. This guarantees your shots are accurate when it matters most.
Most hunters sight in at 20 to 30 yards, but adjusting for your specific range is key. Consider these factors:
- Common hunting distances: Match your zero to where you expect most shots—often 20-40 yards.
- Crossbow bolt trajectory: Understand how your bolts drop over distance to adjust your scope properly.
- Hunting environment: Dense woods or open fields impact how far you’ll shoot, influencing your zero distance.
Using a Stable Rest for More Accurate Shots
When you use a stable rest, you’ll reduce movement and improve your shot accuracy considerably. A steady platform helps keep your crossbow perfectly aligned, minimizing unwanted shifts that throw off your aim.
Set your crossbow on a bench rest, sandbags, or a dedicated shooting rest to lock it in place. Make certain your rest is level and secure before taking your shot.
This stability lets you focus on fine-tuning your scope adjustments without worrying about hand tremors or shifting weight. Using a stable rest also makes it easier to replicate consistent shooting positions, which is essential when sighting in your scope.
How to Shoot Groups and Analyze Your Impact Points
Once your crossbow is securely rested and stable, the next step is to shoot groups and analyze where your bolts land. Shooting groups means firing several bolts at the same target area to evaluate consistency and pinpoint your impact points.
Start by aiming at the bullseye and firing 3 to 5 bolts without adjusting your scope. Then, observe the pattern of your shot group. Here’s what to look for:
- Are your bolts clustering tightly or spreading wide?
- Is the group centered on the target or off to one side?
- Are impacts consistently high, low, left, or right?
This analysis helps you understand your crossbow’s performance and your shooting habits before making any scope adjustments.
Adjust Windage and Elevation on Your Crossbow Scope
Before making any adjustments, you’ll want to understand how windage and elevation affect your crossbow scope’s aiming point. Windage controls the horizontal alignment, letting you move your reticle left or right to compensate for wind or shooting inconsistencies.
Elevation adjusts the vertical alignment, moving the reticle up or down to match your arrow’s drop at different distances.
Start by shooting a group at your target and note where the arrows hit relative to the bullseye. Use the windage turret to shift the reticle toward the group’s center horizontally.
Then, adjust the elevation turret to raise or lower the reticle until your shots consistently hit the target’s center vertically. Make small, deliberate adjustments in clicks, and always confirm your changes by shooting additional groups.
Fine-Tune Your Scope After Initial Adjustments
Now that you’ve made your initial adjustments, it’s time to fine-tune your scope by adjusting for windage.
You’ll want to confirm your zero at the distance you plan to shoot to guarantee accuracy.
Taking these steps will help you hit your target consistently.
Adjust for Windage
Although you’ve already made the initial adjustments to your crossbow scope, you’ll need to fine-tune the windage to guarantee your shots stay true. Windage adjustments compensate for horizontal drift caused by wind or slight misalignment, ensuring your bolt hits the target dead center.
To adjust windage effectively, follow these steps:
- Observe your shot placement: Note whether your bolt hits left or right of the bullseye.
- Turn the windage turret: Adjust the scope’s windage knob in small increments toward the direction you want your shot to move.
- Test and repeat: Fire a few bolts after each adjustment to see if your shots align better with the target’s center.
Confirm Zero at Distance
Once you’ve adjusted your windage, it’s time to verify your zero at the distance you plan to shoot. Take several shots from a stable rest to confirm consistency. Pay close attention to where your bolts land relative to your aiming point.
If your group is off-center, make small adjustments to your elevation and windage knobs. Keep testing and tweaking until your shots consistently hit your target dead center.
Remember, environmental factors like wind and light can affect accuracy, so consider testing in conditions similar to your typical hunting or shooting scenario.
Confirming zero at your intended distance ensures your crossbow performs reliably when it counts, giving you confidence in every shot. Don’t rush—take your time to fine-tune your scope for the best results.
How Weather and Lighting Affect Your Sight-In Process
Because weather and lighting conditions can shift quickly, they play a crucial role in how you sight in your crossbow scope. You need to account for these changes to guarantee accuracy in real hunting situations.
Weather and lighting changes are key factors to consider when sighting in your crossbow scope for accurate hunting.
Wind can push your bolt off course, so always sight in on a calm day or compensate for breeze.
Lighting affects how clearly you see your target and your reticle, so adjust your scope’s brightness accordingly.
Keep these tips in mind:
- Wind: Check for gusts and aim slightly upwind if necessary.
- Light: Use bright, overcast, or low-light settings to simulate hunting conditions.
- Temperature: Cold air can affect bolt speed and trajectory, so sight in at similar temperatures to when you hunt.
Adjusting for weather and lighting improves your shot confidence and consistency.
Troubleshooting Common Sight-In Problems
When you start sighting in your crossbow scope, you might encounter issues like inconsistent grouping, scope misalignment, or unexpected bolt drop.
If your shots scatter, check that your bolts are consistent in weight and fletching, and make sure your crossbow is properly cocked each time.
For scope misalignment, verify the scope mounts are tight and aligned; even slight shifts can cause big errors.
If bolts hit lower or higher than expected, adjust your elevation and windage knobs gradually, shooting between adjustments.
Also, confirm your target distance matches your scope’s settings.
Finally, inspect your crossbow and scope for damage or loose parts, as these can affect accuracy.
Patience and methodical adjustments will help you overcome most sight-in problems.
Keep Your Crossbow Scope Zeroed in the Field
How do you maintain your crossbow scope’s accuracy after sighting in? Keeping it zeroed in the field requires a few simple habits.
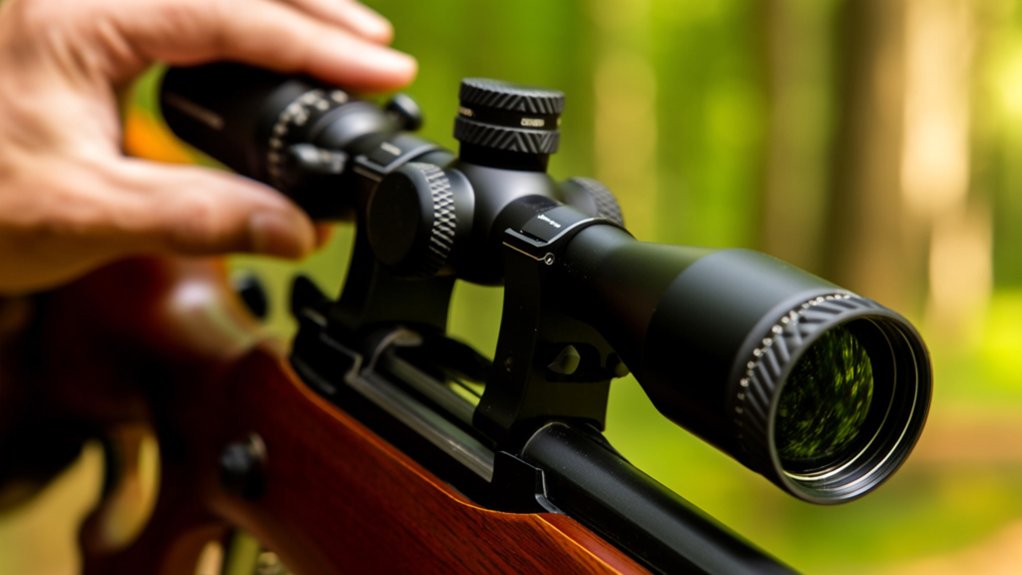
First, always handle your crossbow gently—avoid bumps or drops that can shift the scope. Next, check your scope’s mounting screws regularly; vibrations from shooting can loosen them over time.
Handle your crossbow with care and regularly tighten mounting screws to keep your scope precise.
Finally, clean the lenses carefully to maintain a clear sight picture, using a soft cloth and lens cleaner.
Here are three essential tips to keep your scope zeroed:
- Secure your crossbow during transport to prevent jostling.
- Perform a quick target check before each hunting session.
- Store your crossbow in a stable, dry place when not in use.
These steps help assure your shots stay accurate when it counts.
When and How to Re-Sight Your Crossbow Scope
If your shots start to stray from the target despite careful handling, it’s time to re-sight your crossbow scope. Changes in weather, bolt weight, or even minor bumps can throw off your zero. To re-sight, set up a target at your usual distance, shoot a group, then adjust the windage and elevation knobs accordingly.
Here’s a quick guide to help you through the process:
| Step | Action |
|---|---|
| 1. Confirm Setup | Secure your crossbow on a rest |
| 2. Shoot Group | Fire 3-5 bolts at target |
| 3. Adjust Scope | Move scope knobs to center hits |
| 4. Verify Zero | Shoot another group to confirm |
Repeat as needed until your shots land consistently on target.
Frequently Asked Questions
What Types of Crossbow Scopes Are Best for Beginners?
You’ll want to choose a simple, fixed magnification scope with clear reticles for beginners. Look for scopes with easy adjustments, good light transmission, and durability. That way, you’ll quickly improve your accuracy without getting overwhelmed.
How Do Different Bolt Materials Affect Shooting Performance?
Different bolt materials affect your shooting by changing weight, durability, and flight stability. Carbon bolts are lightweight and accurate, aluminum offers balance, while steel is heavier but durable. Choose based on your shooting style and target needs.
Can You Sight in a Crossbow Scope Indoors?
You can sight in a crossbow scope indoors, but keep in mind 70% of hunters report better accuracy after outdoor adjustments. Indoor setups limit distance, so start close, then fine-tune outdoors for precise long-range shots.
What Maintenance Does a Crossbow Scope Require?
You’ll need to keep your crossbow scope clean by wiping lenses with a microfiber cloth, check for loose screws regularly, avoid exposing it to extreme weather, and store it safely to prevent damage and maintain accuracy over time.
How Does Crossbow Draw Weight Influence Scope Accuracy?
Your crossbow’s draw weight affects scope accuracy because higher draw weights produce faster arrows with less drop, making your shots more precise. Lighter draw weights cause slower arrows, requiring more scope adjustment for accuracy.
Conclusion
Sighting in your crossbow scope might feel like trying to hit a bullseye on the moon, but with patience and the right steps, you’ll nail it every time. Remember, consistency and stability are your best friends, and don’t forget to adjust for weather and lighting. Keep your scope zeroed, and you’ll be ready for anything the field throws at you. Stay sharp, and your accuracy will soar beyond your wildest expectations!