How to Adjust a Rifle Scope in 7 Simple Steps
To adjust your rifle scope in seven simple steps, first identify key parts like the turrets, eyepiece, and objective lens. Then, set up a stable shooting position and a clear target. Adjust your reticle for proper eye relief and alignment, keeping it centered and clear. Next, zero your scope by fine-tuning windage and elevation turrets with small adjustments. Avoid common mistakes like overcorrecting, and use test shots to fine-tune accuracy. Keep going to discover tips for long-term scope maintenance and troubleshooting.
Identify Your Rifle Scope’s Parts and Adjustments
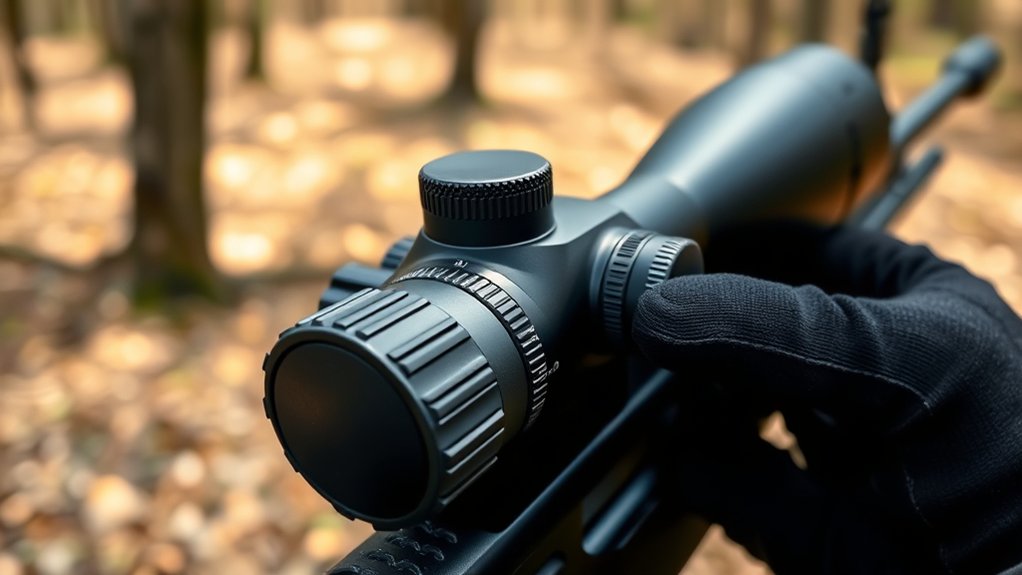
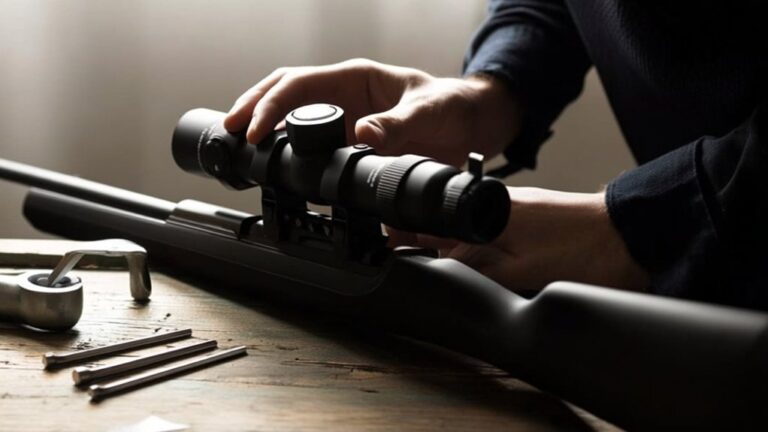
Before you begin adjusting your rifle scope, you need to familiarize yourself with its key parts and how they function. You’ll notice the main tube, which houses the lenses and internal mechanisms. The eyepiece lets you focus the reticle for a clear sight picture.
The objective lens at the front gathers light, affecting brightness and clarity. On top and the sides, you’ll find the turrets—usually labeled for windage (left-right) and elevation (up-down) adjustments.
Some scopes also have a parallax adjustment knob to guarantee the reticle stays aligned with your target at varying distances.
Understanding these parts helps you make precise adjustments confidently. Take a moment to inspect your scope closely before you start tweaking any settings.
Set Up a Stable Shooting Position and Target for Accuracy
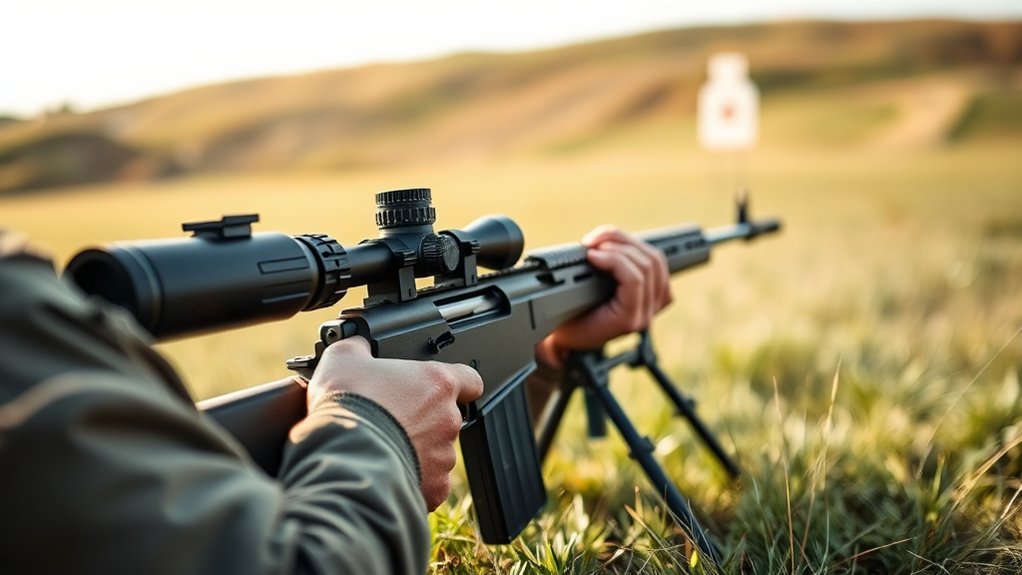
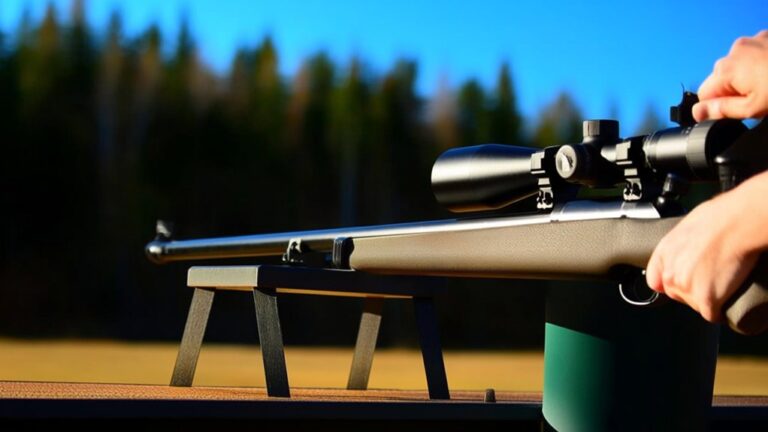
Once you understand your rifle scope’s parts and how to adjust them, you’ll want to focus on setting up a stable shooting position and selecting a target that guarantees accuracy. Stability minimizes movement, helping your shots hit their mark consistently. Choose a flat, solid surface to rest your rifle or use a shooting rest or bipod. Position your body comfortably, keeping your elbows tucked in for extra support.
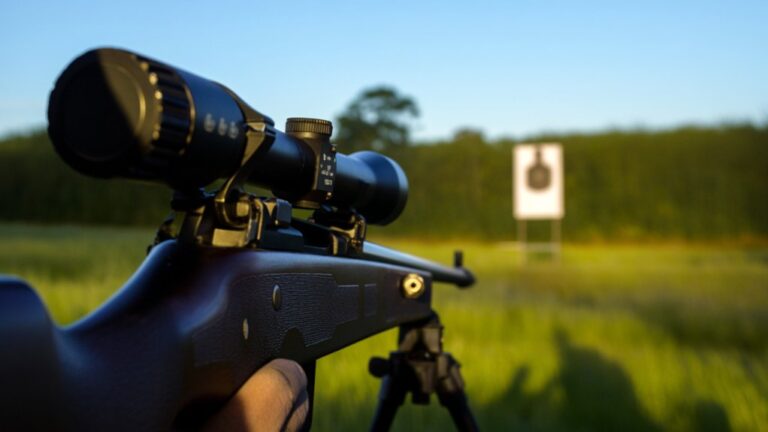
Selecting the right target is just as vital. Opt for a clear, well-defined target at a distance suitable for your shooting skill and scope capabilities.
| Shooting Position | Target Selection |
|---|---|
| Use a bench or bipod | Choose high-contrast targets |
| Keep elbows tight | Ensure target size matches range |
| Maintain consistent posture | Position target at a realistic distance |
Adjust Your Reticle for Proper Eye Relief and Alignment
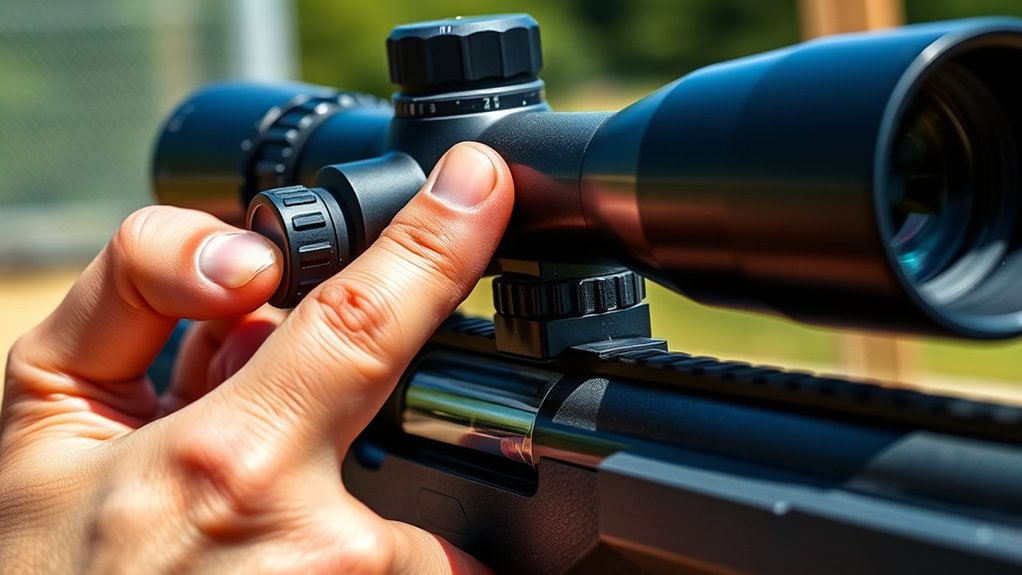
Adjusting your reticle for proper eye relief and alignment guarantees you get a clear sight picture and avoid scope shadowing or injury from recoil.
First, position your eye at the recommended distance from the scope—usually 3 to 4 inches—to prevent a blurry or dark image.
Next, center the reticle within your field of view by adjusting the scope forward or backward until the entire reticle is visible without distortion.
Finally, confirm the reticle is level by rotating the scope or adjusting the mounting rings; a tilted reticle can cause aiming errors.
Follow these steps:
- Set eye relief distance for a full, clear view.
- Align reticle centrally in your sight picture.
- Level the reticle to avoid aiming inconsistencies.
This setup improves accuracy and comfort before zeroing your scope.
How to Zero Your Scope: Adjust Windage and Elevation
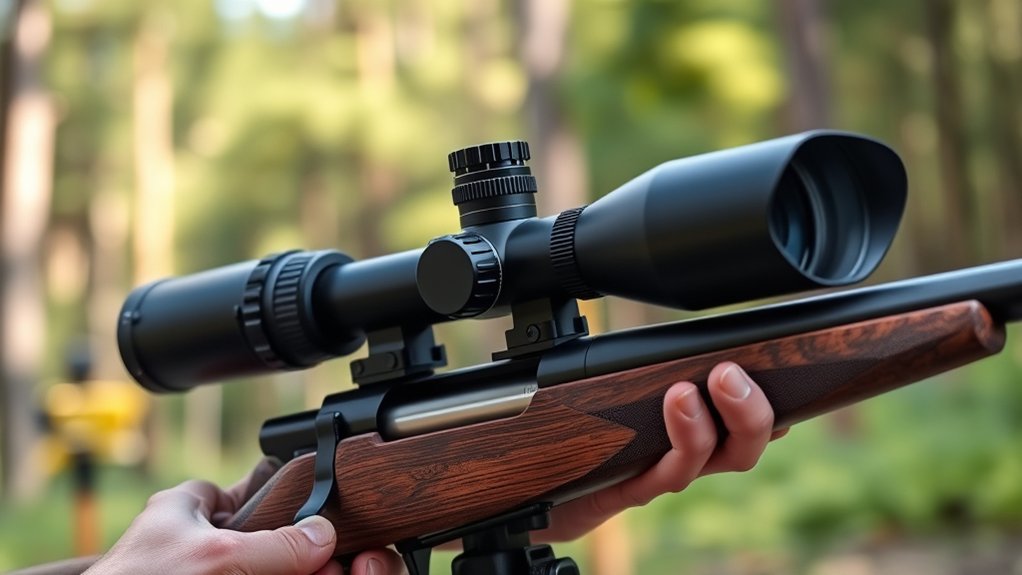
Now that your reticle is aligned, it’s time to zero your scope by adjusting windage and elevation.
You’ll need to fine-tune the horizontal (windage) and vertical (elevation) settings to match your point of impact.
This guarantees your shots land exactly where you aim.
Windage Adjustment Basics
Although it might seem tricky at first, mastering windage adjustment is essential for accurate shooting. Windage controls the horizontal alignment of your rifle scope, compensating for left or right shifts caused by wind or rifle setup.
To adjust windage effectively:
- Identify the drift – Fire a group of shots and note if they consistently hit left or right of the target center.
- Locate the windage turret – It’s usually on the side of your scope and marked with directional arrows.
- Make precise adjustments – Turn the turret in small increments toward the direction you want the bullet to move on the target (right or left).
Elevation Setting Techniques
Where should you start when zeroing your scope? Begin by setting your elevation turret to its mid-point or the zero mark. This gives you room to adjust up or down as needed.
Next, shoot a group at your target distance—usually 100 yards—and observe where the bullets hit relative to the bullseye. If your shots land low, turn the elevation knob clockwise to raise the point of impact; if they land high, turn it counterclockwise to lower it.
Make small adjustments, typically in ¼ or ½ MOA increments, and fire another group to confirm changes. Repeat this process until your shots consistently hit the bullseye.
Common Mistakes to Avoid When Adjusting Your Scope
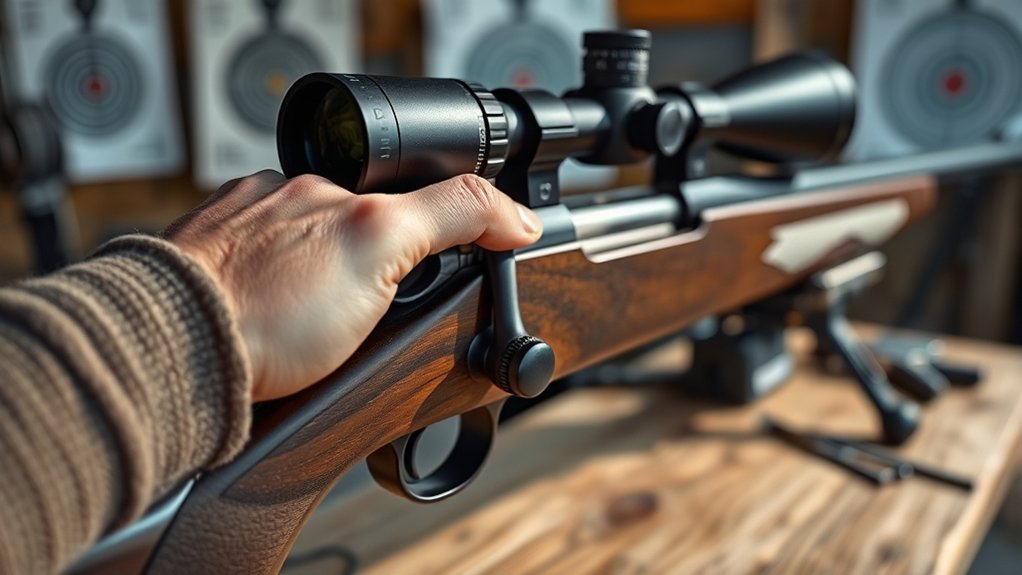
When adjusting your scope, don’t overcorrect and make too many big changes at once.
You also can’t skip proper zeroing, or your shots won’t be accurate.
Avoiding these mistakes will help you get the most out of your scope.
Overcorrecting Adjustments
If you make too large a change to your scope settings at once, you risk overcorrecting and missing your target even more. Instead of making big jumps, adjust gradually to see how each change affects your shot.
Remember these points to avoid overcorrecting:
- Make Small Adjustments: Change your scope settings in small increments, like 1/4 or 1/2 MOA at a time, to maintain control.
- Test Between Adjustments: Fire a shot and observe the impact before tweaking further. This helps you understand how each change shifts your point of impact.
- Avoid Frustration: Don’t rush the process. Overcorrecting often happens when you try to fix your aim too quickly, leading to inconsistent results.
Ignoring Proper Zeroing
Adjusting your scope carefully helps prevent overcorrecting, but skipping proper zeroing can undo all that effort.
When you ignore zeroing, you’re fundamentally working without a reliable baseline. Without confirming your scope is zeroed at a known distance, every adjustment you make is guesswork. This leads to inconsistent shot placement and frustration.
Before making any changes, always verify your rifle is properly zeroed using quality targets and a stable rest. Zeroing sets your scope’s reference point, so your adjustments correspond accurately to where your bullets hit.
Don’t rush this step; it’s vital for precision and confidence in the field. By taking the time to zero correctly, you’ll avoid wasted ammo and improve your shooting accuracy dramatically.
Fine-Tune Your Scope With Test Shots and Troubleshooting
Before making permanent changes, you’ll want to take a series of test shots to see how your scope performs at different distances. This helps you identify exactly where adjustments are needed. Follow these steps:
- Shoot three rounds at a target from a set distance, noting where your shots land compared to the bullseye.
- Adjust the elevation and windage turrets based on your shot grouping—move the reticle in the direction you want the point of impact to shift.
- Repeat shooting and adjusting at varying distances to ensure consistency.
If your shots are still off after adjustments, check for loose mounts, parallax settings, or lens clarity.
Fine-tuning with test shots guarantees your scope’s accuracy before you head out for serious shooting.
Perform Routine Scope Maintenance for Long-Term Accuracy
While regular adjustments keep your scope accurate, performing routine maintenance guarantees it stays that way over time. Start by cleaning the lenses with a soft microfiber cloth to remove dust and smudges without scratching. Use lens cleaning solution sparingly if needed.
Check the mounting screws regularly to verify they’re tight, preventing scope movement during recoil. Inspect the scope body for dents or damage that could affect performance. Keep the adjustment knobs free of dirt and debris, turning them occasionally to maintain smooth operation.
Store your rifle and scope in a dry, padded case to protect them from moisture and impacts. By maintaining your scope consistently, you preserve its precision and extend its lifespan, ensuring reliable accuracy on every shot.
Frequently Asked Questions
What Type of Rifle Scope Is Best for Hunting?
You’ll want a variable magnification scope with good light transmission for hunting. Look for something durable, waterproof, and fog-resistant. A 3-9×40 scope is versatile, letting you adapt to different distances and conditions easily.
Can I Use a Rifle Scope on an Air Rifle?
You can use a rifle scope on an air rifle—like a lighthouse guiding a small boat through mist. Just guarantee the scope suits the air rifle’s recoil and power, so your aim stays steady and true every time.
How Does Weather Affect Scope Performance?
You’ll notice weather affects your scope’s clarity and accuracy—fog, rain, and dust can blur your view, while temperature changes might shift your zero. Always check and adjust your scope in different conditions to stay precise.
Are Illuminated Reticles Worth the Extra Cost?
Illuminated reticles are worth the extra cost if you often shoot in low light or need quick target acquisition. They improve visibility and speed, giving you an advantage in challenging conditions without straining your eyes.
What Are the Legal Restrictions on Rifle Scopes?
You can’t just buy any rifle scope anywhere; laws vary by state and country, especially on magnification limits or night vision features. Always check local regulations before purchasing, or you might face fines or confiscation.
Conclusion
Adjusting your rifle scope isn’t just a task—it’s your key to hitting the bullseye every time. By knowing your scope’s parts, setting up steady, and fine-tuning with test shots, you’ll turn guesswork into precision. Remember, small tweaks can make a world of difference, like tuning a guitar before a concert. Keep practicing and maintaining your scope, and you’ll always be ready to take that perfect shot with confidence.