How To Install A Peep Sight?
To install a peep sight, first make certain your firearm is unloaded and secure. Carefully remove any existing sight using the right tools without damaging your gun. Align the new peep sight properly in its mounting slot, then tighten screws gradually, using thread locker for security. Position the sight at eye level and make small adjustments during shooting to perfect alignment. Consistent practice helps fine-tune accuracy, and understanding these steps prepares you to master each phase of installation.
Key Takeaways
- Ensure the firearm or bow is unloaded and secured before beginning peep sight installation.
- Align the peep sight carefully in the mounting slot without forcing it to avoid damage.
- Use the correct tools to tighten screws gradually and apply thread locker for stability.
- Adjust the sight incrementally during range testing for proper windage and elevation alignment.
- Maintain consistent eye placement and posture, and replace or upgrade the sight if accuracy declines.
How to Choose the Right Peep Sight for Your Firearm
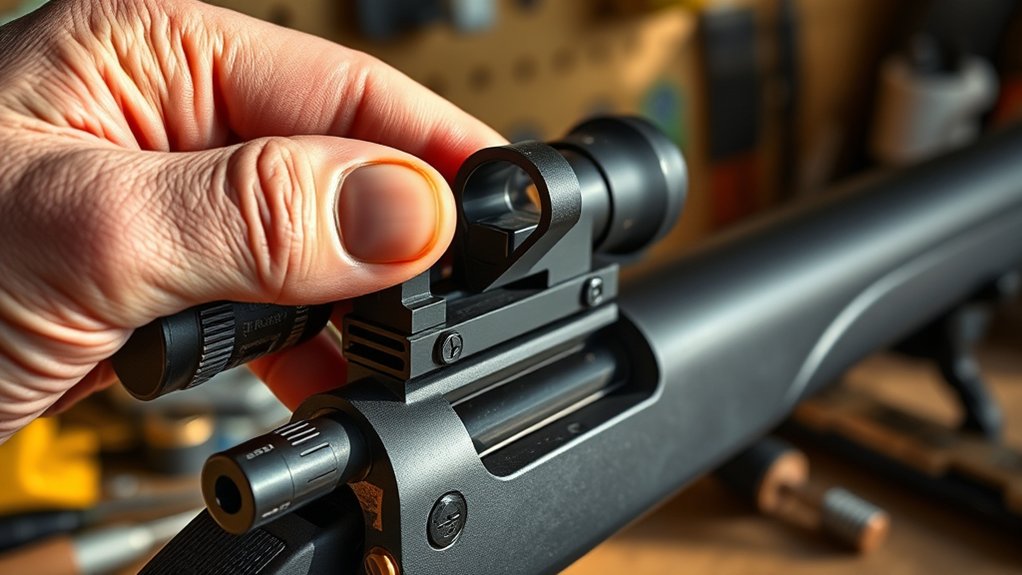
Before you install a peep sight, you need to choose one that fits your firearm and shooting style. Start by checking your firearm’s make and model to verify compatibility.
Peep sights come in various sizes and materials, so pick one that matches your shooting needs—whether you’re hunting, target shooting, or competing.
Select a peep sight tailored to your shooting style—hunting, target practice, or competition—for optimal performance.
Consider the aperture size: smaller holes offer greater precision but require better eyesight and steady hands, while larger apertures are easier to use in low light.
Also, think about adjustability; some peep sights let you fine-tune windage and elevation, improving accuracy.
Finally, factor in durability and weight, especially if you carry your firearm often.
Choosing the right peep sight sets the foundation for easier installation and better shooting performance.
Tools You’ll Need to Install Your Peep Sight
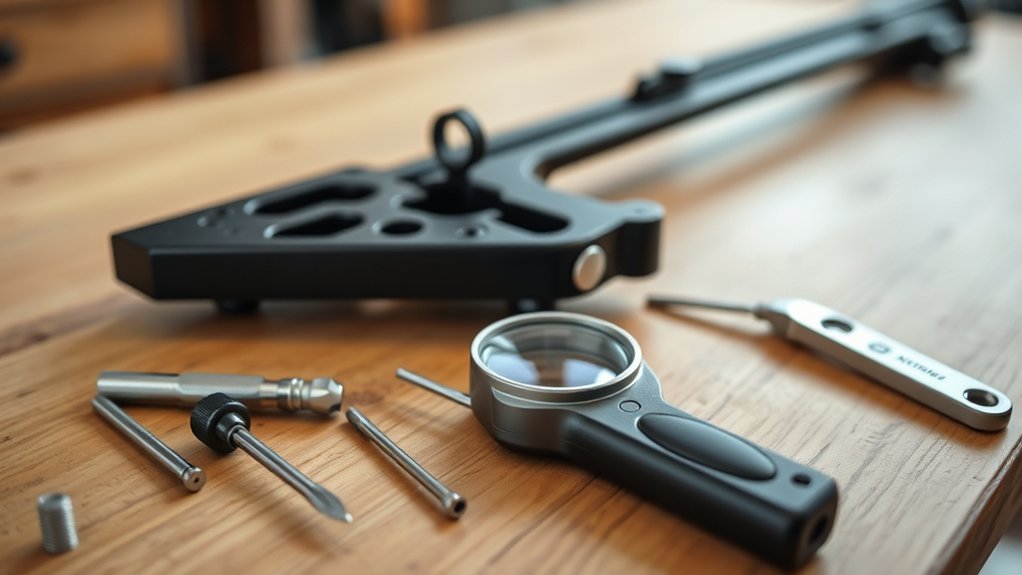
To install your peep sight properly, you’ll need a few essential tools like screwdrivers and an Allen wrench.
Having some optional accessories, such as thread locker or a small punch, can make the process smoother.
Let’s take a look at what you’ll want to have on hand before you get started.
Essential Installation Tools
Although installing a peep sight might seem straightforward, having the right tools on hand will make the process smoother and more accurate.
First, you’ll need a small screwdriver, typically a Phillips or flathead, depending on your sight’s screws. A hex wrench or Allen key set is also essential for tightening bolts securely.
You’ll want a pair of needle-nose pliers to handle tiny components without dropping or damaging them. A punch set comes in handy for aligning or tapping parts gently into place.
Finally, a quality thread locker will keep screws from loosening due to vibration.
Using these essential tools guarantees you install your peep sight safely and precisely, avoiding damage and promoting consistent performance. Make sure everything’s within reach before you start.
Optional Helpful Accessories
While you can install a peep sight with just the essential tools, having a few optional accessories can make the job easier and more accurate. These extras help you align the sight perfectly and avoid guesswork. Consider adding these to your toolkit:
- Magnifying glass: Helps you see small screws and fine adjustments clearly.
- Torque wrench: Ensures screws are tightened to the right specification without overdoing it.
- Alignment jig: Keeps the peep sight perfectly positioned during installation.
- Anti-seize lubricant: Prevents screws from sticking or corroding over time.
Using these accessories, you’ll install your peep sight more smoothly and achieve better accuracy for your shooting setup. They’re not mandatory but definitely worth having on hand.
How to Remove Your Existing Rear Sight Safely
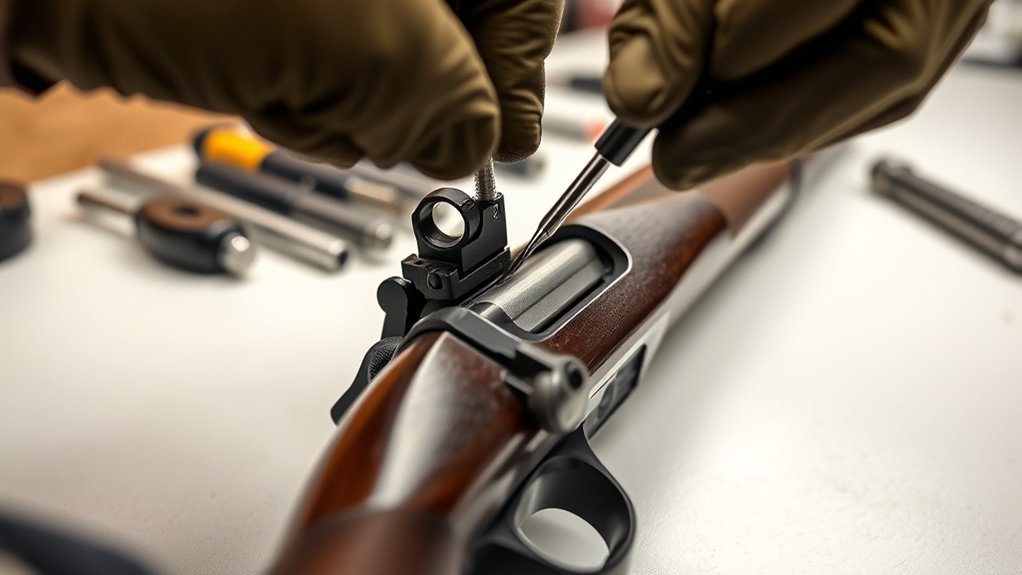
How do you safely remove your existing rear sight without damaging your firearm? First, make certain your firearm is unloaded and pointed in a safe direction.
Use the appropriate tools, typically a sight pusher or a brass punch and hammer, to avoid scratching or marring the metal. If your sight is pinned, carefully drift out the pins with a punch.
Apply gentle, steady pressure rather than forceful blows to prevent damage.
Clean the area around the sight to remove dirt or debris that could interfere with removal.
Work slowly, checking alignment frequently. If the sight feels stuck, applying a small amount of penetrating oil can help loosen it.
Avoid makeshift tools or excessive force, as these increase the risk of damage. Taking these precautions ensures a smooth, safe removal process.
How to Mount Your New Peep Sight Step-by-Step
Before you begin mounting your new peep sight, make sure your firearm is unloaded and securely positioned.
Start by aligning the sight with the mounting base or dovetail slot. Gently slide or place the sight into position, ensuring it fits snugly without forcing it.
Next, check that the aperture is centered and properly oriented for your shooting style.
Finally, prepare to secure the sight, but don’t tighten anything just yet.
Keep these tips in mind as you proceed:
- Handle the sight carefully to avoid damaging finish or delicate parts
- Use the right size tools to prevent stripping screws or damaging the sight
- Work in a well-lit area to ensure precise alignment
- Take your time to double-check positioning before final adjustments
Following these steps will help you mount your peep sight accurately and efficiently.
How to Secure Your Peep Sight to Prevent Movement
Now that your peep sight is mounted, you need to secure it to prevent any movement. Make certain you tighten the screws properly without overdoing it.
Consider applying a thread locker to keep them firmly in place. These steps will ensure your sight stays steady during use.
Tightening Screws Properly
Although tightening screws might seem straightforward, securing your peep sight properly is essential to prevent any movement that could affect your accuracy.
When you tighten the screws, do it gradually and evenly to avoid stripping the threads or misaligning the sight.
Here’s how to tighten your screws correctly:
- Use the right screwdriver size to ensure a firm grip without damaging the screw head.
- Alternate between screws, tightening a little on each in rounds to maintain even pressure.
- Apply steady, controlled force instead of overtightening, which can damage components.
- Check the sight alignment frequently during tightening to ensure it stays in position.
Following these steps helps keep your peep sight stable and maintains your shooting precision over time.
Using Thread Locker
Once you’ve tightened your screws evenly and checked the alignment, applying thread locker can add an extra layer of security to keep your peep sight from shifting.
Choose a medium-strength thread locker, like blue Loctite, which offers a strong hold but allows future adjustments.
Apply a small drop directly onto the screw threads before inserting them into the sight mount. Avoid over-applying, as excess can seep into unwanted areas.
After applying, tighten the screws as usual.
Let the thread locker cure for the time specified by the manufacturer—usually around 24 hours—to ensure maximum hold.
This step prevents screws from loosening due to recoil or vibration, giving you consistent accuracy and peace of mind during use.
How to Align Your Peep Sight for Better Accuracy
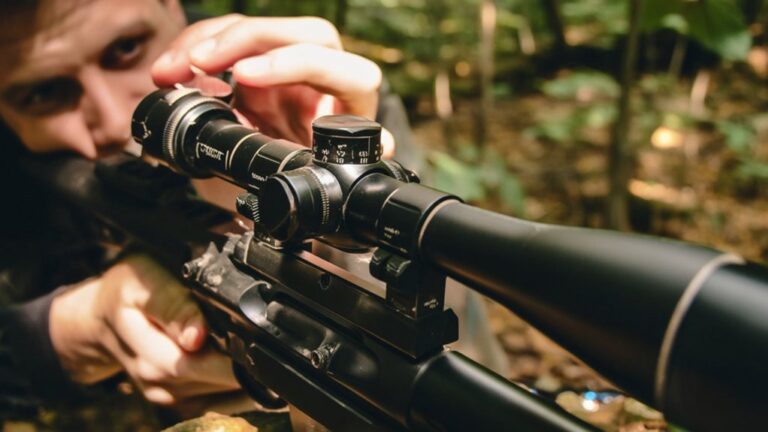
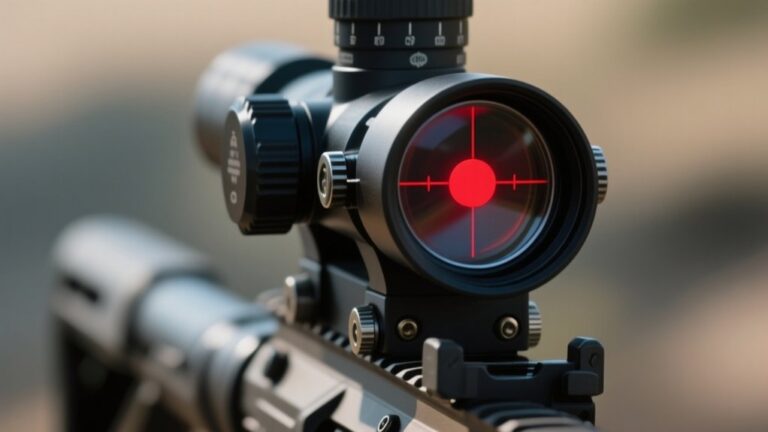
When you align your peep sight correctly, you’ll improve your shooting accuracy considerably. Start by mounting your peep sight at eye level, ensuring it sits comfortably when you raise the bow. Look through the peep and center the front sight pin within the aperture. Focus on creating a consistent anchor point for your drawing hand to maintain the same sight picture every time. Remember, proper alignment means your eye, peep sight, and front sight pin form a straight line.
Proper peep sight alignment ensures your eye, sight, and pin form a straight line for improved accuracy.
To align your peep sight effectively:
- Position it so your eye sees a clear, unobstructed view of the front sight
- Ensure the aperture size suits your shooting conditions
- Keep your head and body posture consistent
- Practice drawing and aiming several times before finalizing alignment
This precision sets the foundation for better accuracy.
How to Adjust Your Peep Sight After Installation
Now that you’ve aligned your peep sight for a clear and consistent view, you’ll need to fine-tune its position to match your shooting style and conditions. Start by making small vertical and horizontal adjustments while shooting at a target. Note where your shots land relative to the bullseye, then tweak the sight accordingly. Use the table below to guide your adjustments based on shot placement:
| Shot Placement | Adjustment Direction | Notes |
|---|---|---|
| Left of target | Move sight right | Corrects horizontal drift |
| Right of target | Move sight left | Balances aim |
| High on target | Move sight down | Lowers point of impact |
| Low on target | Move sight up | Raises point of impact |
| Centered shots | No adjustment needed | Maintain current position |
Repeat until your shots consistently hit the target center.
Mistakes to Avoid When Installing Your Peep Sight
Although installing a peep sight might seem straightforward, you can easily make mistakes that compromise accuracy and safety. To get it right, avoid these common errors:
- Failing to securely tighten screws, which can cause the sight to shift during use.
- Misaligning the sight with the bowstring or arrow path, leading to inconsistent shots.
- Using improper tools that can damage the sight or mounting area.
- Ignoring manufacturer instructions, resulting in incorrect placement or adjustments.
Testing Your Peep Sight at the Range
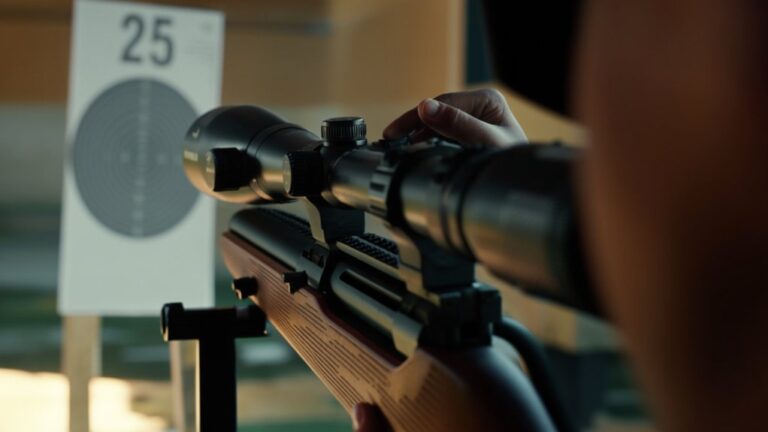
When you hit the range, start by aligning your peep sight with the target to guarantee a clear sight picture.
Pay close attention to your grouping and make small adjustments to improve accuracy.
This step is essential for confirming that your sight is properly installed and ready for use.
Aligning Your Sight
Before you can confidently rely on your peep sight, you’ll need to test it at the range to guarantee proper alignment. Start by setting up a target at a comfortable distance, then take a few shots to see where your arrows or bullets land.
Focus on these key steps:
- Make certain consistent eye placement behind the peep sight each shot
- Check that the front sight aligns perfectly within the circular aperture
- Observe the grouping of shots to identify any drift or offset
- Confirm your sight picture remains stable and clear during aiming
This process helps you verify that the peep sight is correctly positioned on your bow or firearm. Once you see consistent grouping centered on your target, you’ll know your sight is properly aligned and ready for precise shooting.
Adjusting for Accuracy
How exactly do you fine-tune your peep sight for pinpoint accuracy at the range? Start by shooting a group of arrows at a target from a consistent distance. Observe where your arrows cluster relative to the bullseye.
If your shots land left or right, adjust the windage by moving the sight aperture accordingly. Shots landing high or low mean you need to tweak the elevation. Make small, incremental adjustments—usually a quarter turn at a time—and shoot another group.
Keep notes on each change and its effect. Repeat this process until your arrows consistently hit the intended spot.
When to Upgrade or Replace Your Peep Sight (Bonus Tips)
Although peep sights can last a long time, you’ll know it’s time to upgrade or replace yours when you notice decreased accuracy or damage that affects your aim. Regular use can wear down your sight, making adjustments less effective.
If your shooting feels off or you see visible wear, it’s smart to contemplate a new sight.
Here are some clear signs to look for:
- Peep hole scratches or dents that blur your view
- Loose or bent mounting hardware
- Difficulty adjusting the sight precisely
- Upgrading to a model with better features or materials
Frequently Asked Questions
Can Peep Sights Be Installed on All Types of Firearms?
You can’t install peep sights on all firearms since they require specific mounting points. They work best on rifles designed for aperture sights, so check your firearm’s compatibility before trying to add one.
Are Peep Sights Legal for Hunting in All States?
You won’t believe it, but peep sights aren’t legal for hunting everywhere! Some states have strict rules, so you’ll want to double-check local laws before heading out. Don’t risk a fine or losing your gear!
How Durable Are Peep Sights Under Harsh Weather Conditions?
Peep sights are generally quite durable under harsh weather conditions. You’ll find most are made from corrosion-resistant materials, so they won’t easily rust or break. Still, you should regularly check and maintain them for peak performance.
Can Peep Sights Improve Shooting Speed Significantly?
Think of a peep sight as a key opening quicker target acquisition. Yes, it can boost your shooting speed considerably by sharpening focus and aligning your aim faster, turning hesitation into confident, swift shots every time you pull the trigger.
What Is the History and Origin of Peep Sights?
You’ll find peep sights originated in the early 20th century, evolving from aperture sights used in archery and firearms. They became popular for improving accuracy, especially in military rifles during World War I and II.
Conclusion
Installing a peep sight may seem tricky at first, but with the right tools and careful steps, you’ll hit the nail on the head every time. Remember, taking your time to adjust and test your sight guarantees better accuracy downrange. Avoid rushing—measure twice, install once. With patience and practice, your peep sight will become a reliable partner, helping you aim true and shoot confidently every time you hit the range.