How To Sight In A Rifle Scope For 100 Yards?
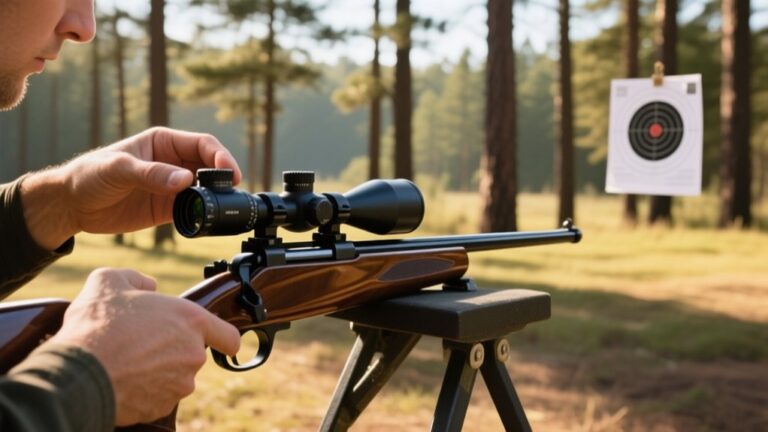
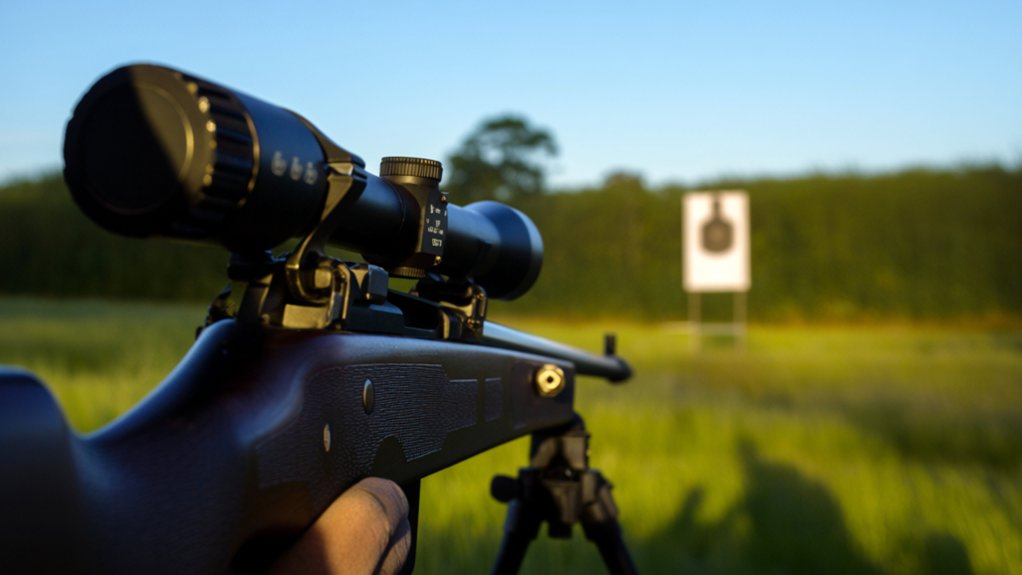
To sight in your rifle scope at 100 yards, start by securely mounting and leveling the scope using a stable rest. Fire a tight 3-5 shot group without adjusting the scope, then note where your shots hit compared to the bullseye. Use small windage and elevation adjustments to move your point of impact, testing with follow-up groups for accuracy. Once your shots cluster tightly on target, your scope is zeroed. Keep going to explore tips for maintaining zero and avoiding common mistakes.
Key Takeaways
- Securely mount and level the scope on the rifle, ensuring proper eye relief and alignment using bubble levels.
- Choose a safe shooting area with a stable rest and a clear 100-yard target for accurate shot placement.
- Fire a controlled 3-5 shot group without adjusting the scope to establish a baseline for zeroing.
- Analyze shot groupings, then adjust windage and elevation turrets incrementally to move the point of impact toward the bullseye.
- Confirm zero by shooting follow-up groups, making small refinements until consistent tight groupings center on the target.
What You Need to Sight In Your Rifle Scope at 100 Yards
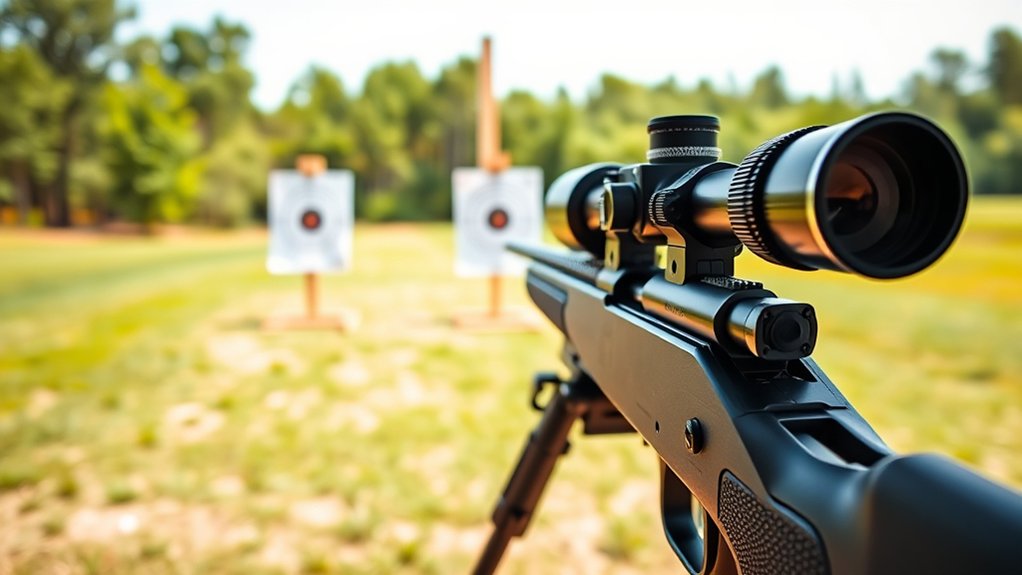
Before you begin sighting in your rifle scope at 100 yards, you’ll need a few essential items to guarantee accuracy and safety.
First, ensure you have quality ammunition that matches your rifle. Consistency in ammo helps maintain precise adjustments.
Use quality, consistent ammunition that matches your rifle to achieve precise and reliable scope adjustments.
You’ll also need a stable shooting rest or sandbags to minimize movement during shooting.
A reliable target designed for 100-yard shooting is crucial—it should have clear markings to track your bullet impacts.
Don’t forget a spotting scope or binoculars to see your shots without walking downrange.
Bring the necessary tools, like an Allen wrench or screwdriver, to adjust your scope’s turrets.
Finally, wear protective gear, especially shooting glasses and ear protection, to keep yourself safe throughout the process.
Having these ready sets you up for a smooth sight-in.
Setting Up Your Shooting Area for Zeroing
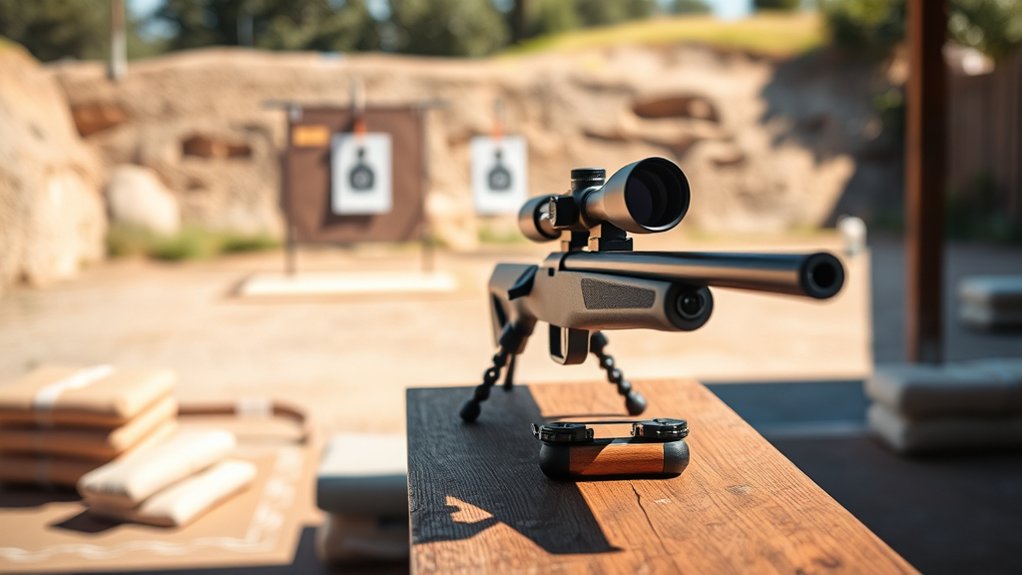
Before you start zeroing your rifle, pick a safe location with a clear backdrop to catch any stray bullets.
Next, set up a stable shooting rest to keep your rifle steady and improve accuracy.
These steps will help you get consistent, reliable results when sighting in.
Choosing A Safe Location
Where should you set up your shooting area to guarantee safety and accuracy? Choose a location with a clear, unobstructed line of sight to your target, ideally a designated shooting range or a remote outdoor spot.
Assure the backdrop behind your target is solid and capable of safely stopping bullets, like a thick dirt berm or a specialized bullet trap.
Avoid areas near roads, buildings, or populated places to minimize risks.
Confirm that no one will accidentally walk into your line of fire by establishing a secure perimeter.
Check local laws and regulations to make sure your chosen spot is legal for shooting.
Preparing A Stable Shooting Rest
Once you’ve secured a safe location, the next step is to prepare a stable shooting rest to guarantee your rifle remains steady while zeroing your scope. Stability is vital to ensure consistent shots and accurate adjustments.
Here’s how to set up your shooting rest effectively:
- Use a sturdy bench or table that won’t wobble or shift under recoil.
- Employ sandbags or a specialized rifle rest to cradle your rifle securely.
- Confirm your shooting rest allows comfortable, repeatable positioning of the rifle.
- Double-check that the rifle’s barrel is parallel to the ground to avoid angle-induced errors.
Why 100 Yards Is Ideal to Sight In Your Rifle Scope
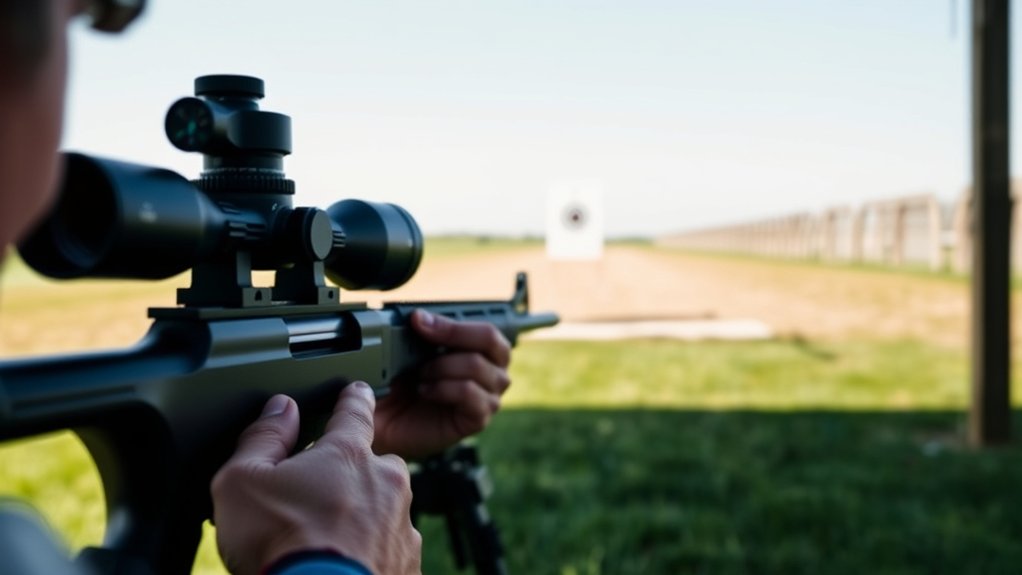
You’ll find that 100 yards is the sweet spot for sighting in your rifle scope because it offers ideal accuracy and balances bullet trajectory effectively.
This distance lets you make precise adjustments without dealing with extreme drop or wind effects.
Plus, it’s a practical range that works well for both training and real-world shooting scenarios.
Optimal Distance For Accuracy
Although you can sight in a rifle scope at various distances, 100 yards offers the most practical balance between precision and ease. At this range, you get a clear view of your target while minimizing environmental effects that can throw off your shot. It’s close enough to adjust quickly but far enough to reveal subtle inconsistencies in your settings.
Here’s why 100 yards is *ideal* for accuracy:
- It provides a realistic shooting distance for many hunting and shooting scenarios.
- Wind and bullet drop are noticeable but manageable, allowing effective adjustments.
- Targets are large enough to aim precisely without strain.
- It simplifies zeroing the scope, so your shots stay consistent across various distances.
Using 100 yards helps you confidently dial in your scope for reliable performance.
Balancing Bullet Trajectory
Because bullet trajectory naturally arcs downward after leaving the barrel, sighting in your rifle scope at 100 yards helps you counter that drop effectively.
At this distance, the bullet’s path is predictable enough to make precise adjustments without overcomplicating things. When you zero your scope at 100 yards, you set a baseline that minimizes the need for constant elevation changes at typical hunting or shooting ranges.
This distance strikes the right balance between close-range accuracy and longer-range bullet drop compensation. By choosing 100 yards, you guarantee your point of impact aligns with your point of aim where it matters most.
This way, you’ll have a reliable zero that works well for most practical shooting scenarios, letting you trust your shots more confidently.
Practical Training Environment
Setting your rifle scope at 100 yards not only matches bullet trajectory effectively but also fits perfectly within most practical training environments. This distance strikes the right balance between realism and convenience, making it easier for you to practice consistently and improve your accuracy.
Most ranges accommodate 100-yard targets, allowing you to train without hassle. Here’s why 100 yards is ideal for sighting in your scope:
- It’s a manageable distance for various skill levels, from beginners to experts.
- You can spot bullet impacts clearly without needing specialized equipment.
- It replicates common hunting and shooting scenarios, enhancing real-world readiness.
- The distance minimizes wind and environmental variables, letting you focus on fundamentals.
How to Mount and Level Your Rifle Scope
Before you start adjusting your rifle scope, you need to securely mount and level it to guarantee accurate shots. Begin by attaching the scope rings to your rifle’s base, ensuring they’re tight but not over-torqued.
Place the scope in the rings and adjust it forward or backward until you achieve a clear sight picture and proper eye relief. Next, tighten the ring screws just enough to hold the scope in place.
To level the scope, use a bubble level on the turret cap and another on the rifle’s action or barrel. Rotate the scope until both levels show perfectly horizontal alignment.
Finally, evenly torque the ring screws in a crisscross pattern to secure the scope without shifting its position, maintaining the level alignment.
How to Fire Your First Group for Initial Adjustment
Once you’ve securely mounted and leveled your scope, it’s time to fire your first group to see where your shots are landing. Start by settling into a comfortable, stable shooting position. Aim at the center of your target and follow these steps:
Secure and level your scope, then fire your initial group from a stable position aimed at the target center.
- Fire three to five shots carefully without adjusting the scope.
- Keep consistent breathing and trigger control for each shot.
- Take your time between shots to maintain accuracy.
- Record where the group lands relative to the bullseye.
This initial group will reveal how far off your scope is from true zero. Don’t rush adjustments yet—focus on shooting a tight group to give yourself a reliable reference point for sighting in.
Once done, you’ll be ready to move on to adjusting your scope based on this first shot grouping.
How to Analyze Your Shot Grouping
After firing your initial group, you’ll need to carefully evaluate where your shots landed to determine how your scope needs adjusting. First, identify the center of your shot group by finding the average point where the bullets clustered. Note if the group is tight or spread out; a tight group means your shooting is consistent, while a wide spread might indicate shooting errors or equipment issues.
Next, observe the group’s position relative to your target’s bullseye—are the shots high, low, left, or right? This will guide your adjustments. Measure the distance from the group’s center to the bullseye in inches or MOA.
Keeping these observations in mind will help you make precise corrections in your scope settings for improved accuracy.
How to Adjust Windage and Elevation on Your Scope
Now that you’ve analyzed your shot grouping, it’s time to adjust your scope’s windage and elevation.
You’ll learn how to move your reticle left or right for windage and up or down for elevation.
With these tweaks, you can fine-tune your scope to hit your target dead center at 100 yards.
Understanding Windage Adjustment
Although sighting in your rifle scope involves both windage and elevation adjustments, understanding windage is essential for correcting horizontal alignment. Windage adjustment lets you move your reticle left or right to compensate for wind or any horizontal deviation in your shot placement.
Here’s how to handle windage adjustment effectively:
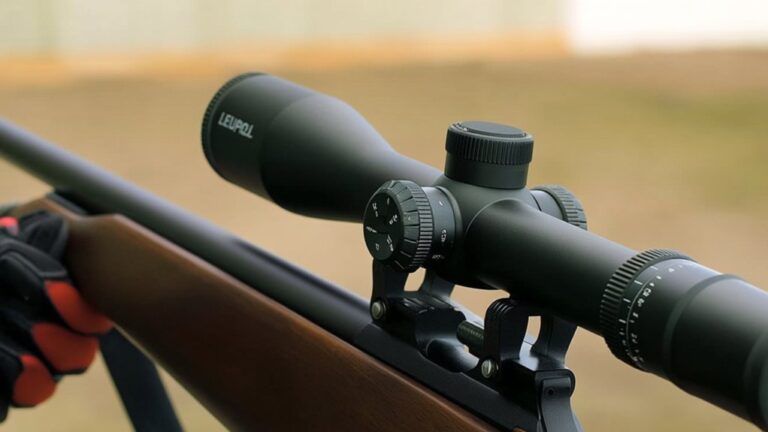
- Locate the windage turret, usually on the right side of your scope.
- Turn the turret in the direction you want your bullet to move on the target.
- Make small adjustments, typically in clicks, and test by firing a group.
- Keep track of your adjustments to avoid overcorrecting.
Mastering windage ensures your shots stay accurate despite crosswinds or mechanical misalignments, setting you up for precise shooting at 100 yards.
Elevation Setting Techniques
When you adjust your scope’s elevation, you change the vertical point of impact to match your target at 100 yards.
Start by firing a three-shot group at your target and observe where the bullets hit vertically compared to the bullseye. If the shots are low, turn the elevation turret in the direction marked “up” or “U.” If they’re high, turn it toward “down” or “D.”
Each click usually moves the point of impact by a certain amount, often ¼ or ½ MOA, so modify accordingly based on your group’s distance from the bullseye. Make small, deliberate adjustments, then fire another group to confirm.
Fine-Tuning Your Scope
Since precise adjustments make all the difference in hitting your target, fine-tuning your scope involves carefully tweaking both windage and elevation settings.
Start by shooting a group at 100 yards, then note where your bullets land relative to the bullseye. Adjust your scope’s:
- Windage dial to move the point of impact left or right.
- Elevation dial to move the point of impact up or down.
Make small increments (usually 1/4 MOA or 1 click) between shots. Re-check your shot group after each adjustment to avoid overcorrection.
Stay steady and consistent with your shooting position. Remember, it might take several rounds to zero in perfectly.
How to Confirm Your Zero With Follow-Up Shots
To guarantee your rifle scope is truly zeroed at 100 yards, you need to take several follow-up shots and carefully observe their impact points.
After your initial sight-in, shoot a three to five shot group aiming at the same target. Watch where the bullets land relative to your aiming point.
Consistency in grouping means your zero is reliable. If shots land off-center but stay in a tight group, you’ll want to make small adjustments to your windage or elevation turrets.
Repeat this process until your shots cluster tightly around the bullseye. Confirming your zero with follow-up shots ensures accuracy under real conditions.
Don’t rush this step—it’s essential to building confidence in your rifle’s precision at 100 yards.
How to Adjust for Bullet Drop and Ballistics
Once you’ve confirmed your zero at 100 yards, it’s important to contemplate how bullet drop and ballistics affect your shots at longer distances. Bullets start to drop due to gravity as they travel, so you’ll need to adjust your scope accordingly.
Here’s how to manage it:
- Understand your bullet’s trajectory by reviewing ballistic charts or using a ballistic calculator.
- Use your scope’s elevation adjustment to compensate for drop at varying distances beyond 100 yards.
- Practice shooting at different ranges to see how your rounds behave in real conditions.
- Consider environmental factors like wind and altitude, which also influence bullet flight.
How to Maintain Your Rifle Scope Zero in Changing Conditions
Even if you’ve perfectly sighted in your rifle scope, changes in weather, temperature, and terrain can throw off your zero. To maintain accuracy, you need to regularly check and adjust your scope. Pay attention to temperature shifts, as metal components expand or contract, affecting your point of impact. Also, consider how humidity and altitude impact bullet trajectory.
Use the table below as a quick reference for conditions and your maintenance actions:
| Condition | Maintenance Tip |
|---|---|
| Temperature | Re-check zero after extreme shifts |
| Humidity | Clean lenses to prevent fogging |
| Terrain | Adjust scope for elevation changes |
Common Sight-In Mistakes to Avoid
Keeping your rifle scope zeroed in changing conditions takes vigilance, but avoiding common sight-in mistakes will save you time and frustration during setup. When sighting in at 100 yards, you need to be precise and methodical. Don’t rush the process or overlook details that affect accuracy.
Here are some common mistakes to watch out for:
- Failing to verify your rifle is stable and supported during shooting
- Neglecting to confirm the scope is properly mounted and tightened
- Skipping a bore sight step before live firing, which wastes ammo and time
- Ignoring environmental factors like wind or lighting that can skew your shots
Frequently Asked Questions
Can I Sight in My Rifle Scope Indoors?
Yes, you can sight in your rifle scope indoors if you have a safe backstop and enough space. Just remember, indoor lighting and limited distance might affect accuracy, so double-check your adjustments outdoors when possible.
How Often Should I Re-Zero My Rifle Scope?
You should re-zero your rifle scope every 100-200 rounds or after any heavy impact. Studies show 70% of shooters miss adjustments after 150 rounds, so regular checks keep your shots precise and consistent in the field.
Does Temperature Affect My Rifle Scope Zero?
Yes, temperature can affect your rifle scope zero. Changes cause metal parts to expand or contract, slightly shifting your point of impact. You should check and adjust your zero in varying conditions to stay accurate.
Can Different Ammo Types Change My Zero?
Yes, different ammo types can change your zero because variations in bullet weight, powder charge, and velocity affect the trajectory. Always re-zero your scope when switching ammo to guarantee accuracy at 100 yards or any distance.
Is Professional Scope Sighting Better Than DIY?
Professional scope sighting is often more precise because they use specialized tools and experience. However, you can achieve similar results yourself with patience, proper technique, and quality equipment. It’s all about your skill and attention.
Conclusion
Sighting in your rifle scope at 100 yards blends precision with patience. While the process demands focus, it rewards you with confidence at the range. You’ll adjust, shoot, and confirm—each step balanced by careful setup and steady hands. Mistakes may test you, but persistence sharpens your aim. In the end, the effort you put in contrasts with the ease of hitting your target, making every shot count like never before.