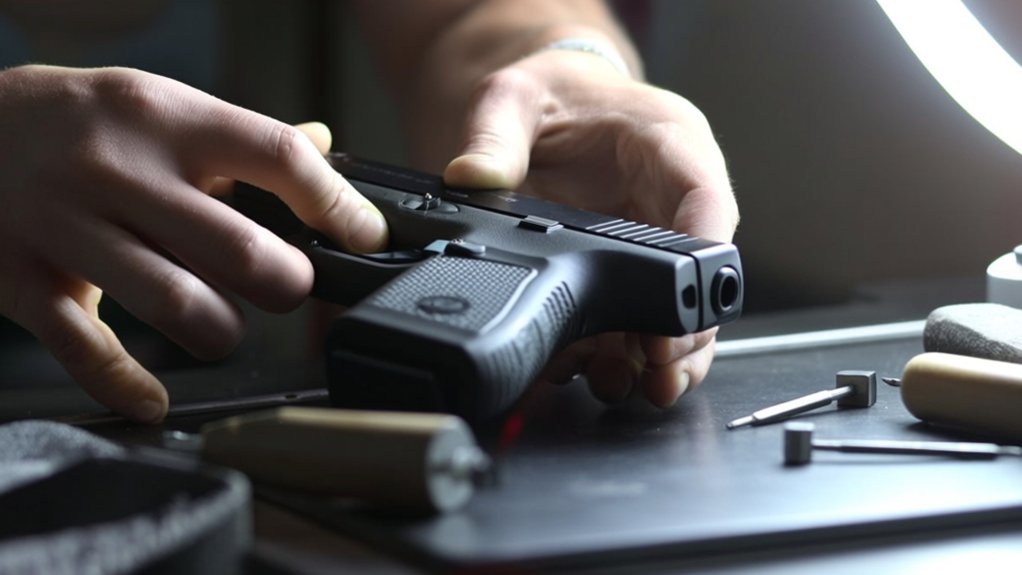
How To Install Glock Sights?
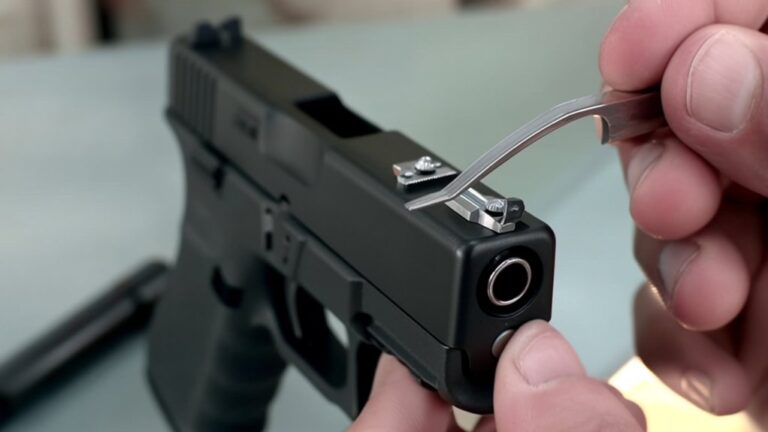
To install Glock sights, first unload your pistol and secure the slide in a soft-jawed vise. Use a sight pusher tool to carefully remove the factory sights, applying gentle heat if needed to soften thread-locker. Clean the dovetail, then press in your new sights, ensuring proper alignment. Use a punch and light mallet if necessary, then fine-tune adjustments for accuracy. Proper tools and careful handling prevent damage. Keep going to uncover tips on maintenance and choosing the right sights for your needs.
Key Takeaways
- Unload the Glock, secure the slide in a soft-jawed vise, and prepare a clean, well-lit workspace with all necessary tools.
- Use a sight pusher tool to gently remove factory sights, applying heat if needed to soften thread-locking compounds.
- Press the new sights carefully into the dovetails, ensuring proper alignment and a snug fit before final installation.
- Adjust windage and elevation incrementally using a sight adjustment tool, testing alignment after each adjustment.
- Apply threadlocker on screws if applicable, tighten securely, and verify sight alignment through controlled range testing.
Choosing the Right Glock Sights for Your Model
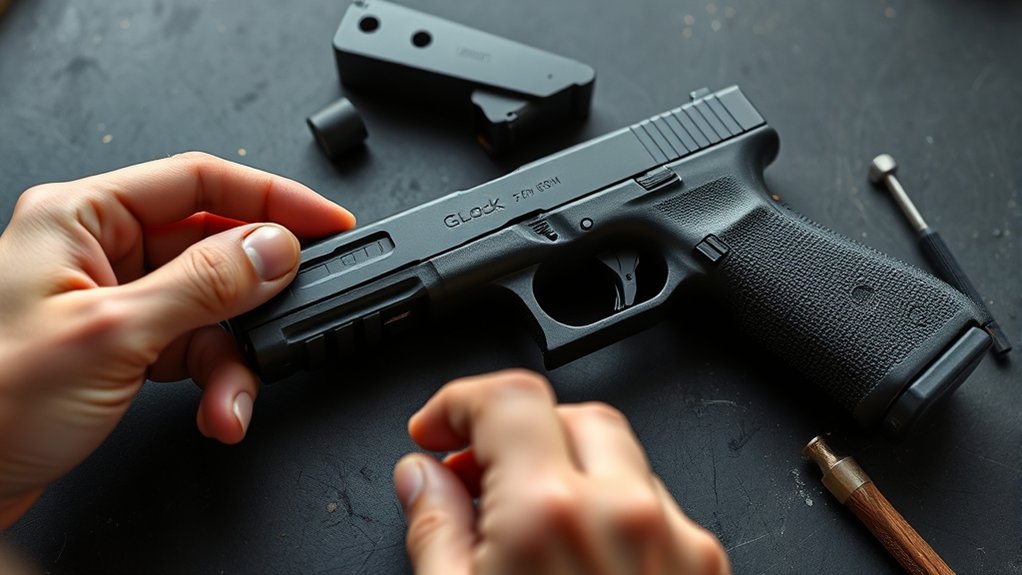
How do you pick the right sights for your Glock model? First, identify your Glock’s generation and model number since sights vary between them.
Next, consider the type of shooting you plan to do—whether it’s self-defense, competition, or casual range use. You’ll want sights that match your needs: night sights for low light, fiber optic for quick target acquisition, or standard steel for durability.
Check the sight’s compatibility with your slide’s profile—some models require specific dovetail sizes.
Don’t forget to factor in your budget; high-end sights offer advanced features but aren’t always necessary.
Essential Tools for Installing Glock Sights
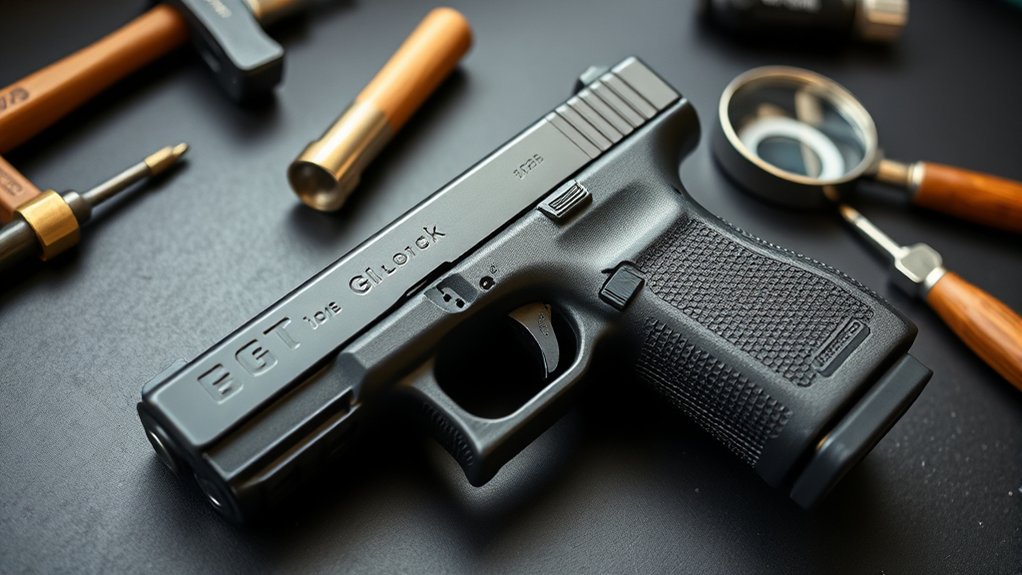
Before you start installing Glock sights, gathering the right tools is essential to guarantee a smooth and precise fit. Having everything ready prevents interruptions and ensures your new sights align perfectly.
Here are three must-have tools:
- Sight Pusher Tool – This specialized tool helps you remove and install Glock sights without damaging the slide or sights.
- Brass or Nylon Hammer – A soft hammer lets you tap the sights gently into place without scratching or denting the metal.
- Loctite Threadlocker – Applying a small amount to sight screws ensures they stay securely fastened during recoil.
Using these tools correctly will make your installation safer and more efficient.
Now that you have the essentials, you’re ready to move forward with the installation process confidently.
Preparing Your Glock for Sight Installation
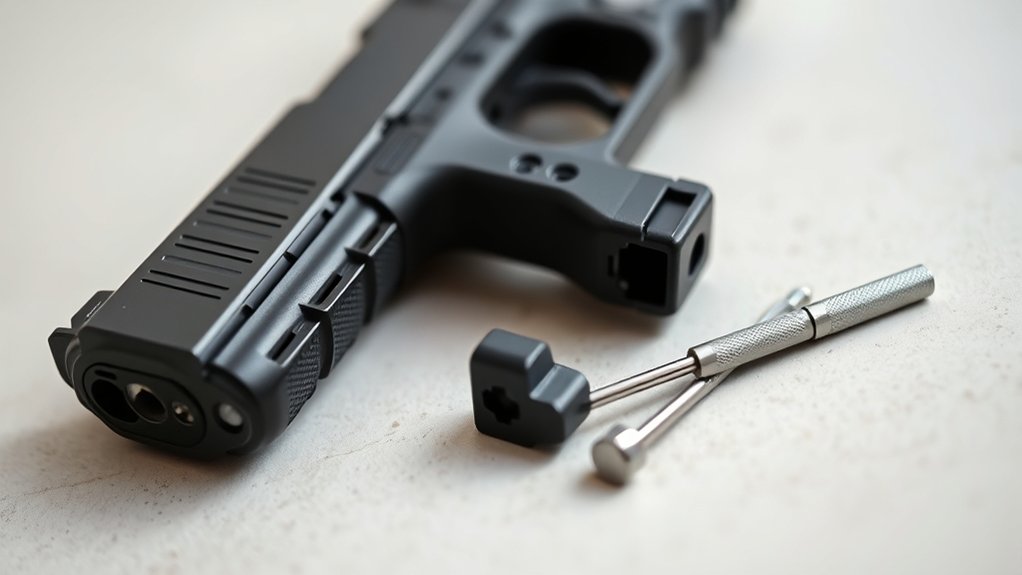
While preparing your Glock for sight installation, you’ll want to guarantee the firearm is unloaded and the slide is locked back for safety. Remove the magazine and visually inspect the chamber to confirm it’s empty.
Work in a clean, well-lit area to avoid losing small parts. Gather all necessary tools and lay them out within reach.
Use a nylon or brass punch to avoid damaging the slide when handling components. Make sure your hands are clean and dry to maintain a firm grip.
Avoid touching the barrel’s crown or the sight’s glass to prevent smudges or damage.
Taking these steps assures a safe, efficient setup, making the following sight installation process smoother and more precise.
Safely Removing Factory Glock Sights
Wondering how to safely remove your Glock’s factory sights without causing damage? Follow these steps to guarantee a smooth process and protect your firearm.
- Secure Your Glock: Place your Glock in a padded vise or use a non-marring surface to prevent scratches or movement during removal.
- Apply Heat Carefully: Use a heat gun or hairdryer to warm the slide around the sights gently. This softens the thread-locking compound holding the sights in place.
- Use Proper Tools: With a brass punch and small hammer, gently tap the rear of the sight to drift it out of the slide. Avoid metal tools that can mar the finish.
Using a Sight Pusher Tool for Installation
Once you’ve safely removed the factory Glock sights, you’ll need the right tool to install your new ones properly. A sight pusher tool is designed specifically to press the rear sight into place without damaging the slide or sight.
First, secure your Glock slide firmly in a vise with soft jaws to avoid scratches. Then, position the sight pusher so its pushing plate aligns with the rear sight.
Slowly turn the tool’s handle to apply steady pressure, sliding the new sight into the dovetail slot. Make sure it moves smoothly and seats fully without forcing it.
This method guarantees precise alignment and prevents damage, unlike tapping with a hammer. Using the sight pusher tool makes installation safer and more accurate for your Glock sights.
Installing the Front Glock Sight Correctly
Now that you’ve got the tools ready, it’s essential to choose the right front sight for your Glock. Make certain you prepare the sight properly before installation to guarantee a secure fit.
Focus on aligning it correctly to maintain accuracy and reliability.
Choosing The Right Sight
Before installing your front Glock sight, you need to select one that matches your shooting needs and preferences. Choosing the right sight can improve your accuracy and overall shooting experience. Consider these key factors:
- Sight Type: Decide between standard white dot, fiber optic, or night sights based on lighting conditions and target visibility.
- Height: Choose a sight height compatible with your rear sight to maintain a proper sight picture.
- Durability: Opt for sights made from robust materials like steel or aluminum to withstand regular use and recoil.
Preparing The Front Sight
Selecting the right front sight sets the foundation for a smooth installation process.
Before you start, clean the front sight area thoroughly with a solvent to remove any oil, dirt, or residue. This guarantees the new sight adheres properly.
If your Glock has a dovetail front sight, gently loosen the existing sight with a sight pusher or brass punch, then remove it carefully to avoid damaging the slide.
For models using screws, remove the screw with the appropriate screwdriver.
Inspect the dovetail or mounting area for burrs or imperfections, and lightly file them if needed to create a clean fit.
Finally, test-fit the new front sight to confirm it fits snugly without forcing it in; this step prevents damage and ensures a secure installation.
Proper Alignment Techniques
Although installing the front sight may seem straightforward, aligning it properly is crucial for accuracy and performance. If the sight is off even slightly, your shots won’t hit where you expect.
To guarantee perfect alignment, follow these steps:
- Center the Sight: Position the front sight so it’s perfectly centered in the rear sight notch, making sure the top edges line up evenly.
- Check Height: Verify the front sight height matches your intended sight picture—too tall or short affects your point of impact.
- Use a Sight Tool: Utilize a sight pusher or alignment tool to hold the sight steady while pressing it into place, preventing shifts.
Installing the Rear Glock Sight Step-by-Step
Wondering how to get the rear Glock sight perfectly aligned? Start by securing your Glock in a vise with soft jaws to avoid damage.
To perfectly align your rear Glock sight, begin by safely securing the gun in a vise with soft jaws.
Use a sight pusher tool designed for Glock sights and position it on the rear sight’s dovetail. Apply steady pressure to slide the old sight out laterally—never force it vertically.
Clean the dovetail slot to remove debris. Next, place your new rear sight into the dovetail.
Use the sight pusher to carefully press the sight in, ensuring it’s centered and aligned with the front sight. Double-check alignment visually before finishing.
Securing Glock Sights Safely Without Damage
To safeguard your Glock sights without causing damage, you need to pick the right tools designed for the job. Handle each part gently to avoid scratching or misaligning the sights.
Taking these precautions ensures a safe and effective installation.
Proper Tool Selection
When installing Glock sights, choosing the right tools is essential to prevent damage and guarantee a secure fit. Using improper tools can scratch the slide or strip the sight screws.
Here are three must-have tools for the job:
- Sight pusher tool – Designed to apply even pressure, it safely moves the sights without marring the slide.
- Brass or nylon punches – These non-marring punches help tap sights into place gently, avoiding metal-on-metal damage.
- Torque screwdriver or Allen wrench – Ensures you tighten screws to the correct specifications without over-tightening, which can damage threads.
Gentle Handling Techniques
Although installing Glock sights may seem straightforward, handling them with care is crucial to avoid damaging delicate components. When you pick up the sights, hold them firmly but gently to prevent scratches or bending. Avoid using excessive force during installation; if the sight doesn’t slide easily, double-check alignment and tools.
Use a soft cloth or gloves to keep oils and dirt off the surfaces, preserving finish and function. When tapping sights into place, opt for a nylon or brass punch and a light mallet to minimize impact damage.
Take your time and work in a well-lit, stable area to maintain control. By treating your Glock sights with respect throughout the process, you’ll ensure a precise fit and long-lasting performance.
Adjusting Glock Sights After Installation
Since you’ve completed the installation, you’ll need to fine-tune your Glock sights to guarantee accuracy. Proper adjustments assure your shots hit the mark and improve overall performance.
Here’s how to adjust them effectively:
- Use a Sight Adjustment Tool: Most Glock sights require a specialized tool or a punch to move the rear sight left or right for windage adjustments and front sight up or down for elevation.
- Make Small Increments: Adjust in tiny steps to avoid overcorrection. For example, move the rear sight 1/8 inch at a time and test after each adjustment.
- Secure the Sights: After adjustments, tighten any set screws or apply thread locker to keep the sights from shifting during use.
These steps help you achieve precise alignment without guesswork.
Testing Your Glock Sights at the Range
When you head to the range, focus on your sight alignment to guarantee your shots hit where you aim.
Pay close attention to accuracy and make small adjustments for windage if your rounds consistently stray left or right.
This hands-on testing helps you fine-tune your Glock sights for reliable performance.
Sight Alignment Accuracy
How do you know if your Glock sights are properly aligned? When you’re at the range, you’ll want to focus on sight alignment accuracy to verify your shots hit where you intend.
Proper alignment means the front sight is centered in the rear sight notch, level with the top edge.
To check your sight alignment accuracy, try this:
- Use a target with a clear bullseye to give you a precise aiming point.
- Focus on the front sight, not the target, keeping it sharp and centered.
- Fire a controlled group of shots at a close range (7–10 yards) and evaluate the shot placement.
If your group clusters tightly around the bullseye, your sights are aligned correctly.
Adjusting for Windage
Once you’ve confirmed your Glock sights are properly aligned through accurate shot grouping, the next step is to fine-tune your sights for windage.
At the range, fire a group of shots at a target from your usual shooting distance. If your shots consistently land left or right of the bullseye, you’ll need to modify the rear sight accordingly. Use a sight tool or a small punch to move the rear sight in the opposite direction of the shot group—for example, if shots land right, shift the sight left.
Make small adjustments, then fire another group to check changes. Repeat this process until your shots center perfectly on the target.
Proper windage adjustment guarantees your Glock sights improve your shooting accuracy under real conditions.
Troubleshooting Common Glock Sight Installation Issues
Although installing Glock sights is generally straightforward, you may encounter a few common issues that can slow you down or affect accuracy. Here’s how to troubleshoot the most frequent problems:
1. Loose Sights: If your sights feel wobbly after installation, tighten them carefully with the proper tool. Avoid overtightening, which can strip threads or damage the sight.
2. Misalignment: Double-check your alignment before final tightening. Use a sight pusher or tap gently with a brass punch to center the sight.
Misaligned sights will throw off your aim.
3. Sight Pusher Tool Stuck: If the sight pusher jams, stop and reposition it. Forcing it can damage your slide or sight. Lubricate the tool or try a different angle for smoother movement.
Maintaining Your Glock Sights for Longevity
Dealing with installation hiccups is just the first step to keeping your Glock sights performing well. To guarantee longevity, clean your sights regularly with a soft cloth and mild solvent to remove dirt and gunpowder residue. Avoid harsh chemicals that might damage the finish.
Check for any loosening screws or movement after each shooting session and tighten them as needed. Store your Glock in a dry, cool place to prevent corrosion.
If you notice any chips or wear, address them promptly to avoid affecting accuracy. Regular maintenance not only preserves sight integrity but also guarantees consistent performance when you need it most.
Upgrading to Night or Fiber Optic Glock Sights
If you’re looking to improve visibility in low light, night sights offer a clear advantage with their glowing tritium inserts.
Fiber optic sights, on the other hand, gather ambient light to provide a bright, easy-to-see aiming point during the day.
Both upgrades can enhance your shooting accuracy depending on your needs and environment.
Benefits Of Night Sights
When you upgrade to night or fiber optic Glock sights, you’ll gain improved visibility in low-light conditions that standard sights can’t match. Night sights use tritium inserts that glow in the dark, helping you quickly acquire your target without fumbling.
This upgrade enhances your accuracy and confidence during nighttime or low-light shooting scenarios. Here are three key benefits:
- Faster Target Acquisition – The glowing dots guide your eyes swiftly to the front sight, reducing aiming time.
- Increased Accuracy – Better sight visibility means fewer misses, especially in dim environments.
- Enhanced Safety – Clear sight picture helps you identify targets correctly, minimizing accidental discharges.
Fiber Optic Sight Features
Although upgrading to fiber optic Glock sights might seem straightforward, understanding their unique features can help you make the most of this enhancement.
Fiber optic sights use brightly colored rods to gather ambient light, creating a glowing front sight that’s easy to acquire quickly, especially in daylight. You’ll notice these sights improve your target acquisition speed by offering a clear, high-contrast aiming point.
Unlike night sights, fiber optics don’t rely on tritium and won’t glow in the dark, but they excel in bright or moderate lighting conditions.
When installing, verify the fiber optic rods are intact and aligned to maintain accuracy. With proper care, these sights offer a vibrant, low-maintenance option that enhances your Glock’s shooting performance during the day.
When and Why to Replace Your Glock Sights
Sights play a crucial role in your Glock’s accuracy, so you’ll want to replace them whenever they no longer provide a clear, consistent sight picture. Over time, wear and tear or damage can affect your ability to aim precisely. Knowing when and why to swap out your sights guarantees your Glock performs at its best.
Here are three key reasons to replace your Glock sights:
- Visibility Declines: Faded or damaged sights reduce target acquisition speed, especially in low light.
- Damage Occurs: Dings, scratches, or misalignment from impacts compromise accuracy.
- Upgrade Desire: You want better sight options, such as fiber optic or night sights, for improved performance.
Replacing your sights at the right time keeps your Glock reliable and sharp on the range or in the field.
Frequently Asked Questions
Can I Install Glock Sights Without Professional Gunsmith Help?
Yes, you can install Glock sights without professional help if you have the right tools and patience. Just make sure to follow detailed instructions carefully to avoid damaging your firearm or misaligning the sights.
Are Glock Sight Installations Reversible if I Want to Revert?
Oh sure, just like erasing a tattoo with a magic eraser! In reality, Glock sight installations can be reversed, but expect some marks and careful work—you’ll need patience and proper tools to avoid turning your Glock into a modern art piece.
How Do Different Glock Models Affect Sight Alignment Accuracy?
Different Glock models have slight variations in barrel length and slide design, which can affect sight alignment accuracy. You’ll need to adjust your sights accordingly to guarantee proper zeroing and consistent shot placement.
What Legal Restrictions Apply to Modifying Glock Sights in My Area?
You need to check local, state, and federal laws because some places restrict altering firearm sights or require specific types for hunting or carry. Always verify regulations to avoid legal trouble before modifying your Glock sights.
Can Aftermarket Glock Sights Affect My Firearm’s Warranty Status?
Yes, installing aftermarket Glock sights can void your warranty if damage occurs during installation or use. You should check Glock’s warranty terms and consult your dealer before making modifications to avoid losing coverage.
Conclusion
Installing Glock sights is like tuning a fine instrument—you want every note to hit perfectly. By choosing the right sights and using the proper tools, you guarantee your Glock performs at its best. Remember to prepare carefully, remove old sights safely, and maintain your new ones regularly. Whether upgrading to night or fiber optic sights, a well-installed set keeps your aim sharp and reliable, helping you hit your target with confidence every time.