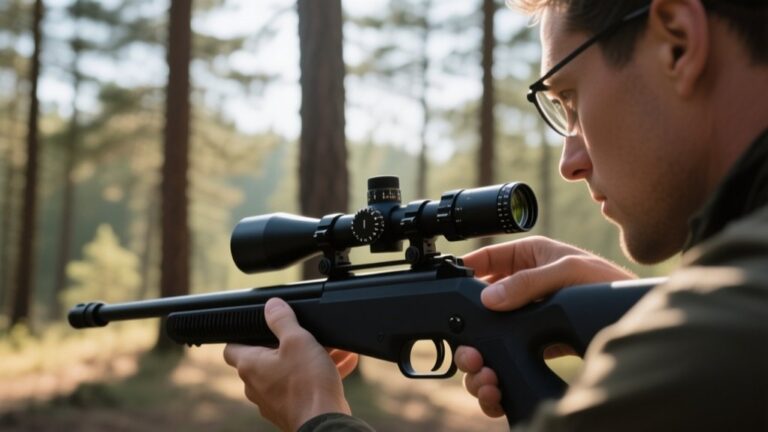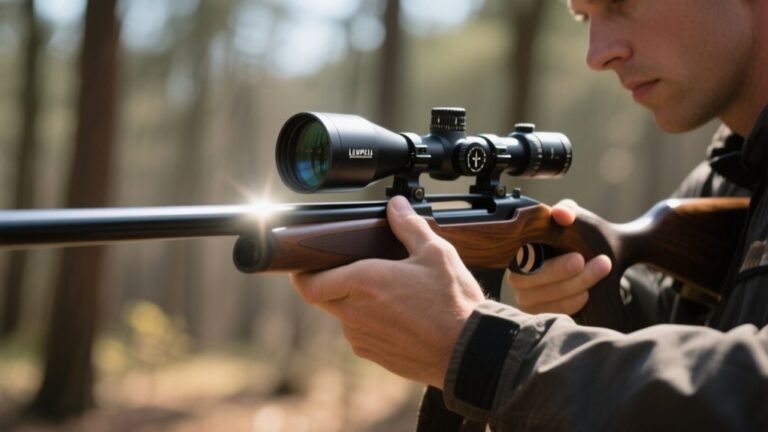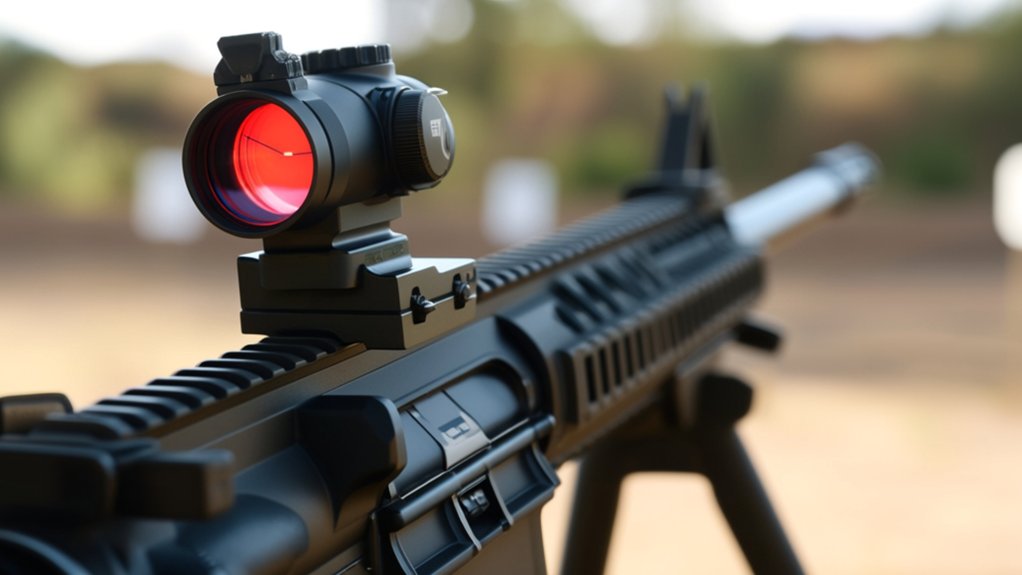
Do You Have To Sight In A Red Dot?
Yes, you do need to sight in your red dot to make sure your point of aim matches where your bullets hit. Factory zero is just a starting point, so fine-tuning windage and elevation is essential for accuracy and confidence. Changes in mounting position, distance, or environment can affect your zero, so regular checks help maintain precision. If you want to improve target acquisition and avoid wasted shots, understanding the full sighting process can really make a difference.
Key Takeaways
- Yes, sighting in a red dot aligns the point of aim with bullet impact for accuracy.
- Factory zero is a rough starting point but usually requires re-sighting for precision.
- Changes in mounting or height necessitate re-zeroing to maintain point-of-impact consistency.
- Proper sighting improves confidence, reduces misses, and enhances shooting speed and skill.
- Unadjusted red dots can be used short-term but lack reliable accuracy at varied distances.
What Does “Sighting In” a Red Dot Sight Mean?
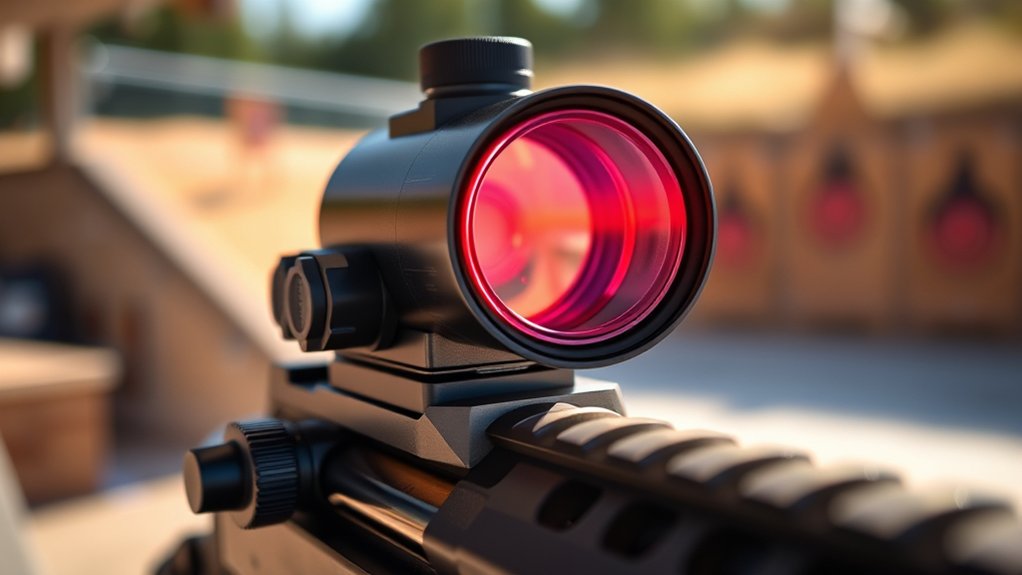
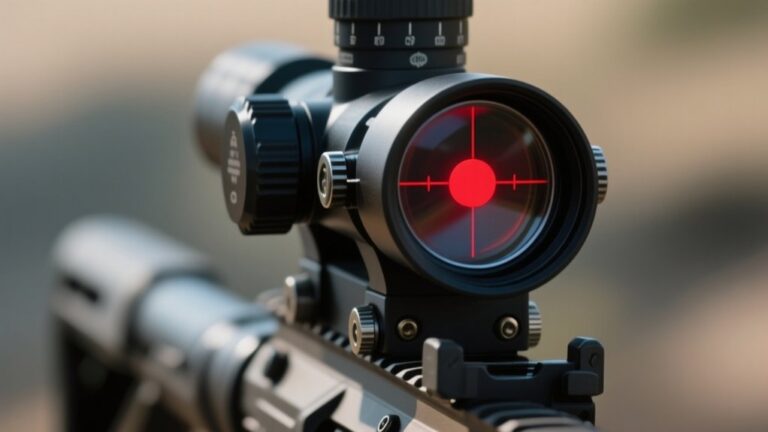
What exactly does “sighting in” a red dot sight mean? It’s the process where you adjust the sight so the red dot aligns precisely with where your bullet will hit.
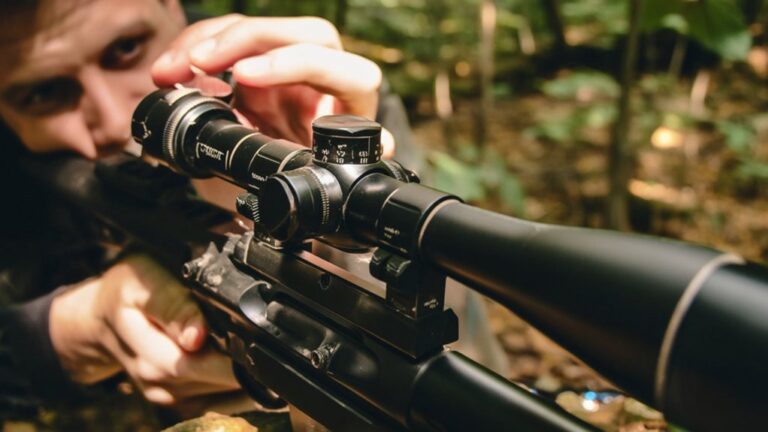
When you look through your red dot sight, the dot represents your aiming point, but without sighting in, it mightn’t match your bullet’s impact. You’ll need to make fine adjustments to the windage (left-right) and elevation (up-down) settings on the sight.
The red dot shows your aim, but adjustments ensure it matches where your bullet hits.
By doing this, you guarantee that when you place the red dot on your target, your shot lands exactly there. This step is key for accuracy, especially when using your firearm at different distances or with varying ammunition types.
Sighting in tailors the sight to your specific setup.
Why Sighting In Your Red Dot Sight Matters
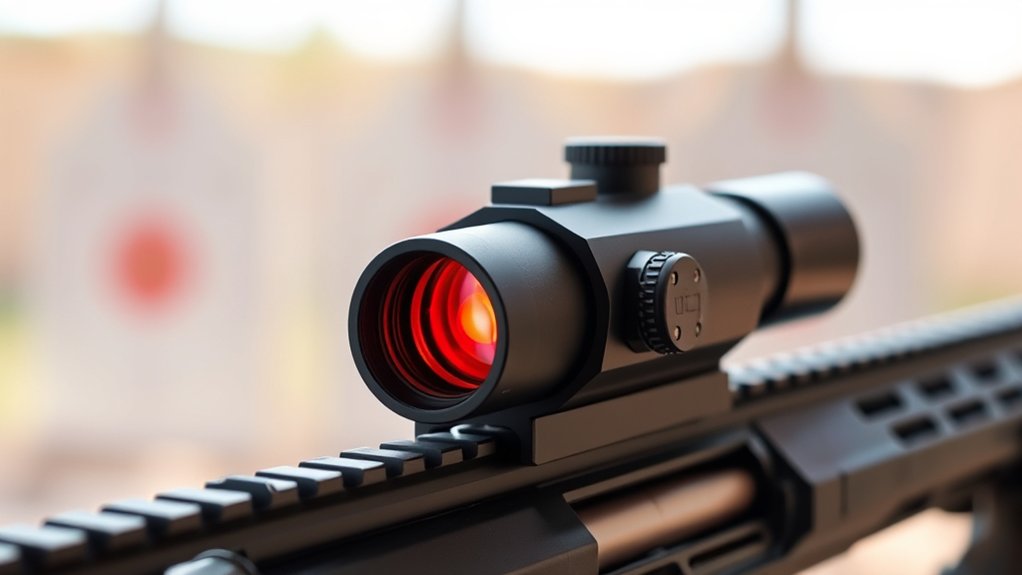
You’ll notice a big boost in accuracy once you sight in your red dot sight properly. It helps you hit your target consistently, shot after shot.
Plus, knowing your sight is zeroed builds your confidence every time you take a shot.
Accuracy Improvement Benefits
Because a red dot sight is designed to provide quick target acquisition, sighting it in guarantees that the point of aim matches the point of impact. When you take the time to properly zero your sight, you eliminate guesswork and ensure your shots land exactly where you intend.
This precision is essential, especially in fast-paced situations where split-second decisions matter. Without sighting in, your accuracy suffers, forcing you to compensate for inconsistencies.
Consistency In Targeting
Improving accuracy through sighting in naturally leads to greater consistency in targeting. When you properly sight in your red dot, you guarantee every shot aligns with your point of aim.
This consistency is vital, especially in fast-paced or dynamic shooting scenarios. Here’s why it matters:
- Reliable Shot Placement: You can predict where your bullet will land each time.
- Reduced Adjustment Time: Less need to tweak your sight mid-session.
- Improved Muscle Memory: You build a consistent shooting habit faster.
- Enhanced Target Acquisition: Quickly and confidently find your target without second-guessing.
Enhancing Shooting Confidence
When you sight in your red dot sight accurately, your confidence behind the trigger grows considerably. Knowing your point of aim matches where the bullet will hit lets you focus fully on your shot without second-guessing. This certainty reduces hesitation and improves your reaction time, especially in dynamic or high-pressure situations.
Without proper sighting, you might doubt each shot, leading to inconsistent results and frustration. By ensuring your red dot is zeroed, you can trust your equipment, allowing you to shoot instinctively and with precision.
This trust not only enhances your performance but also makes practicing and competing more enjoyable. Ultimately, sighting in your red dot sight sharpens your skills and boosts your shooting confidence every time you pick up your firearm.
How Factory Zeroing Impacts Your Red Dot Sight Accuracy
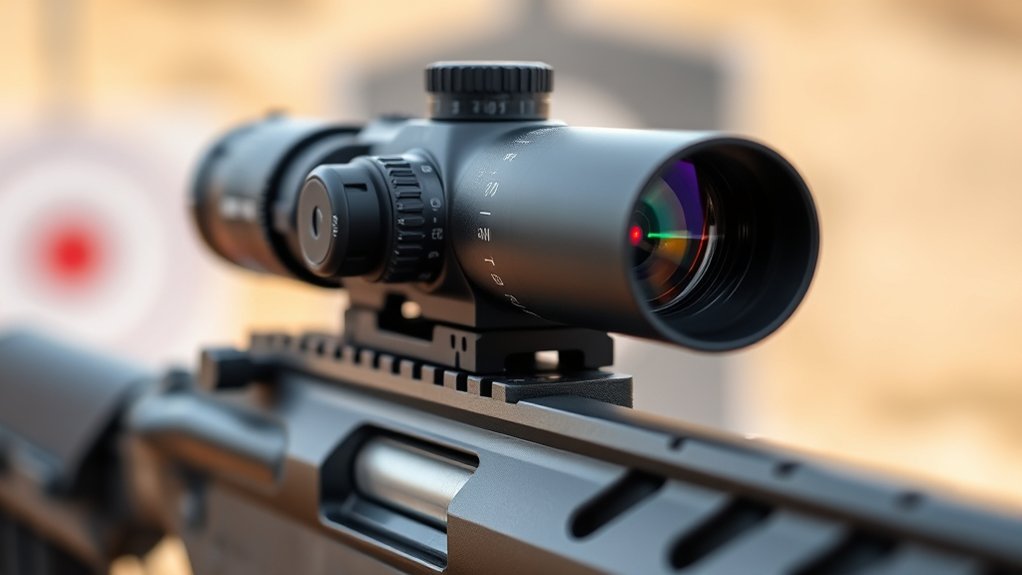
How does factory zeroing affect your red dot sight’s accuracy right out of the box? Factory zeroing can give you a decent starting point but often won’t guarantee perfect alignment. Here’s what you need to know:
- Initial Alignment – Factory zeroing roughly aligns your sight but may vary due to manufacturing tolerances.
- Environmental Factors – Shipping and handling can shift the zero slightly, affecting accuracy.
- Ammo Variability – The ammo you use might impact point of impact compared to factory test ammo.
- Individual Firearm Differences – Your specific firearm’s barrel and mounting position will influence zero accuracy.
How Mounting Position Changes Your Red Dot’s Point of Aim
When you change your red dot’s mounting height, it shifts the point of aim relative to your bullet’s path.
Even a slight offset can cause your shots to land off target.
Understanding these effects helps you adjust your sight or shooting technique for better accuracy.
Impact Of Height Differences
Why does the mounting height of your red dot sight matter so much? It directly affects your point of aim and shot accuracy. When you change the height, your red dot’s alignment with the barrel shifts.
Here’s what you need to contemplate:
- Parallax Shift: Height differences can cause the dot to move relative to the target when you change your eye position.
- Zeroing Adjustments: You’ll need to recalibrate your sight to compensate for height-induced changes in bullet trajectory.
- Sight Over Bore: Higher mounts increase the vertical distance between the sight and barrel, impacting bullet impact point, especially at close range.
- Comfort & Speed: Your shooting posture and speed can be affected if the height isn’t ideal for your stance.
Understanding these helps you maintain true accuracy every time you shoot.
Effects Of Offset Mounting
Although mounting your red dot sight offset from the bore axis might seem convenient, it changes your point of aim in ways you need to understand.
When your sight is mounted to the side, the bullet’s trajectory and your red dot won’t perfectly align at all distances. At close range, the offset might cause minimal error, but as distance increases, the point of impact shifts laterally.
This means you’ll need to compensate for this horizontal discrepancy when aiming. Knowing this, you can either adjust your zero at a specific range or train to compensate instinctively.
Ultimately, offset mounting requires extra attention during sighting in and shooting to ensure your shots hit where you expect, especially at longer distances where the offset effect becomes more pronounced.
What Shooting Distance Should You Zero Your Red Dot At?
Deciding the right distance to zero your red dot depends largely on how you plan to use your firearm. Most shooters zero between 25 and 50 yards for general use, balancing accuracy and quick target acquisition.
Here’s how to choose:
- Close Quarters: Zero at 10-25 yards for fast shooting indoors or in tight spaces.
- Mid-Range: Zero at 50 yards for versatile performance in hunting or tactical scenarios.
- Long Range: Zero at 100 yards if you expect to engage distant targets accurately.
- Specific Use: Adjust zero distance based on your typical shooting environment and ammunition.
Can You Use a Red Dot Without Sighting It In?
You can use a red dot without sighting it in, but your accuracy will likely suffer.
In some situations, like close-quarters or emergency use, an unadjusted red dot might still be practical. However, you need to understand its limitations before relying on it.
Accuracy Without Zeroing
Even without zeroing in a red dot sight, you can often achieve reasonable accuracy at close to moderate distances. The red dot’s intuitive aiming point helps you line up shots quickly, even if the sight isn’t perfectly calibrated. Here’s what to take into account:
- Distance Matters – Accuracy drops as range increases without proper zeroing.
- Target Size – Larger targets are easier to hit without fine adjustments.
- Consistency – Maintaining a steady shooting position improves results.
- Environmental Factors – Wind and lighting can affect your shot placement more noticeably.
While you might get decent results initially, zeroing ensures your point of impact consistently matches the red dot.
Practical Usage Scenarios
Although zeroing a red dot sight enhances accuracy, you can still use it effectively in certain practical scenarios without sighting it in first.
For example, in close-quarters situations where quick target acquisition matters more than pinpoint precision, an unzeroed red dot still helps you aim faster than iron sights. During training drills or casual shooting sessions, it provides a useful aiming reference without the need for perfect alignment.
If you’re using the red dot on a firearm for home defense, the priority is speed and target visibility rather than exact zeroing. Additionally, when switching between different firearms or optics, an unadjusted red dot can serve as a temporary aid until you have time to properly zero it.
In these cases, its advantage lies in rapid sight picture rather than long-range accuracy.
Limitations Of Unadjusted Red Dots
Certainly! Here’s the modified text with alternative words replacing “significant” in a contextually relevant manner:
—
While an unadjusted red dot sight can aid in quick target acquisition, it comes with considerable limitations that affect accuracy and reliability. You can’t rely on it for consistent precision without proper sighting. Here are four key drawbacks:
- Point of Impact Variability: The dot won’t align with the bullet’s actual impact, causing missed shots.
- Range Limitations: Without adjustments, your accuracy drops markedly at different distances.
- Environmental Factors: Wind, elevation, and lighting can shift your point of aim unpredictably.
- Reduced Confidence: You’ll second-guess your shots, undermining your effectiveness in critical moments.
To maximize your red dot’s potential, you need to sight it in. Otherwise, you risk wasting ammo and compromising performance.
Step-by-Step Guide to Sighting In Your Red Dot Sight
Before you start adjusting your red dot sight, make certain your firearm is securely mounted and you’re in a safe shooting environment. Begin by aiming at a target 10-15 yards away. Fire a three-shot group to see where the shots land compared to your point of aim. This will help you identify the initial offset. Next, note the grouping location and prepare for adjustments.
| Step | Action | Purpose |
|---|---|---|
| 1 | Secure firearm | Safety and stability |
| 2 | Aim at target | Establish point of aim |
| 3 | Fire 3-shot group | Identify shot placement |
| 4 | Observe group location | Determine sight adjustment needed |
This process ensures you know where your shots are landing before making any changes.
Adjusting Windage and Elevation on Your Red Dot Sight
Once you see where your shots are grouping, you can start adjusting the windage and elevation on your red dot sight to align the point of impact with your point of aim. Here’s how to get it right:
Seeing your shot groupings helps you adjust windage and elevation to perfectly align impact with your aim.
- Identify the error: Note how far your shots are from the bullseye horizontally (windage) and vertically (elevation).
- Adjust windage first: Turn the windage knob in the direction you want the point of impact to move—right or left.
- Adjust elevation next: Rotate the elevation knob to shift the point of impact up or down.
- Confirm adjustments: Fire a few more shots to verify if the dot aligns with your impact. Repeat as necessary until they’re perfectly matched.
This process guarantees your red dot sight is accurately zeroed for precise shooting.
Essential Tools for Sighting In Your Red Dot Sight
To sight in your red dot sight accurately, you’ll need a few essential tools that make the process smoother and more reliable.
First, a stable shooting rest or bench helps you maintain consistent aim. Use quality targets designed for easy visibility, like silhouette or grid targets.
A reliable measuring tape or ruler lets you track adjustments precisely. Don’t forget a set of screwdrivers or the tool that came with your sight for adjusting windage and elevation.
A spotting scope or binoculars help you see your hits clearly without walking downrange repeatedly.
Ultimately, keep a notebook or digital device handy to record your adjustments and results. These tools ensure you make precise, repeatable changes, speeding up the sighting-in process effectively.
How to Verify Your Red Dot Zero at the Range
Although you’ve carefully adjusted your red dot sight, verifying its zero at the range is essential to guarantee your shots hit exactly where you aim. Here’s how you can confirm your zero quickly and effectively:
- Set Up a Target: Place a standard target at your intended zero distance, usually 25 or 50 yards.
- Stabilize Your Position: Use a bench rest or sandbags to minimize movement and ensure consistency.
- Fire a Group: Shoot a 3-5 shot group aiming at the center of the target while keeping your red dot aligned.
- Evaluate and Adjust: Check where the group hits relative to your point of aim and make minor windage or elevation adjustments if needed.
Common Mistakes to Avoid When Sighting In a Red Dot
When sighting in a red dot, you can easily undermine your efforts by making some common mistakes that affect accuracy and consistency.
First, avoid skipping the mounting check; a loosely mounted sight shifts your zero. Don’t rush your shots—take your time to ensure a proper sight picture and steady hold.
Also, don’t rely solely on factory settings; always fine-tune your adjustments at the range.
Avoid inconsistent shooting positions, as even slight changes can throw off your zero.
Finally, don’t forget to confirm your zero at multiple distances if you plan to shoot beyond close range.
How Weather and Environment Affect Your Red Dot Zero
Since your red dot sight relies on precise alignment, weather and environmental factors can quickly throw off your zero. You need to take into account these four key influences:
Your red dot sight’s precision depends on alignment, easily disrupted by changing weather and environmental conditions.
- Temperature: Extreme heat or cold can cause metal parts to expand or contract, shifting your point of impact.
- Humidity: Moisture can fog lenses or affect the internal electronics, altering dot clarity and accuracy.
- Wind: Strong gusts can move your firearm slightly, impacting shot placement and perceived zero.
- Altitude: Changes in air pressure affect bullet trajectory, which can make your zero less reliable at different elevations.
When to Re-Sight Your Red Dot After Adjustments
You should re-sight your red dot immediately after making any adjustments to guarantee it stays accurate.
Take the time to confirm your zero before relying on it in the field. This quick step prevents surprises when precision matters most.
Timing After Adjustments
After making adjustments to your red dot, it’s important to allow your sight some time to settle before re-sighting. This pause ensures that any mechanical shifts or internal settling won’t throw off your accuracy.
Here’s how to manage timing effectively:
- Wait a few minutes: Let the sight stabilize after each adjustment to avoid premature shots.
- Keep the firearm steady: Secure your weapon during waiting periods to prevent unintended movement.
- Avoid rapid consecutive adjustments: Making multiple quick changes can confuse your zero and waste time.
- Check environmental factors: Temperature or humidity shifts can affect your sight’s performance, so consider waiting if conditions change.
Following these steps helps you maintain consistent zero and reduces the need for frequent re-sighting.
Confirming Accuracy Post-Change
Although you’ve given your red dot time to settle, confirming its accuracy is vital before trusting it in the field.
After making adjustments, take a few shots at your target from your usual shooting distance. Check where the bullet impacts relative to your point of aim.
If the grouping is off, fine-tune the windage or elevation accordingly. Don’t assume the first adjustment was perfect—double-checking prevents surprises later.
Repeat this process until your shots consistently hit your intended point.
Remember, environmental factors or handling can cause slight shifts, so confirm your red dot’s accuracy regularly, especially after changes or transport.
This practice ensures your sight works reliably, giving you confidence and precision when it counts most.
Why a Well-Zeroed Red Dot Helps You Acquire Targets Faster
When your red dot is properly zeroed, it aligns perfectly with your point of impact, allowing you to focus solely on the target instead of adjusting your aim. This alignment speeds up target acquisition by removing guesswork. Here’s why a well-zeroed red dot helps:
Properly zeroed red dots align with your impact point, eliminating guesswork and speeding up target acquisition.
- Instant target focus: You see exactly where your shot will land, so you don’t hesitate.
- Quicker sight picture: Your eyes naturally lock on the red dot and the target simultaneously.
- Reduced cognitive load: You avoid mental calculations and corrections mid-shot.
- Improved confidence: Knowing your dot matches your impact encourages faster, more decisive shooting.
With these benefits, a zeroed red dot lets you engage targets swiftly and accurately, enhancing your shooting effectiveness.
Troubleshooting Your Red Dot When Shots Don’t Group as Expected
If your shots aren’t grouping as expected, it’s essential to methodically check your red dot and setup to identify the problem. Start by ensuring the mount is secure—any looseness can cause inconsistent impacts.
Next, verify the battery isn’t dying; a fading dot can distract your aim. Clean the lens to remove smudges or debris that might distort the reticle.
Check that your shooting stance and grip remain consistent, as variations here often affect grouping more than the sight itself.
Finally, confirm your zero by shooting at a known distance and adjusting windage and elevation as needed.
Frequently Asked Questions
Can Different Red Dot Brands Affect Sighting in Procedures?
Yes, different red dot brands can affect sighting in procedures because each has unique reticle styles, brightness settings, and mounting requirements. You’ll need to adjust your approach based on your specific red dot’s features and controls.
How Does Battery Life Impact Red Dot Sight Performance?
Like a flashlight running low in a dark cave, short battery life can make your red dot flicker or die, messing with accuracy. You’ll want reliable power to keep your sight steady and your shots true.
Are There Specific Maintenance Tips for Red Dot Sights?
Yes, you should clean the lens regularly with a microfiber cloth, check battery contacts for corrosion, store it in a dry place, and inspect mounts for tightness. These steps keep your red dot sight reliable and accurate.
Can Red Dot Sights Be Used Effectively on Moving Targets?
You can absolutely use red dot sights on moving targets—they’re your secret weapon for quick, accurate shots. Just keep your eyes on the prize and practice tracking smoothly to make every shot count when things start moving fast.
What Are the Legal Considerations When Using Red Dot Sights?
You need to know local laws about firearm accessories, as some places restrict or regulate red dot sights. Always check hunting regulations and confirm your sight use complies with legal requirements to avoid penalties or unsafe practices.
Conclusion
You do need to sight in your red dot to guarantee accuracy. Imagine heading to the range with a brand-new sight, skipping zeroing, then missing your target repeatedly—that’s frustrating and costly. Proper zeroing accounts for mounting position, distance, and environment, letting you trust your shots. Regularly re-sighting after adjustments keeps your aim true, so you can confidently acquire targets faster and avoid surprises when it counts most in the field.