7 Steps to Sight Your Rifle Scope at 100 Yards
To sight your rifle scope at 100 yards, first make sure your rifle and scope are clean and securely mounted. Set up a stable shooting position and place a clear target at 100 yards. Aim carefully, then fire a group of shots. Analyze where they hit, adjusting the windage and elevation turrets to move the point of impact toward your target. Confirm zero by repeating this process and regularly check your scope’s alignment for consistent accuracy. Keep following to uncover detailed tips for perfecting your zero.
Prepare Your Rifle and Scope for 100-Yard Sighting
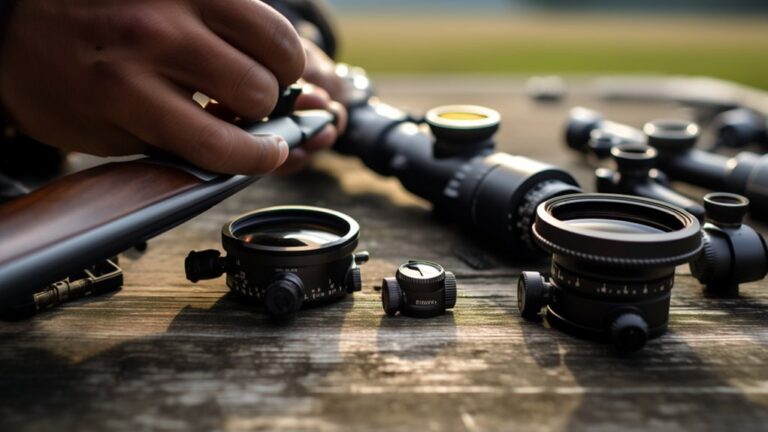
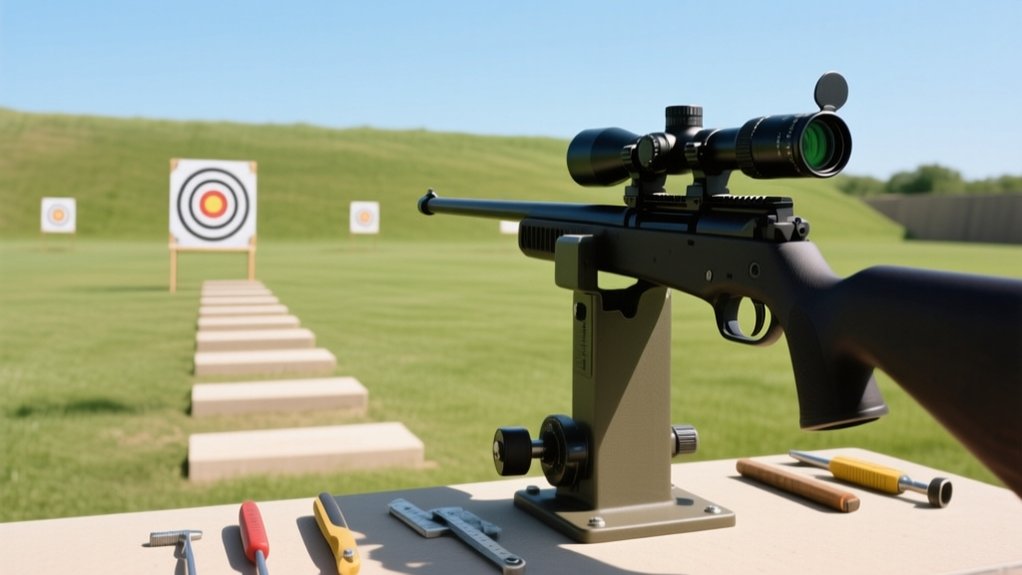
Before you begin sighting your rifle scope at 100 yards, make sure your rifle is clean and properly secured in a stable rest or shooting bench. Check the barrel for any obstructions and clean the bore thoroughly to guarantee accuracy.
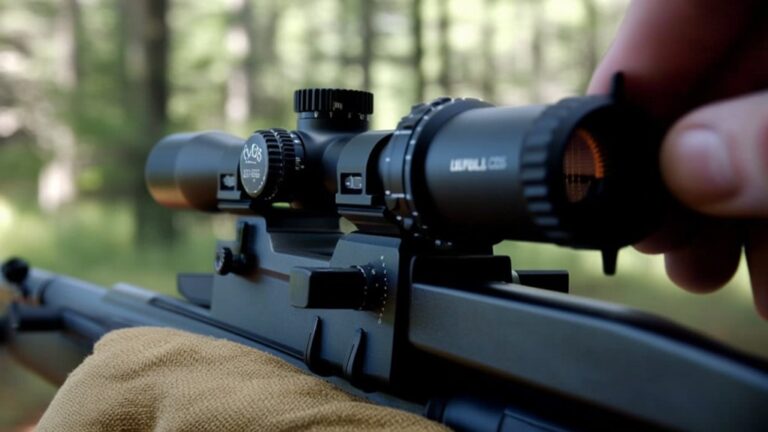
Next, inspect your scope’s mounts and rings to confirm they’re tight and aligned; loose mounts can throw off your zero.
Adjust the scope’s eye relief so you get a full, clear sight picture without straining your eye.
Set the magnification to a moderate level, usually between 4x and 9x, to balance field of view and target clarity.
Finally, verify your rifle’s safety is on until you’re ready to shoot, and have your ammunition nearby and matched to your rifle’s specifications.
Set Up a Stable Shooting Position
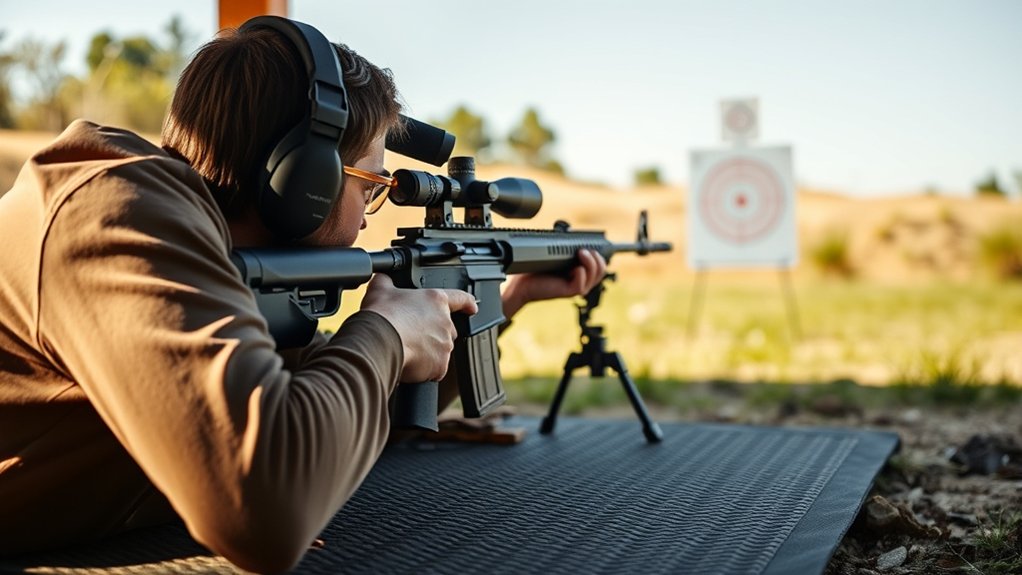
To get accurate shots, you need a stable shooting position. Choose a firm surface, use shooting rests to steady your rifle, and keep your body as still as possible.
These steps will help you maintain consistency while sighting your scope.
Choosing The Right Surface
When you choose the right surface for sighting your rifle scope, you create a stable foundation that minimizes movement and improves accuracy. Look for a flat, solid area that won’t shift under your weight or the rifle’s recoil. Concrete, packed earth, or a sturdy shooting bench works best.
Avoid uneven or slippery surfaces, as they can cause slight shifts that throw off your zero. If you’re outdoors, clear away debris like rocks or sticks before setting up.
Make sure the surface allows you to comfortably position yourself without straining, so you can maintain consistent form. A stable surface helps you focus solely on your shot, making those fine adjustments easier and more reliable.
Take your time selecting the spot—it’s key to getting accurate results.
Using Shooting Rests
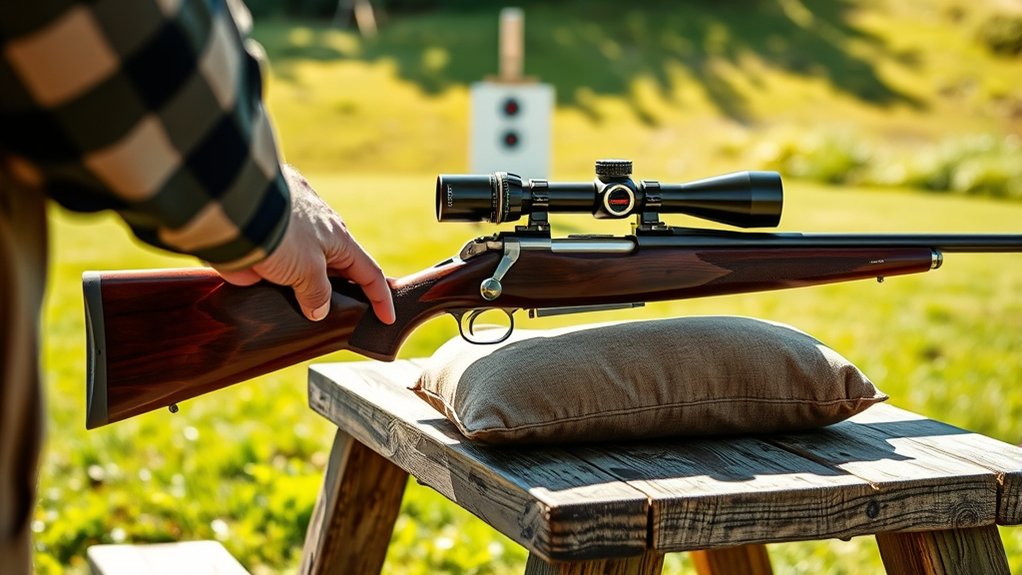
A stable surface sets the stage, but using shooting rests takes your stability to the next level. When you place your rifle on a front rest or sandbag, it reduces movement and helps maintain a steady aim.
Adjust the rest so the rifle sits comfortably and the scope aligns naturally with your eye. Don’t forget to support the rear of the rifle as well, either with a rear sandbag or your non-dominant hand resting lightly.
This balanced setup minimizes barrel sway and recoil impact, allowing you to focus on precise adjustments. Make sure your rests are firm but not so tight that they cause tension or shift the rifle’s point of impact.
Proper use of shooting rests dramatically improves your ability to sight in accurately at 100 yards.
Minimizing Body Movement
Although your rifle rests provide solid support, minimizing your own body movement is just as crucial for consistent accuracy.
To set up a stable shooting position, plant your feet shoulder-width apart and lean slightly forward. Keep your elbows tucked in close to your body to reduce sway.
When you shoulder the rifle, ensure your cheek rests firmly on the stock, creating a consistent sight picture.
Control your breathing by taking slow, steady breaths and exhaling just before squeezing the trigger.
Avoid jerking or flinching, as these small movements can throw off your shot.
Place Your Target at 100 Yards
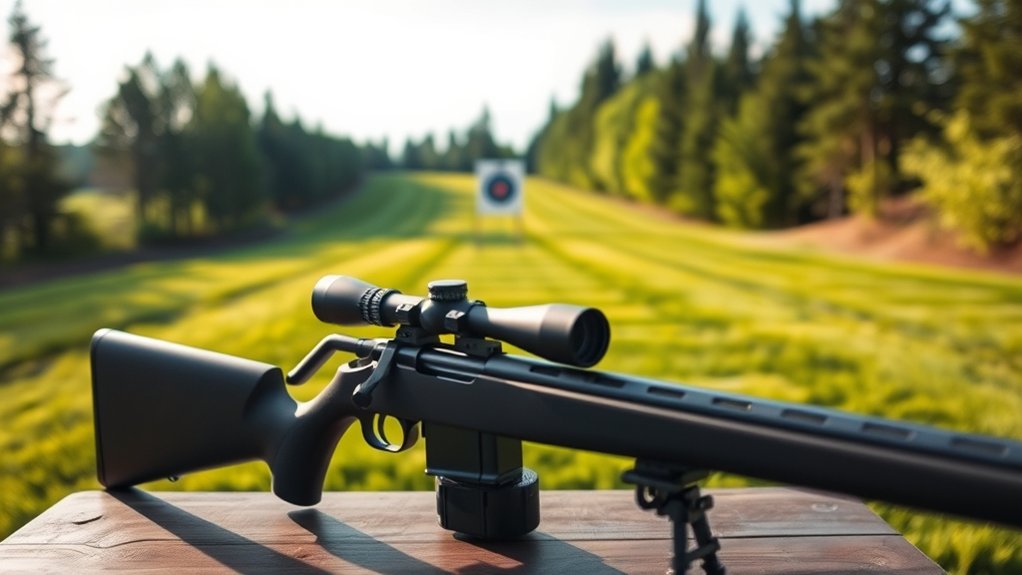
Place your target exactly 100 yards away in a clear shooting area free of obstructions.
Make sure the lighting conditions let you see the target clearly without glare or shadows.
Don’t forget to mark the center of your target distinctly to help with accurate sighting.
Choose Clear Shooting Area
Where should you set up to guarantee a safe and effective sighting session? First, pick a location with a wide, unobstructed range behind your target, ensuring no people, animals, or structures are in the line of fire.
Clear the area of any debris or obstacles that could interfere with your shooting or cause ricochets. Make sure the ground is stable and level to maintain consistent shooting positions.
It’s essential that your backstop is solid—like a berm or thick dirt mound—to safely stop bullets. Avoid areas near public access or busy trails to prevent accidents.
Ensure Proper Lighting Conditions
How can you make sure your scope is sighted accurately at 100 yards? Start by guaranteeing proper lighting conditions. Choose a time of day with consistent natural light, ideally early morning or late afternoon, to avoid harsh shadows or glare. Bright, even lighting helps you clearly see the target and the reticle through your scope.
Avoid shooting when the sun is directly behind you, as it can cause reflections or lens flare, making it harder to focus. If natural light is limited, use a well-placed artificial light source that mimics daylight without creating hotspots.
Proper lighting ensures you can precisely align your scope with the target, which is essential for accurate sighting at 100 yards.
Mark Target Center Clearly
Before you begin sighting your rifle scope, make sure you clearly mark the target’s center at 100 yards. Use a bold, contrasting color like bright orange or red to draw a distinct bullseye that stands out against the background. A well-defined center helps you aim precisely and reduces guesswork during adjustments.
Avoid small or faint marks, as they can be hard to see through your scope, especially in varying light conditions. If your target doesn’t have a pre-printed bullseye, simply apply a large adhesive dot or paint a circle with a diameter of at least two inches.
Position the target securely to prevent movement caused by wind or other factors. Clear marking guarantees your shots will be accurate, making your sighting process efficient and effective.
Adjust Windage and Elevation Turrets
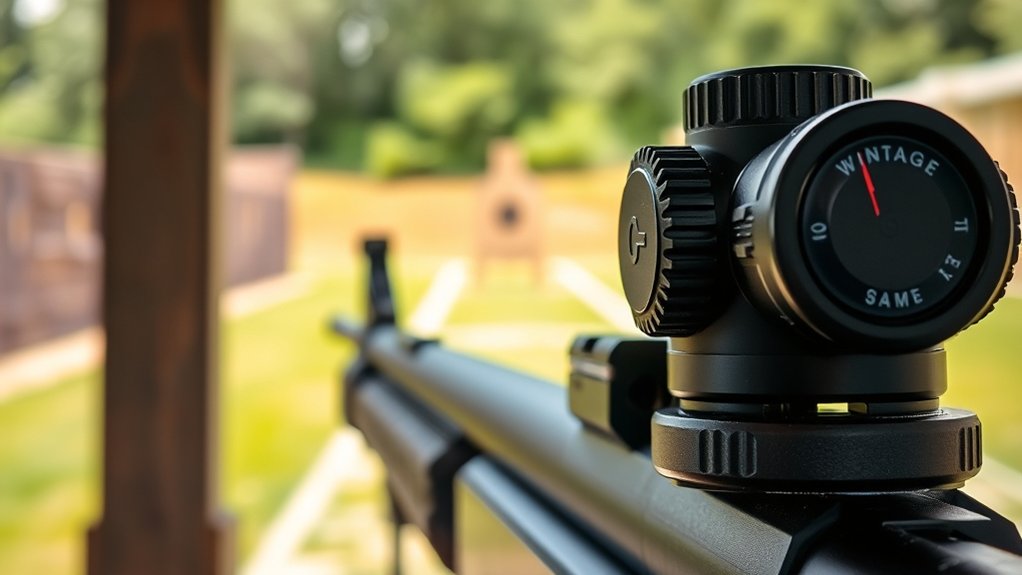
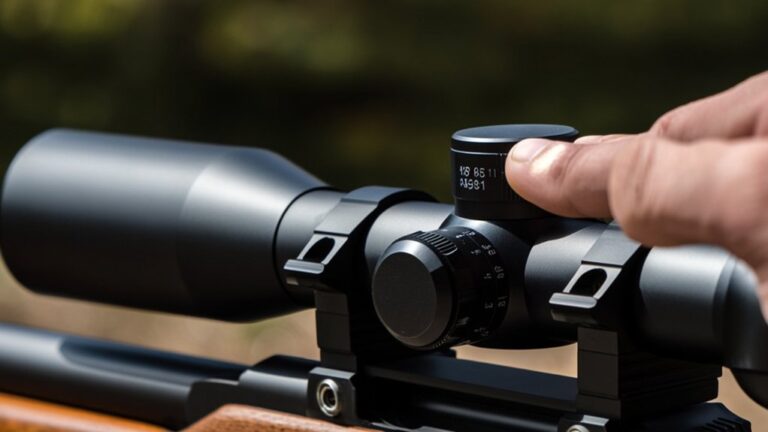
Once you’ve confirmed your target is at 100 yards, you’ll need to modify the windage and elevation turrets to align your scope’s reticle with the point of impact.
Start by understanding that windage controls horizontal movement, while elevation adjusts vertical placement. Turn the turrets in small increments, usually quarter or half clicks, to move the reticle precisely.
Keep these tips in mind:
- Adjust windage first to correct left or right deviations.
- Use elevation to fix shots that are high or low.
- Make one adjustment at a time and note the direction of correction.
- Always confirm turret markings match your intended adjustment.
This careful tuning ensures your scope’s aim matches where your bullet hits at 100 yards.
Fire a Group and Analyze Shot Placement
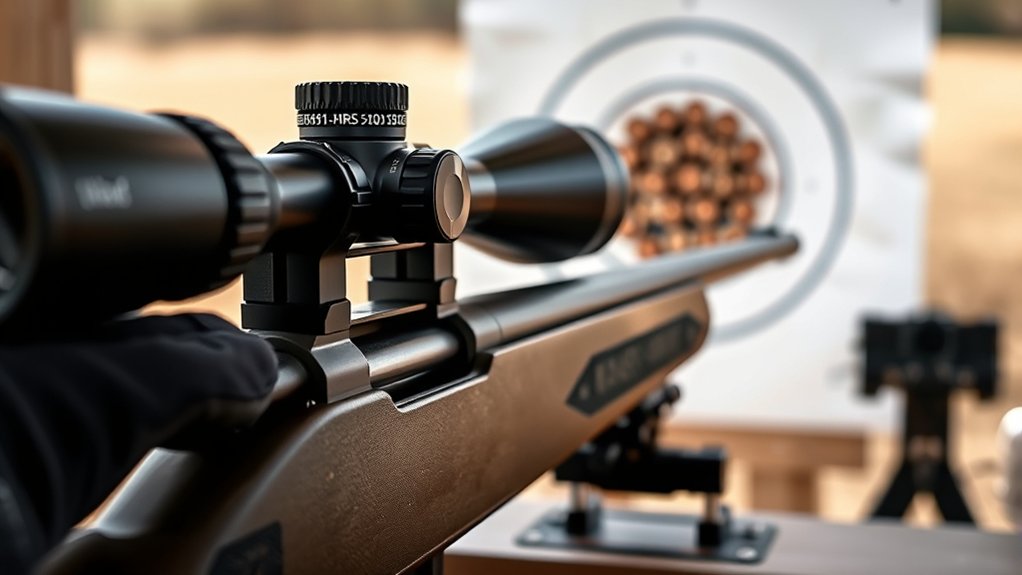
After adjusting your turrets, fire a group of three to five shots at the same target to see where your rounds are landing. Focus on keeping your position steady and your aim consistent for each shot.
Once you’ve fired, carefully examine the group’s placement relative to your aiming point. Note whether the shots cluster tightly or spread out, as this tells you about both your shooting steadiness and your scope’s current zero.
Pay close attention to the group’s center in relation to the bullseye—are the shots high, low, left, or right? This information is vital for knowing how much more adjustment your scope needs.
Don’t rush; take your time analyzing the pattern before moving on to any further adjustments.
Make Precise Scope Adjustments and Confirm Zero
Although you’ve already made initial adjustments, it’s essential to fine-tune your scope precisely to guarantee your shots consistently hit the bullseye.
Start by making small incremental changes to the windage and elevation turrets, using the scope’s click values as your guide. After each adjustment, fire another group to evaluate the impact.
Confirm your zero by:
- Using a stable shooting position and consistent technique
- Checking that all screws and mounts are secure
- Adjusting only one variable at a time to isolate effects
- Recording your turret settings for future reference
Repeat this process until your shots are tightly grouped on the target’s center.
Once you confirm zero, your scope is ready for accurate shooting at 100 yards.
Keep Your Scope Zeroed With Regular Checks and Care
Fine-tuning your scope to achieve a perfect zero is just the beginning of maintaining accuracy. You need to regularly check your zero, especially after rough handling or changing environmental conditions.
Before each shooting session, confirm your point of impact by firing a few rounds at your zeroed distance. If you notice any shifts, make adjustments immediately.
Keep your scope and mounting hardware clean and tight; dirt and loose screws can affect alignment. Avoid unnecessary scope removal, as repeated dismounting can throw off your zero.
Store your rifle in a stable environment to prevent moisture or temperature extremes from impacting your scope’s performance.
Frequently Asked Questions
What Type of Rifle Scope Is Best for 100-Yard Sighting?
You’ll want a rifle scope with clear, adjustable turrets and at least 3-9x magnification for 100-yard sighting. A reticle with fine crosshairs helps you aim precisely, making adjustments quick and accurate.
How Does Weather Affect Shooting Accuracy at 100 Yards?
You’ll find weather affects your shooting accuracy at 100 yards because wind can push bullets off course, humidity changes air density, and temperature influences bullet speed. So, always adjust your aim based on current conditions.
Can I Sight My Rifle Scope Indoors Before Going Outside?
Yes, you can sight your rifle scope indoors using a bore sight or laser tool. It helps you get close, but you’ll still need to fine-tune your zero outside at 100 yards for accuracy.
What Tools Do I Need for Mounting a Rifle Scope?
You’ll need a torque wrench so tight you’d swear it could crack steel, a bubble level to keep things perfectly straight, screwdrivers, mounting rings, and maybe some Loctite—because your scope deserves the strongest, steadiest home.
How Often Should I Replace My Rifle Scope Batteries?
You should replace your rifle scope batteries at least once a year or whenever the illumination dims. Always carry spare batteries during trips, so you don’t get caught without power when you need it most.
Conclusion
Now that you’ve nailed your 100-yard zero, never neglect regular checks to keep your scope sharp and steady. Staying steady, setting sights, and swiftly adjusting will secure your shooting success. Remember, routine care and consistent calibration create confidence and capability in the field. So, stick with these simple steps, and your scope will stay spot-on, shot after shot. Sight smart, shoot sharp, and savor every satisfying strike downrange!