Make a Leather Holster in 5 Easy Steps
To make a leather holster in five easy steps, start by gathering vegetable-tanned leather, cutting tools, and stitching supplies. Next, trace your firearm onto the leather and cut it precisely, beveling edges for comfort. Then, dampen the leather to mold it snugly around your firearm and let it dry. Sew the pieces together securely using a saddle stitch, and finally, condition and finish the leather for durability and protection. Follow along to uncover tips for perfecting your craft.
Gather Materials and Tools for Your Leather Holster
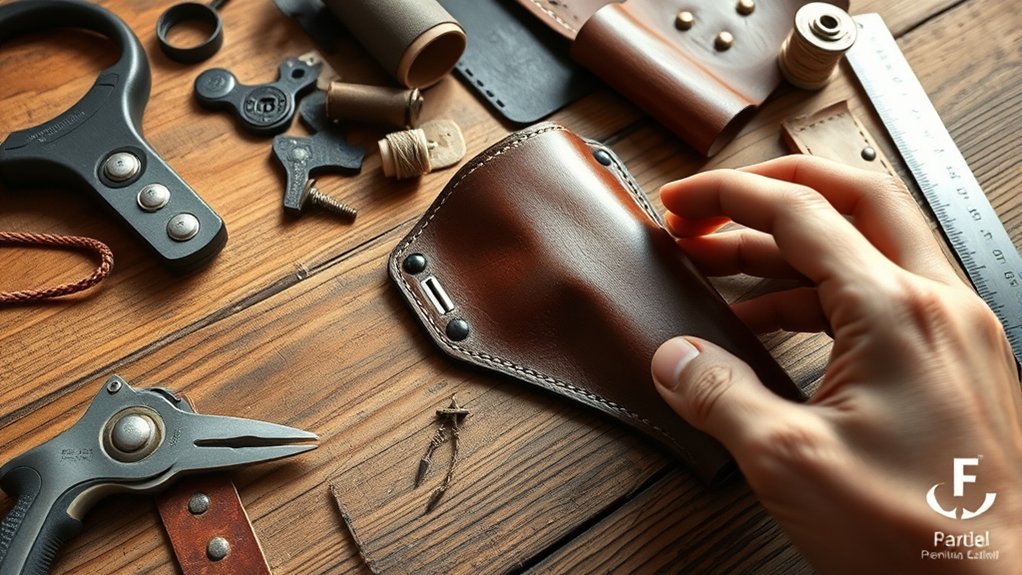
Before you begin crafting your leather holster, you’ll need to gather all the necessary materials and tools. Start with vegetable-tanned leather, ideally 8-10 oz thickness for durability and flexibility.
You’ll also want a sharp utility knife or rotary cutter for clean edges. Don’t forget a cutting mat to protect your surfaces.
Grab some leather dye and finish to personalize and protect your holster.
You’ll need stitching supplies: waxed thread, needles, and a stitching pony or clamp to hold the leather steady.
A mallet and leather punches will help make precise holes for stitching and rivets.
Finally, have contact cement or leather glue handy to temporarily hold pieces together before sewing.
Collecting these essentials upfront will make the crafting process smoother and more enjoyable.
Cut and Shape Your Leather Holster to Fit Your Firearm
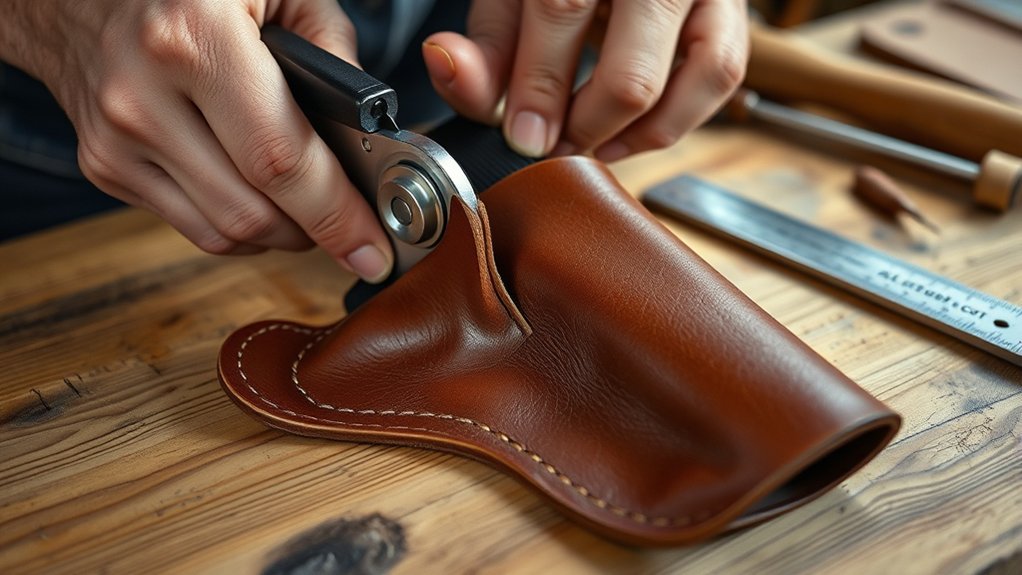
With your materials and tools ready, you can now focus on cutting and shaping the leather to fit your firearm perfectly. Begin by tracing your firearm’s outline onto the leather using a pencil or scratch awl, allowing a small margin for stitching and molding.
Use a sharp utility knife or rotary cutter to carefully cut along the traced lines, guaranteeing clean, precise edges. Next, bevel the edges with an edge beveler to create a smoother finish and prevent sharp corners.
Lightly dampen the leather to make it more pliable, but don’t soak it yet—that’s for shaping later. Take your time with these steps, as accuracy here ensures your holster will hold your firearm securely and comfortably without unnecessary bulk or looseness.
Shape Your Leather Holster for a Perfect Fit
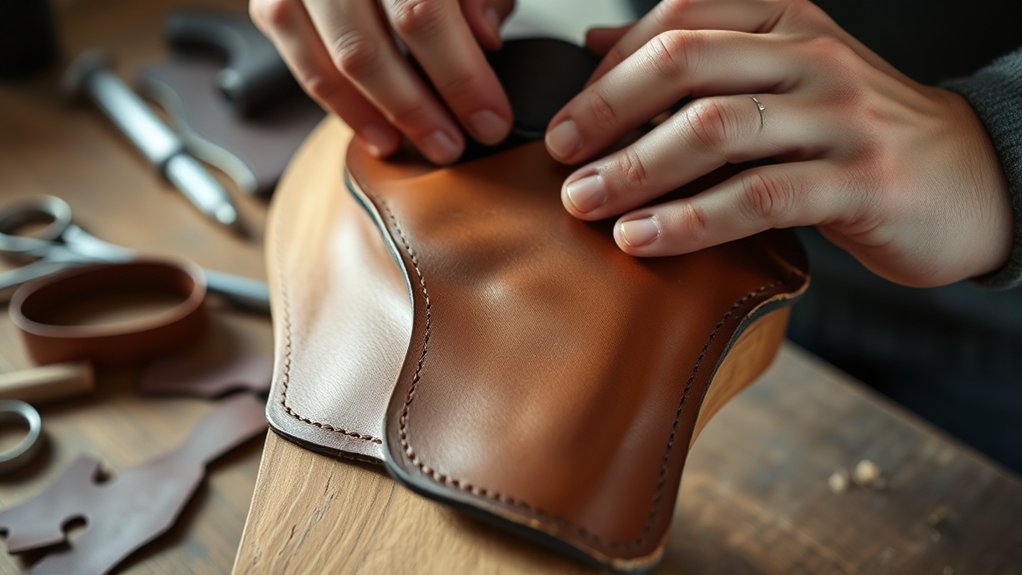
Although cutting your leather accurately sets the foundation, shaping it properly guarantees your holster fits your firearm snugly and securely.
Start by dampening the leather with a sponge or spray bottle; this softens the material, making it easier to mold. Insert your firearm into the leather and press firmly, allowing the leather to contour around the shape.
Use your hands or a wooden mallet to gently form the edges and curves, ensuring every detail matches your gun’s profile. Let the leather dry completely while holding the shape to lock in the form.
This process not only improves fit but also adds structure and durability to your holster, creating a custom feel that protects your firearm during everyday use.
Sew Your Holster Pieces Together Securely
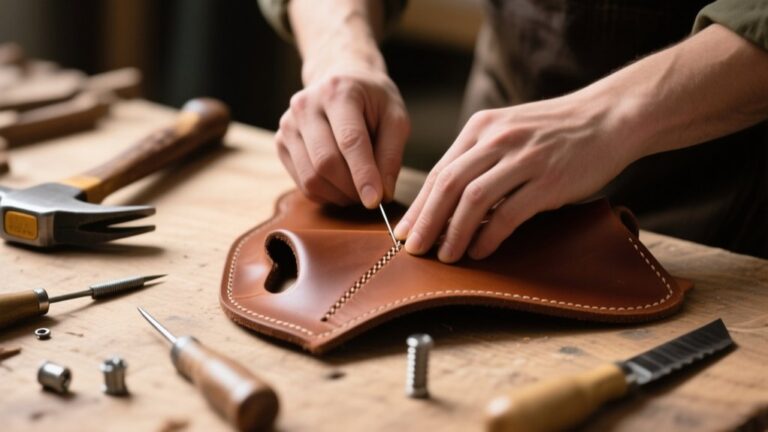
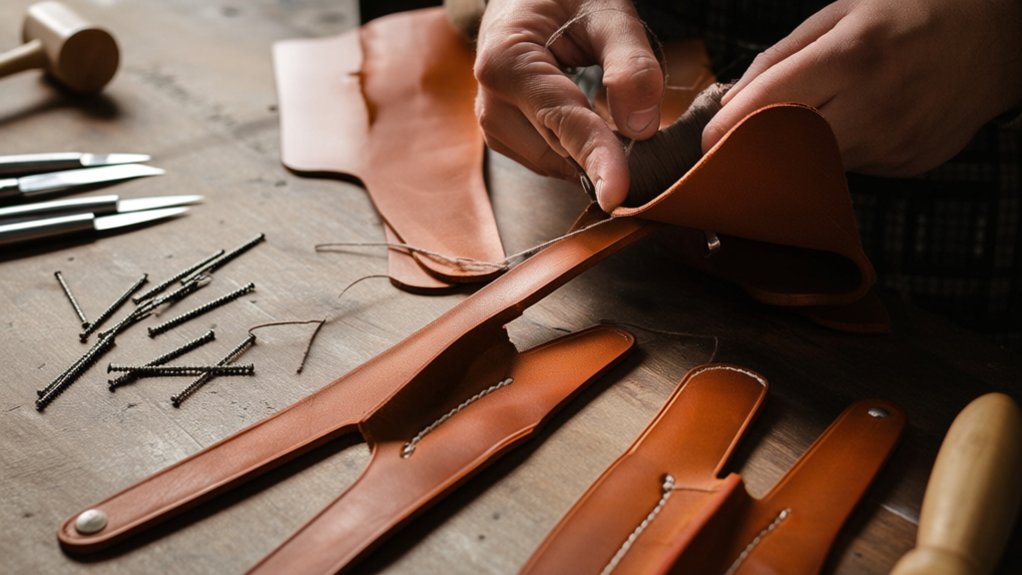
Once your leather has dried and taken shape, you’re ready to sew the holster pieces together securely. Begin by aligning the edges carefully, ensuring all layers fit perfectly without gaps or overlaps. Use a stitching groover to create a consistent channel along the seams; this helps protect your stitches from wear.
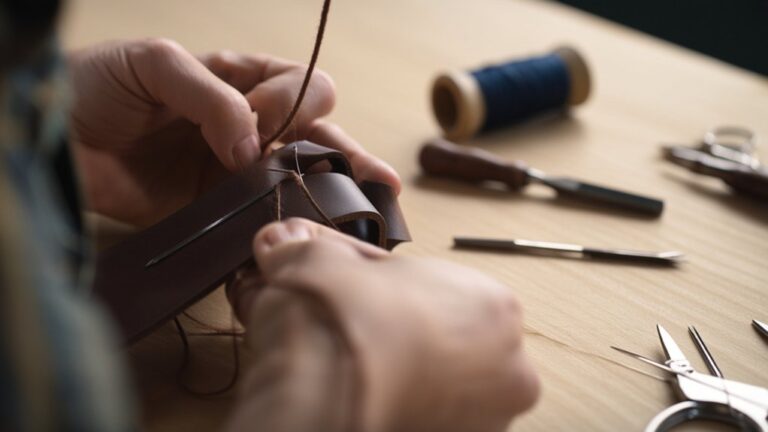
Thread a sturdy waxed thread into two needles for a saddle stitch, which offers strength and durability. Push the needles through each hole from opposite sides, pulling tight with every stitch to avoid loose seams. Keep your tension even to prevent puckering.
When you reach the end, backstitch a few holes for reinforcement. Finally, trim excess thread and burn the ends slightly to secure them firmly in place.
Finish and Condition Your Leather Holster for Long-Lasting Use
After sewing your holster securely, you’ll want to finish and condition the leather to protect it from wear and moisture.
Start by applying a leather conditioner evenly with a soft cloth, working it into the surface to keep the leather supple and prevent cracking. Let it absorb fully before moving on.
Next, use a leather finish or sealant to create a protective barrier against water and stains. Apply thin, even coats and allow each to dry thoroughly. Avoid heavy buildup, which can stiffen the leather.
Regular conditioning every few months will maintain flexibility and appearance.
Frequently Asked Questions
What Type of Firearm Is Best Suited for a Leather Holster?
You’ll find that compact to mid-sized handguns fit best in leather holsters because leather molds well to their shape, offering comfort and secure retention. Larger firearms might feel bulky and less comfortable for everyday carry.
How Do I Attach the Holster to Different Types of Belts?
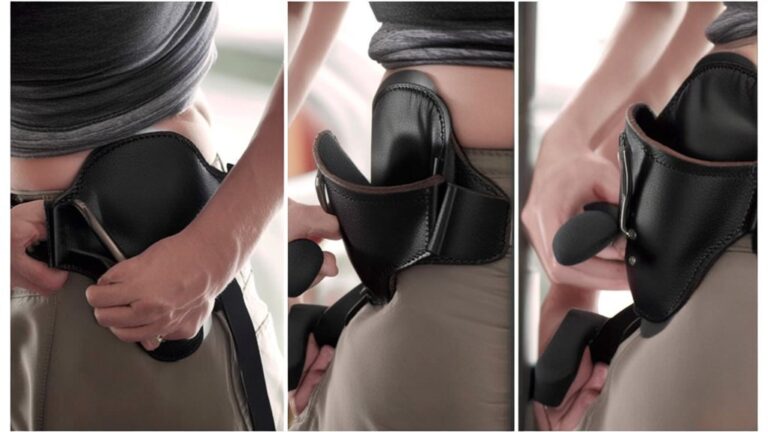
You’ll slide the holster’s sturdy belt loop over your belt, whether slim or wide, then snap or screw it tight. Imagine the holster hugging your waist, secure yet easy to adjust or remove whenever you want.
Can Leather Holsters Be Customized With Designs or Initials?
Yes, you can customize leather holsters with designs or initials. You’ll just need tools like stamps or a pyrography pen. Personalizing it adds style and makes your holster uniquely yours. Don’t hesitate to get creative!
What Safety Precautions Should I Take When Using a Leather Holster?
Always assess and avoid accidental access; guarantee the holster fits firmly. Frequently fasten firearm securely, follow firearm handling fundamentals, and face forward when fastening. Staying safe starts with smart, steady steps and strict standards.
How Do I Repair a Leather Holster if It Gets Damaged?
You’ll want to clean the damaged area, apply leather glue for small tears, and press firmly. For deeper damage, use a leather patch and stitch it securely. Finish with conditioner to restore flexibility.
Conclusion
Now that you’ve crafted your leather holster, you’re part of a tradition that’s grown steadily—did you know the leather goods market is expected to reach over $100 billion by 2027? Your handmade holster isn’t just functional; it’s a timeless piece that combines craftsmanship with durability. With these simple steps, you’ve created something unique that’ll last for years, proving that with a little effort, quality always stands out.