How To Sight In A Thermal Scope?
To sight in your thermal scope, start by securely mounting it on your rifle and choosing a stable rest. Pick a zeroing distance that fits your typical shooting, like 50 or 100 yards. Align the reticle with your target’s heat signature and make small adjustments to elevation and windage based on where shots land. Test at multiple ranges for consistency, and troubleshoot issues like blurry images or mount shifts if needed. Keep following this process to sharpen your zeroing skills and maintain accuracy.
Key Takeaways
- Mount the thermal scope securely on the rifle and stabilize the setup using a rest or bipod for consistent shooting.
- Choose an appropriate zeroing distance based on typical shooting ranges, commonly between 50 to 200 yards.
- Align the reticle with the target’s thermal heat signature, ensuring clear contrast for precise aiming.
- Fire test shots and adjust elevation and windage incrementally to correct point of impact and achieve accurate zero.
- Record adjustments and verify zero at multiple distances, troubleshooting any issues like scope shifts or image blurriness.
How Thermal Scopes Help You Zero Accurately
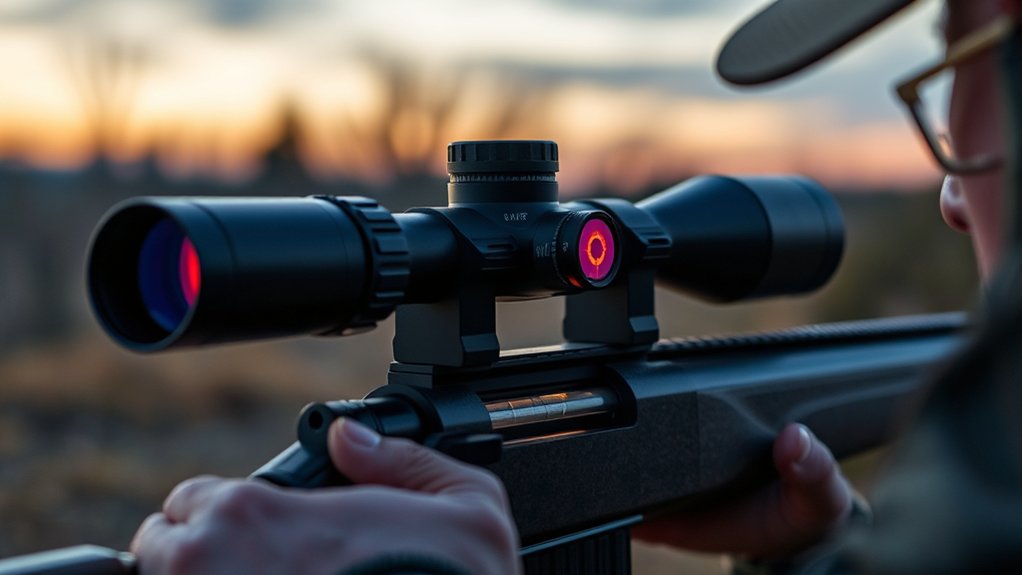
Although thermal scopes differ from traditional optics, they help you zero accurately by highlighting heat signatures, making your target easier to identify in various conditions. You won’t struggle with low light or camouflage since the scope detects the infrared radiation your target emits.
This clear contrast lets you quickly align your reticle with the target’s exact position. As a result, you can adjust your point of aim with confidence, reducing guesswork.
The scope’s digital display often includes range estimation and ballistic compensation features, assisting you further in precise zeroing.
By relying on heat instead of visible light, you maintain accuracy whether it’s foggy, dark, or cluttered terrain.
This means you can trust your thermal scope to provide consistent, reliable zeroing performance every time.
What Equipment You Need Before Zeroing Your Thermal Scope
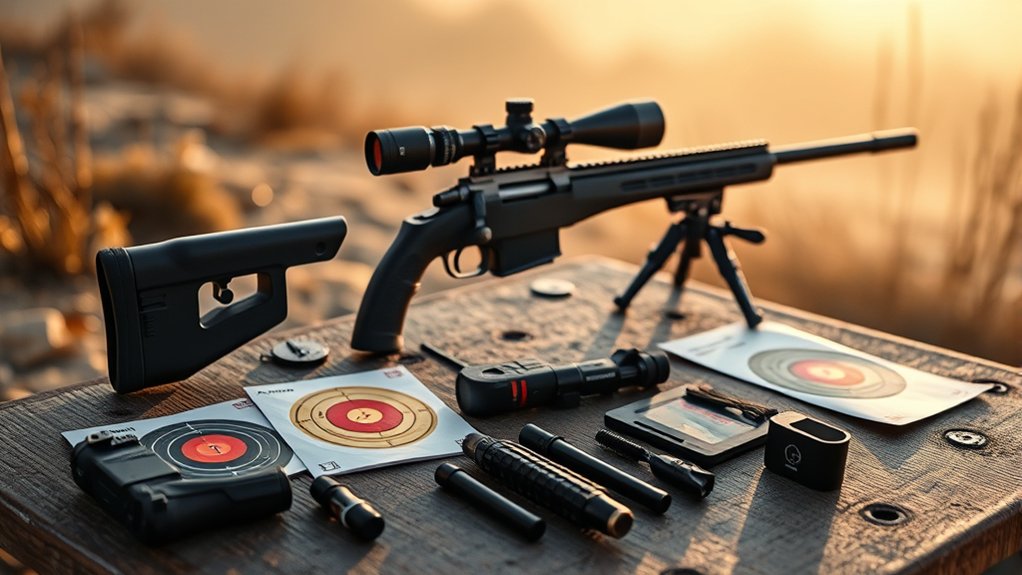
Before you start zeroing your thermal scope, you’ll need to gather a few essential pieces of equipment to guarantee accuracy and efficiency. Having the right gear ensures your zeroing process is smooth and precise. Here’s what you should have on hand:
| Equipment | Purpose |
|---|---|
| Thermal Scope | The device you’re zeroing |
| Stable Rest or Bipod | Keeps your rifle steady during shots |
| Target | A clear, visible point for aiming |
| Rangefinder | Measures the exact distance to target |
Each item plays a critical role. Your thermal scope lets you see heat signatures clearly, while a stable rest or bipod minimizes movement. The target provides a consistent aiming point, and the rangefinder helps you set your zero distance accurately. Make sure you have these ready before moving on to zeroing your thermal scope.
Setting Up Your Thermal Scope on a Stable Platform
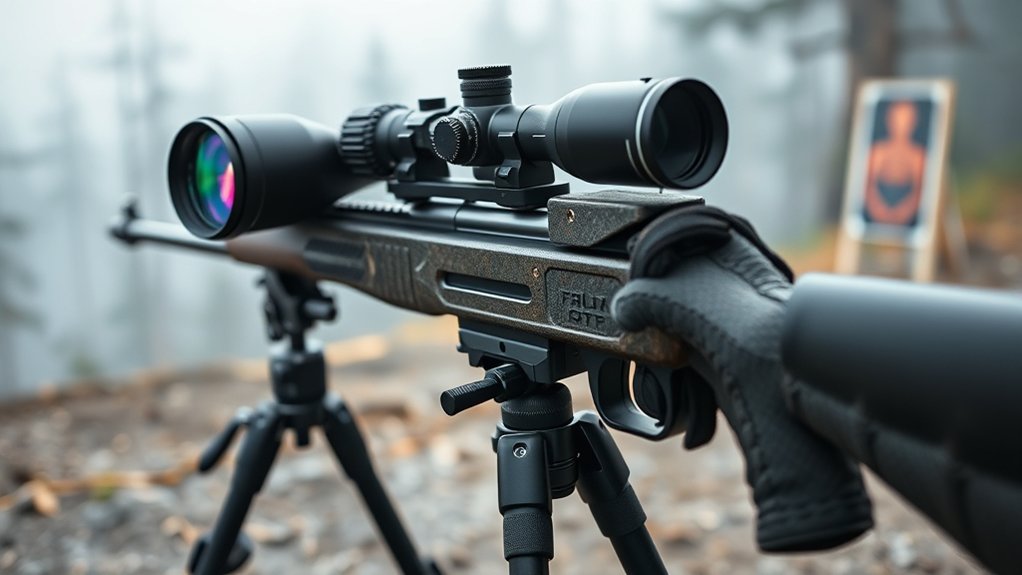
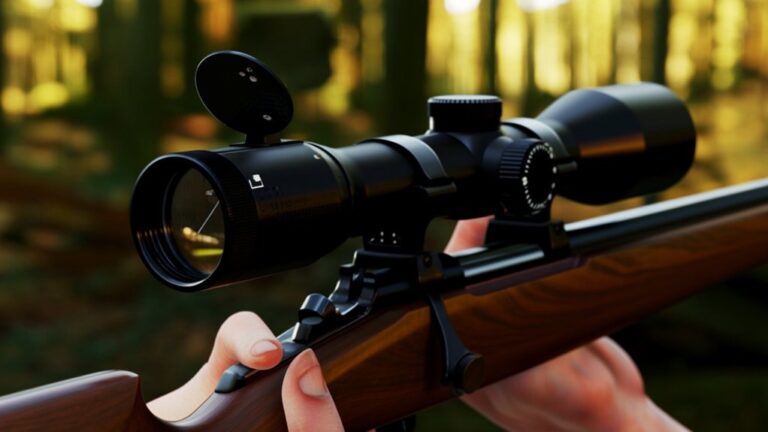
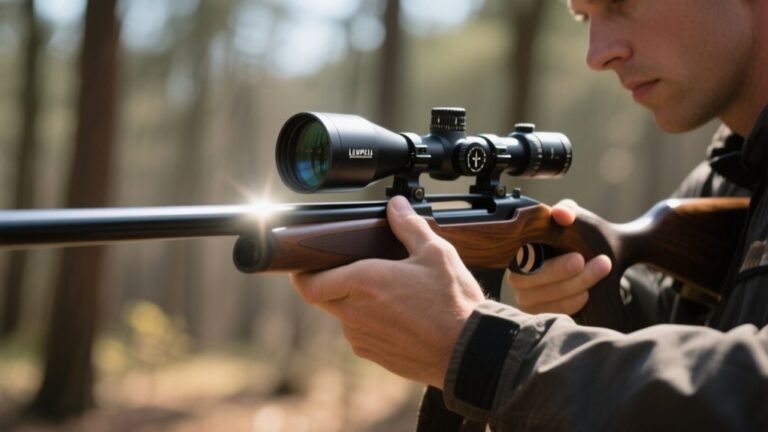
To get accurate shots with your thermal scope, you’ll need to set it up on a stable platform that minimizes movement and vibration. Start by securely mounting the scope on your rifle using quality rings or mounts designed for thermal optics. Guarantee the scope is tightly fastened but avoid overtightening, which can damage the equipment.
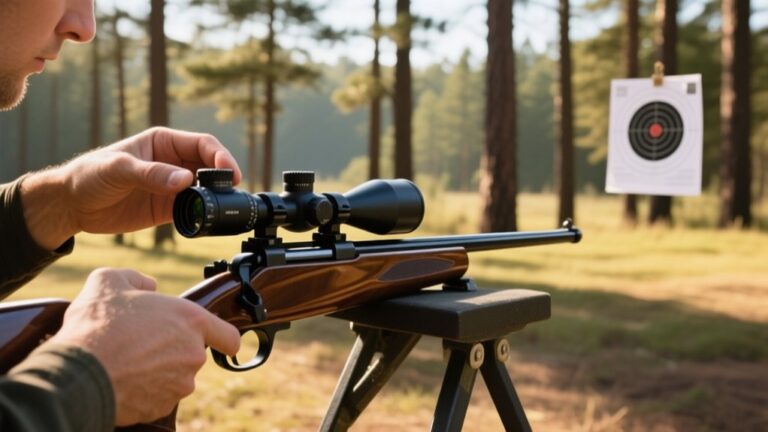
Next, position your rifle on a solid rest, such as a bench rest or sandbags, to reduce shake during sighting. If possible, use a bipod or tripod for added stability.
Make sure your shooting area is level and free from distractions that could cause unintended movement. By maintaining a steady platform, you’ll improve your ability to zero the scope precisely and achieve consistent, reliable shots.
Picking the Best Zeroing Distance for Your Scope
Once your thermal scope is firmly set up on a stable platform, you’ll want to choose the right zeroing distance. This distance depends on your typical shooting range and target size.
For close-quarters or dense woods, zeroing at 50 yards often works best, providing quick target acquisition. If you plan to engage targets at longer distances, 100 or 200 yards might be more suitable.
Remember, zeroing too close can cause you to miss shots downrange, while zeroing too far can reduce accuracy at short range. Think about where you’ll use your scope most and pick a distance that balances precision and practicality.
Once set, you’ll have a solid baseline for accurate shots in varying conditions.
How to Align Your Reticle With Heat Signatures
Although zeroing your scope sets the foundation, aligning your reticle precisely with heat signatures guarantees your shots hit their mark. Start by observing the thermal contrast of your target.
Heat signatures can shift slightly depending on environmental factors, so adjust your reticle to center exactly on the warmest part of the target. Use a stationary heat source for initial alignment, like a heated metal plate or a warm object, to see how the reticle overlays the heat pattern.
Adjust your reticle to align with the warmest part of the target using a stationary heat source.
Make small, deliberate adjustments until the reticle is perfectly centered on the heat signature’s brightest area. This guarantees your thermal scope’s reticle corresponds exactly to what you see thermally, improving accuracy in real-world conditions.
Regularly check this alignment as temperature and background heat change.
How to Adjust Elevation and Windage for Precision
Now that your reticle is aligned, it’s time to adjust elevation and windage for pinpoint accuracy.
You’ll learn how to fine-tune vertical and horizontal settings to match your target’s position. These adjustments are key to making every shot count.
Elevation Adjustment Techniques
Before you start adjusting your thermal scope, you’ll need to understand how elevation and windage impact your shot placement.
Elevation adjustment changes the vertical point of impact by moving the reticle up or down. To adjust elevation, first zero your scope at a known distance, like 100 yards. Then, if your shots hit below the target, dial the elevation turret upward; if they hit high, dial it downward.
Make small, incremental adjustments, usually in MOA or MIL increments, checking your impact after each change. Remember, temperature and altitude can affect bullet trajectory, so consider those factors when fine-tuning elevation.
Consistent shooting position and rest will help you get precise, repeatable results. Mastering elevation adjustment ensures your thermal scope aligns perfectly with your bullet’s path.
Windage Calibration Tips
Once you’ve got the elevation dialed in, it’s time to focus on windage—the horizontal adjustment that moves your reticle left or right.
Start by shooting a group at your target and observe where the shots land relative to the bullseye. If they’re left, adjust the windage turret to move the reticle right; if they’re right, move it left.
Make small, incremental adjustments—usually one click at a time—and fire another group to confirm.
Remember, wind conditions can affect your shot, so try to sight in on a calm day for accuracy.
Keep adjusting until your shots cluster tightly around the bullseye horizontally.
Combining precise windage with your elevation settings guarantees your thermal scope delivers pinpoint accuracy every time.
Confirming Your Zero With Test Shots at Different Ranges
Now that you’ve made initial adjustments, it’s time to confirm your zero by taking test shots at various distances.
Choose appropriate ranges to see how your point of impact shifts and analyze the results carefully.
Use this info to fine-tune your scope settings for consistent accuracy.
Choosing Appropriate Test Distances
Where should you place your test shots to guarantee your thermal scope is accurately zeroed? Start at a practical distance—typically 25 to 50 yards—where you can easily observe bullet impacts without guessing. This initial range helps you make quick adjustments without wasting ammo.
Once you’re confident at this close range, move to longer distances like 100 or 200 yards to confirm your zero holds true under varied conditions. Choose distances that match your typical shooting scenarios, whether hunting or tactical use.
Avoid extremes right away; they can complicate adjustments. By selecting appropriate test distances, you’ll certify your thermal scope performs reliably in real-world situations, saving time and enhancing accuracy during critical moments.
Analyzing Point Of Impact
After choosing your test distances, the next step is to analyze your point of impact to confirm your zero. Fire test shots at each distance and carefully observe where the bullets hit relative to your aiming point. Record the deviations to understand how your scope performs across ranges.
| Distance (yards) | Point of Impact Offset (MOA) |
|---|---|
| 25 | +1.5 Right |
| 50 | Centered |
| 100 | -2.0 Low |
| 150 | -3.5 Low |
| 200 | -5.0 Low |
This data helps you verify whether your thermal scope maintains accuracy or requires adjustments. Consistent offsets indicate a need to revisit your zeroing process or consider environmental factors affecting your shots.
Adjusting Scope Settings
Although you’ve gathered valuable data on your point of impact, you’ll need to adjust your scope settings to guarantee your thermal scope is accurately zeroed at each test distance.
Begin by firing test shots at various ranges—start close, then move farther out. After each shot, observe where the thermal reticle aligns with the actual impact.
Use your scope’s windage and elevation controls to fine-tune the reticle position until it matches the bullet’s point of impact.
Remember, thermal scopes may respond differently to changes in distance due to parallax or sensor calibration, so confirming your zero at multiple ranges ensures reliability.
Keep notes of your adjustments for future reference.
This step is vital to achieve precision and confidence when using your thermal scope in real-world conditions.
Troubleshooting Common Zeroing Challenges
When you’re zeroing a thermal scope, unexpected issues can quickly arise and throw off your accuracy. Common problems include inconsistent point of impact, blurry images, or difficulty aligning the reticle. Start by checking your mounting for stability and verify your target distance matches your zeroing settings. Adjust focus for a clear image, and verify that environmental factors like heat waves aren’t distorting your view.
| Issue | Cause | Solution |
|---|---|---|
| Inconsistent point of impact | Loose mount or ammo variation | Tighten mount, use consistent ammo |
| Blurry thermal image | Incorrect focus or dirty lens | Adjust focus, clean lens carefully |
| Reticle misalignment | Scope shifted during recoil | Re-zero scope, check mounting |
| Environmental distortion | Heat waves or terrain heat sources | Change location or wait for stable conditions |
Tips to Keep Your Thermal Scope Zeroed Longer
Addressing common zeroing challenges helps you maintain accuracy, but keeping your thermal scope zeroed longer requires consistent care and smart habits.
First, always mount your scope securely using quality rings and bases to prevent shifting. Avoid over-tightening screws, which can warp components.
After mounting, check your scope’s zero regularly, especially after transport or rough handling.
Store your rifle in a stable environment—extreme temperatures and humidity can affect scope performance.
When carrying your rifle, use padded cases to minimize impacts.
Also, avoid unnecessary adjustments; only tweak zero when you notice a clear deviation.
Finally, clean your scope’s lenses carefully with appropriate materials to prevent damage.
How to Recalibrate Your Thermal Scope After Field Use
Since thermal scopes can experience slight shifts during field use, you’ll need to recalibrate them regularly to maintain accuracy. Start by setting up a stable shooting rest and aiming at a known target distance. Adjust the reticle to align precisely with your point of impact. Next, verify the image contrast and brightness, ensuring clear target visibility.
| Step | Action |
|---|---|
| 1. Initial Setup | Secure scope and target |
| 2. Adjust Reticle | Align reticle with bullet impact |
| 3. Optimize Image | Set brightness and contrast |
| 4. Confirm Accuracy | Shoot multiple rounds, verify |
After recalibration, double-check zero at different distances to maintain precision across varied ranges. This routine helps you keep your thermal scope reliable in the field.
Frequently Asked Questions
Can Thermal Scopes Be Used in Complete Darkness?
Yes, you can use thermal scopes in complete darkness because they detect heat signatures, not visible light. This lets you see targets clearly, even in total darkness, fog, or smoke, giving you an advantage when visibility’s low.
How Does Weather Affect Thermal Scope Performance?
You’ll notice thermal scopes lose up to 30% efficiency in heavy rain or fog because moisture absorbs infrared radiation. So, you’ll want to avoid extreme weather for clearer, sharper thermal imaging performance during your hunts or surveillance.
Are Thermal Scopes Effective for Hunting Varmints?
Yes, thermal scopes are effective for hunting varmints since they detect heat signatures, making it easier to spot animals in low light or dense cover. You’ll track varmints quickly, even in complete darkness or thick brush.
What Is the Battery Life of Typical Thermal Scopes?
You’ll find most thermal scopes last between 4 to 8 hours on a single charge. Some premium models even stretch up to 12 hours, letting you hunt or patrol all night without worrying about power running out.
Can Thermal Scopes Detect Animals Through Foliage?
Yes, thermal scopes can detect animals through foliage by sensing their heat signatures. However, dense leaves or thick branches might reduce clarity, so you’ll get better results in lighter or sparse vegetation.
Conclusion
Zeroing your thermal scope guarantees every shot counts, whether you’re hunting or on a tactical mission. Imagine you’re out in the cold, spotting a deer through dense brush—your perfectly zeroed scope helps you take a clean, ethical shot without guesswork. By following these steps and regularly recalibrating, you’ll maintain accuracy and confidence in every situation. Stay patient, and your thermal scope will become an invaluable extension of your vision.