How To Sight In A Red Dot?
To sight in your red dot, first securely mount it on your firearm’s rail and guarantee it’s stable. Then, choose a clear target at your preferred distance and assume a steady shooting position. Fire a group of shots while aiming through the dot, note where the bullets hit, and adjust the windage and elevation turrets accordingly. Repeat until your point of impact matches the dot precisely. Keep at it, and you’ll soon master precise aiming and consistent accuracy.
Key Takeaways
- Securely mount the red dot sight on your firearm’s rail, ensuring it is stable and properly aligned.
- Choose a visible target with a clear bullseye at your desired zeroing distance (commonly 25 or 50 yards).
- Fire 3–5 shots from a stable position, maintaining consistent aim to assess initial impact points.
- Adjust windage and elevation turrets in small increments to align the red dot with the bullet impacts.
- Confirm zero by shooting at various distances, making fine adjustments as necessary for consistent accuracy.
What Is a Red Dot Sight? How Does It Work?
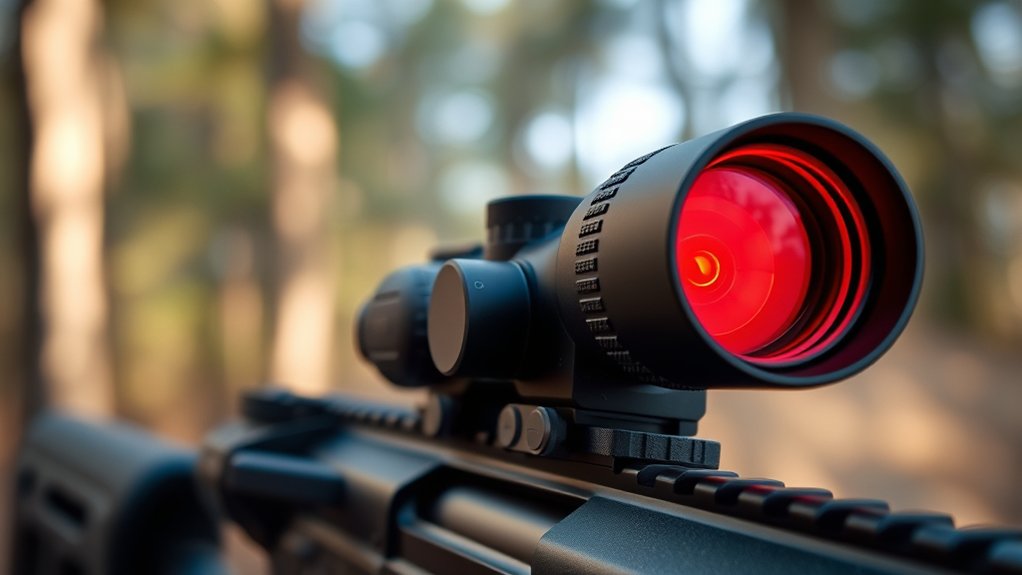
Although it might look complex, a red dot sight is actually simple to use. You’ll find it’s a small, lightweight optic that projects a bright red dot onto a lens, which you use as your aiming point.
When you look through it, the red dot appears superimposed on your target, making quick and accurate aiming easier. The sight works by using an LED to produce the dot, and a specially coated lens to reflect it back to your eye without obstructing your view.
This lets you keep both eyes open, maintaining full situational awareness. You don’t have to align traditional iron sights; just place the dot on your target and shoot.
It’s designed to be intuitive, speeding up your target acquisition considerably.
Why You Need to Zero Your Red Dot
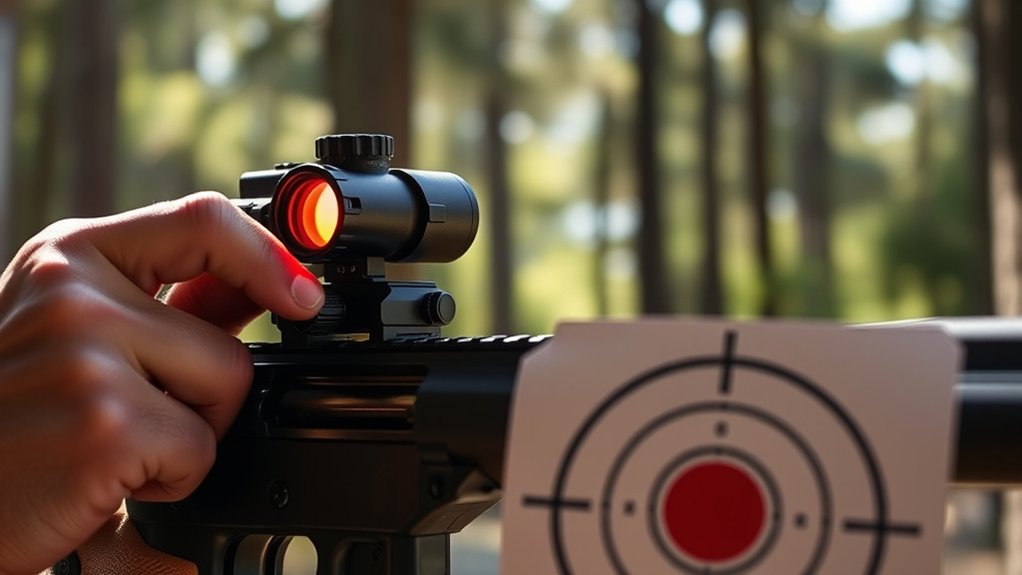
Now that you understand how a red dot sight works and how it simplifies aiming, the next step is making sure the dot actually hits where you want it to.
Zeroing your red dot aligns the point of aim with the bullet’s point of impact, which is vital for accuracy. Without zeroing, the dot might appear on target, but your shots could land off-center. This wastes ammo and reduces confidence during shooting.
By zeroing, you guarantee every shot counts, whether you’re hunting, competing, or practicing. It also helps you quickly acquire targets and make adjustments for different distances or firearms.
Skipping this step defeats the purpose of your red dot’s precision and consistency. So, zeroing isn’t optional—it’s indispensable for reliable shooting performance.
Essential Gear You Need Before Zeroing Your Red Dot
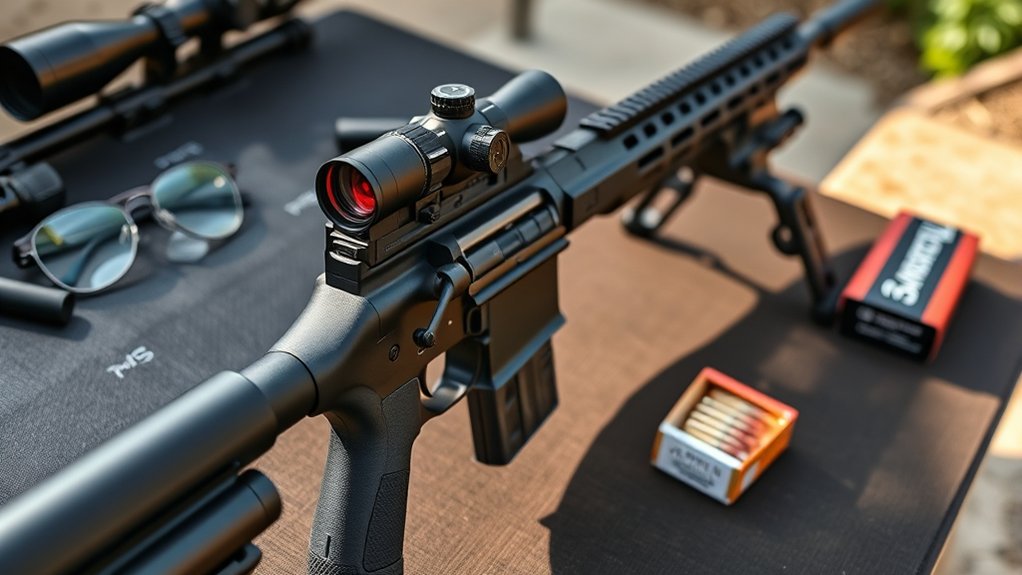
Before zeroing your red dot, make sure you’ve got the right mount to keep it secure and aligned.
You’ll also want quality ammunition that’s consistent to get reliable results.
Finally, using a stable rest helps you keep steady and make accurate adjustments.
Choosing The Right Mount
Selecting the right mount is essential for ensuring your red dot stays securely in place and maintains accuracy. You want a mount that fits your firearm’s rail system—whether it’s Picatinny, Weaver, or another style.
Make sure the mount is compatible with your red dot model to avoid any wobble or misalignment. Consider the height of the mount, as it affects your sight picture and comfort.
Low mounts keep your sight close to the bore axis, while higher mounts might be necessary for certain optics or shooting styles.
Also, look for mounts made from durable materials like aircraft-grade aluminum to withstand recoil and rough handling.
Taking the time to pick a reliable mount means your red dot will stay zeroed longer and perform consistently.
Selecting Quality Ammunition
How do you guarantee your red dot stays accurate shot after shot? The answer starts with selecting quality ammunition. Using consistent, reliable rounds ensures your point of impact doesn’t shift unexpectedly.
Cheap or inconsistent ammo can cause fluctuations in velocity and pressure, throwing off your zero. Stick to reputable brands known for uniform bullet weight and powder charge. Match the ammo type to your firearm’s specifications—don’t experiment during zeroing.
Also, use the same batch throughout your sighting-in session to maintain consistency. Remember, your red dot can only be as precise as the ammo feeding it.
Using A Stable Rest
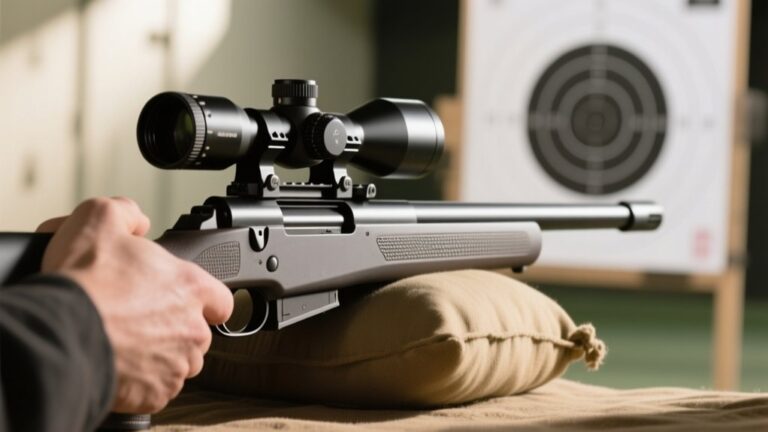
Because even the smallest movement can throw off your shot, using a stable rest is essential when zeroing your red dot. A solid rest minimizes shake, giving you consistent aim and reliable adjustments.
You can use a bench rest, sandbags, or a bipod—whatever keeps your firearm steady. Set your rifle or pistol on the rest, ensuring it’s secure but not overly tight to avoid affecting barrel harmonics.
This stability lets you focus on adjusting the red dot without compensating for wobble. Remember, even minor shifts can cause your point of impact to drift, making zeroing frustrating.
How to Mount Your Red Dot Sight Correctly
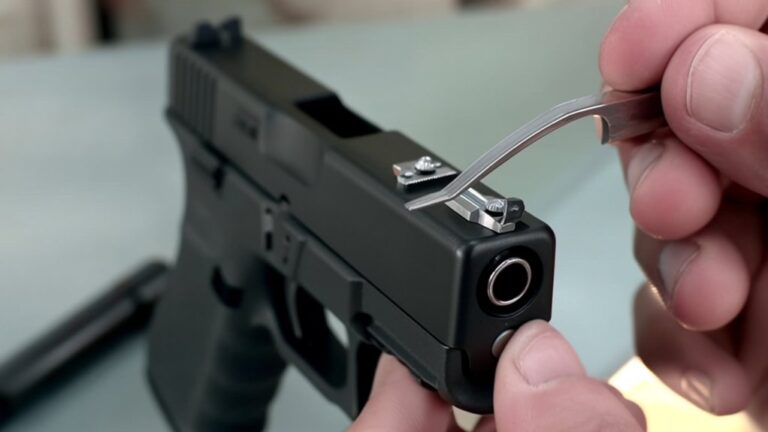
Before you start zeroing your red dot, make sure you mount it correctly. Choose the right mount for your firearm, align the sight precisely, and secure it tightly to prevent any movement.
Doing this right sets the foundation for accurate shooting.
Choosing The Right Mount
Although selecting the right mount may seem straightforward, it plays a crucial role in ensuring your red dot sight stays secure and performs accurately.
You need to evaluate the type of firearm you’re using, as mounts vary between pistols, rifles, and shotguns. Look for mounts compatible with your sight and firearm platform to avoid fitting issues.
Consider the mount’s material and build quality; aluminum alloys offer durability without adding excessive weight. Also, decide between fixed or adjustable mounts based on your shooting needs.
Quick-detach mounts let you remove the sight easily, while permanent mounts provide greater stability.
Don’t forget to check the mounting system—Picatinny, Weaver, or proprietary rails must match your firearm.
Choosing the right mount sets the foundation for a reliable, accurate sighting experience.
Aligning The Sight Properly
Once you have the right mount, you’ll need to align your red dot sight carefully to guarantee accuracy. Begin by placing your firearm on a stable surface or rest to minimize movement.
Look through the sight and adjust the position so the red dot sits at the center of your target when your firearm is in a natural shooting position.
Use the windage and elevation adjustments on the sight to fine-tune the dot’s placement. Make small, deliberate turns and check each change.
Confirm your eye naturally centers the dot without straining or shifting focus.
Proper alignment means the dot matches where your bullet will hit, improving precision.
Take your time here—it’s the foundation for effective sighting before securing the sight.
Securing The Red Dot
To make certain your red dot sight stays firmly in place, you’ll need to mount it correctly from the start. Begin by choosing the right mount for your firearm, confirming compatibility. Clean the mounting surface to avoid slipping. Use the proper torque settings on screws to prevent over-tightening or loosening during use. Always double-check alignment after securing the sight.
| Step | Action | Tip |
|---|---|---|
| 1 | Select correct mount | Match firearm model |
| 2 | Clean mounting area | Remove dirt and oil |
| 3 | Position sight | Align with barrel |
| 4 | Tighten screws | Use torque wrench |
| 5 | Verify stability | Shake test & recheck |
Proper mounting guarantees your red dot stays accurate and reliable during use.
How to Get a Stable Shooting Position for Zeroing
Getting a stable shooting position is vital before you start zeroing your red dot sight because it directly affects your accuracy and consistency.
Begin by choosing a comfortable spot where you can sit or lie down steadily. Use a bench rest or sandbags to support your firearm, minimizing movement. Keep your body relaxed but firm, and position your feet flat on the ground for balance.
If you’re shooting prone, lay flat with your elbows resting on the ground to steady your aim. Avoid gripping the firearm too tightly, which can cause unnecessary shaking.
Take a few deep breaths to calm your nerves, then settle into your position before taking shots. This foundation ensures each shot is as precise as possible, making your zeroing process smoother and more reliable.
How to Choose the Right Target for Your Red Dot Zero
Where should you aim your efforts when zeroing your red dot sight? Choosing the right target is essential. Opt for a target with a clear, contrasting bullseye that’s easy to see through your optic.
A target with a 2–4 inch center circle works well at typical zeroing distances, usually 25 or 50 yards, depending on your setup. Make certain the target material is visible and won’t blend into the background.
Paper targets with bold black and white markings or brightly colored dots help you quickly identify your point of impact. Avoid overly complex or small targets, which can slow down the process and cause frustration.
Picking the right target ensures you spend less time guessing and more time fine-tuning your sight accurately.
Step-by-Step Guide to Zeroing Your Red Dot Sight
Although zeroing your red dot sight might seem intimidating at first, following a clear, step-by-step process will make it straightforward and efficient.
Start by securely mounting your red dot sight and placing your chosen target at your preferred zeroing distance.
Next, assume a stable shooting position to minimize movement.
Turn on your red dot and align it with the center of the target.
Fire a group of three to five shots, keeping your aim consistent.
After shooting, check the impact points on the target.
Note where the shots landed relative to the red dot.
This initial grouping helps you understand how your sight is currently aligned.
Repeat this procedure as needed to confirm your results before moving on to adjustments in windage and elevation.
How to Adjust Windage and Elevation on Your Red Dot
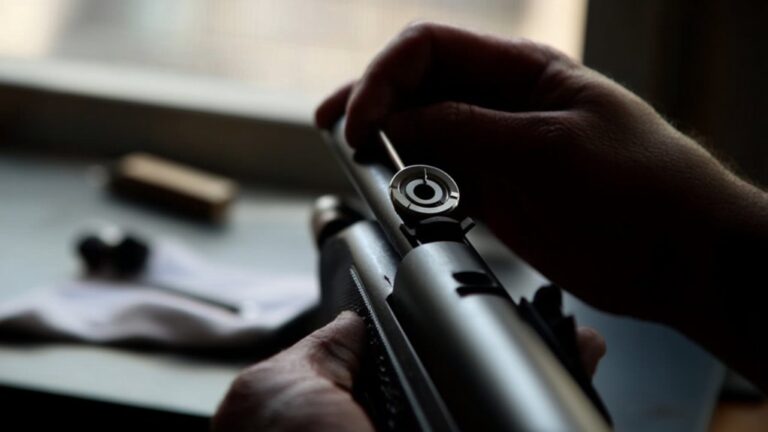
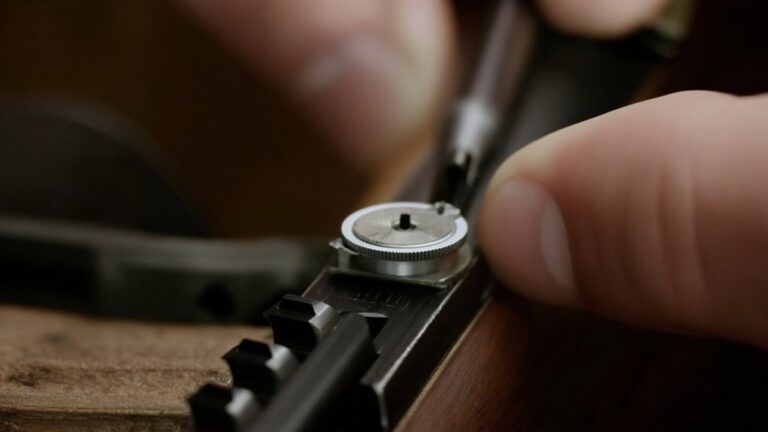
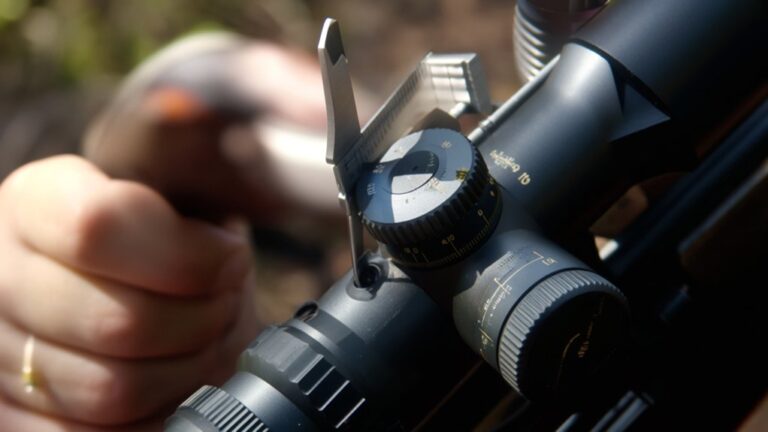
After you’ve fired your initial group and identified where your shots are landing, it’s time to fine-tune your red dot sight by adjusting windage and elevation. Windage controls the left-right alignment, while elevation adjusts the up-down point of impact. Use the adjustment turrets or dials on your sight, turning them in small increments—usually 1 click equals 1/2 or 1/4 MOA.
| Adjustment Type | Direction to Turn Turret to Move Point of Impact |
|---|---|
| Windage | Turn right to move impact right, left to move left |
| Elevation | Turn up to move impact up, down to move down |
| Small Adjustments | Make 1-2 clicks at a time, then re-shoot |
| Confirm & Repeat | Continue until shots hit your target consistently |
This method guarantees precise zeroing for accurate shooting.
How to Confirm Your Red Dot Zero at Different Distances
Now that you’ve adjusted your red dot, it’s time to confirm your zero at different distances. You’ll want to check the point of impact to verify your adjustments hold true beyond close range.
This step helps you fine-tune your sight for accuracy no matter how far your target is.
Adjusting Zero For Distance
To guarantee your red dot sight remains accurate, you need to confirm its zero at different distances. Start by shooting at your initial zero range, then move to closer or farther targets to see where your shots land.
If your point of impact shifts, adjust the elevation and windage settings accordingly. Remember, bullet drop and trajectory change with distance, so your zero might need tweaking for longer shots.
Use small, deliberate adjustments and recheck after each change. This process assures your red dot stays true whether you’re engaging targets at 25, 50, or 100 yards.
Verifying Point Of Impact
When you verify your red dot’s point of impact at different distances, you guarantee your adjustments hold true beyond the initial zero range. Start by shooting at your zero distance target to confirm your baseline.
Then, move back to longer ranges—say 25 or 50 yards—and fire a few rounds. Observe where your shots land relative to your red dot. If the impact shifts, note the difference and adjust accordingly.
This step confirms your red dot compensates for bullet drop and other variables at varied distances. Always use consistent shooting positions and rest your firearm securely to minimize human error.
Common Red Dot Zeroing Mistakes to Avoid
Although zeroing your red dot might seem straightforward, many shooters make avoidable mistakes that can throw off their accuracy. First, don’t forget to secure your firearm firmly; any movement during sighting alters your results.
Avoid shooting at too close or inconsistent distances—pick a standard range, like 25 yards, for initial zeroing. Also, don’t assume your red dot is perfectly calibrated right out of the box; always verify before trusting it in the field.
Another common error is neglecting to use the correct ammunition; different loads can shift your point of impact.
How to Maintain Your Red Dot for Consistent Accuracy
Keeping your red dot sight in top condition guarantees it performs consistently every time you use it. Regular cleaning, proper storage, and routine battery checks are essential. Avoid harsh chemicals; use a soft cloth and lens cleaner designed for optics. Store your red dot in a dry, padded case to prevent damage. Replace batteries before they die to avoid losing zero unexpectedly.
Here’s a quick maintenance checklist to keep your red dot reliable:
| Task | Frequency | Tips |
|---|---|---|
| Clean lenses | After every use | Use microfiber cloth & optics cleaner |
| Check battery | Monthly | Keep spare batteries handy |
| Inspect mounts | Before shooting | Tighten screws if loose |
| Store properly | Always | Use a protective case |
| Avoid impacts | Always | Handle with care |
Follow these steps to maintain consistent accuracy.
How to Troubleshoot Red Dot Zeroing Issues
If your red dot isn’t holding zero, you’ll need to identify and fix the underlying issues quickly to maintain accuracy.
First, check that the mount is secure—loose screws can cause your sight to shift after each shot. Use a torque wrench if possible, tightening screws to the manufacturer’s specifications.
Inspect the battery and contacts; weak power can cause the dot to flicker or drift. Replace the battery if needed.
Also, verify that you’re using the correct ammunition and that your firearm’s recoil isn’t excessive for the red dot’s design.
Finally, make sure the sight itself isn’t damaged or malfunctioning.
If problems persist, consult the manufacturer or a professional gunsmith to avoid compromising your shooting performance.
Frequently Asked Questions
Can I Use a Red Dot Sight for Hunting in Low Light Conditions?
Yes, you can use a red dot sight for hunting in low light conditions. It helps you quickly acquire targets, but make sure the dot brightness is adjustable to avoid overpowering your night vision during dim lighting.
Are Red Dot Sights Compatible With All Firearm Types?
Red dot sights aren’t compatible with all firearms, but they work great on pistols, rifles, and shotguns. You’ll need the right mount and sometimes a battery-friendly model to match your specific firearm’s design and recoil.
How Long Do Red Dot Sight Batteries Typically Last?
Batteries in red dot sights typically last between 1,000 to 50,000 hours, depending on brightness and usage. You’ll find some models run like a marathoner, lasting years, while others need a quicker replacement.
Can I Use a Red Dot Sight for Moving Targets?
Yes, you can use a red dot sight for moving targets. It helps you quickly acquire and track targets due to its fast target acquisition and unlimited eye relief, making it easier to stay on target while moving.
What Are the Benefits of a Red Dot Sight Over Iron Sights?
You’ll gain faster target acquisition, easier aiming in low light, and improved accuracy. You won’t struggle with aligning sights, won’t lose focus switching between targets, and won’t miss quick shots like with iron sights.
Conclusion
So, you’ve mounted your red dot, zeroed it carefully, and double-checked your shots—only to realize the dot was off because you forgot to turn it on. Irony, right? But that’s the beauty of sighting in a red dot: it’s simple, effective, and just needs a bit of attention. Keep practicing, maintain your gear, and soon your shots will land exactly where that glowing dot tells you they should.