How To Sight In A Compound Bow 3 Pin?
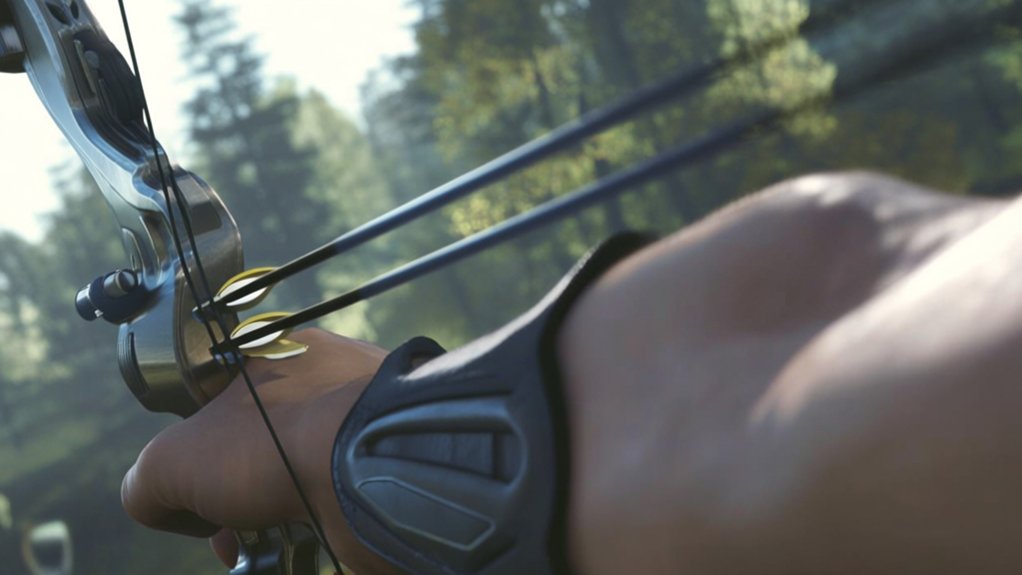
To sight in your compound bow’s 3-pin sight, start by zeroing the middle pin at 20 yards, adjusting for consistent arrow groupings. Next, set the second pin at 30 yards and the third at 40 yards, fine-tuning for accuracy. Use steady form, make small elevation and windage adjustments, and test in different conditions. Ensuring proper alignment and regular maintenance will boost your precision. Keep following these steps, and you’ll master accurate shooting at various distances.
Key Takeaways
- Zero the middle pin at 20 yards by adjusting windage and elevation until consistent groupings hit the bullseye.
- Set the second pin at 30 yards and the third pin at 40 yards, fine-tuning each for accurate shot placement.
- Use small incremental adjustments and shoot multiple arrows to test and confirm each pin’s accuracy.
- Align pins horizontally with a level and maintain consistent anchor points for precise aiming.
- Re-sight pins when changing arrows, draw length, or environmental conditions to maintain accuracy.
Benefits of Using a 3-Pin Sight on Your Compound Bow
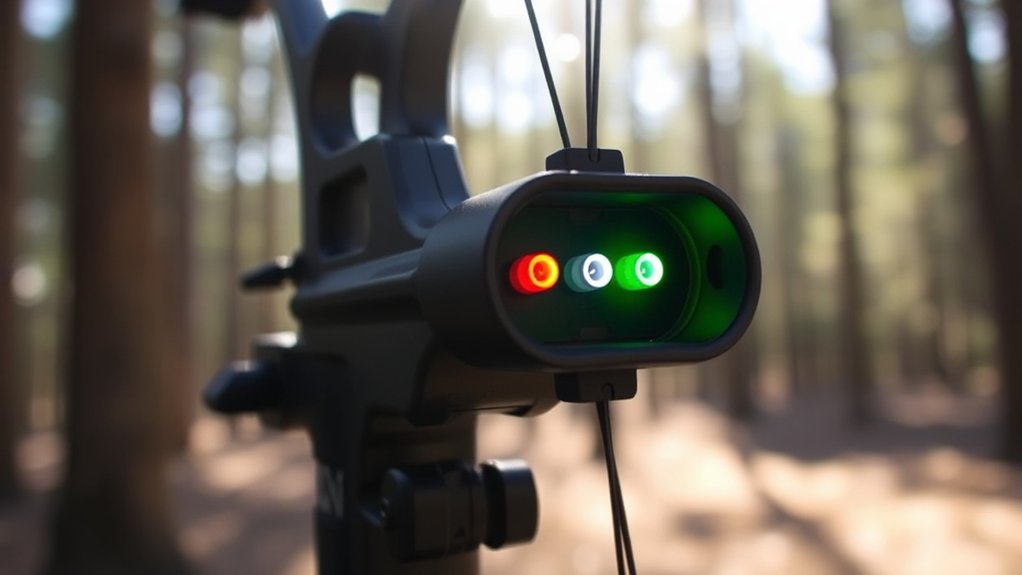
When you use a 3-pin sight on your compound bow, you gain quick and reliable aiming points for different distances without adjusting your sight each time. This setup allows you to switch targets at varying ranges quickly, improving your shooting speed and accuracy.
You’ll appreciate how each pin corresponds to a specific distance, making it easier to compensate for arrow drop. The simplicity of a 3-pin sight means fewer distractions, so you can focus on your shot.
It’s also versatile, working well in hunting and target shooting scenarios. With this sight, you avoid the hassle of constant readjustments, which helps build consistency.
Essential Gear to Sight In Your 3-Pin Sight
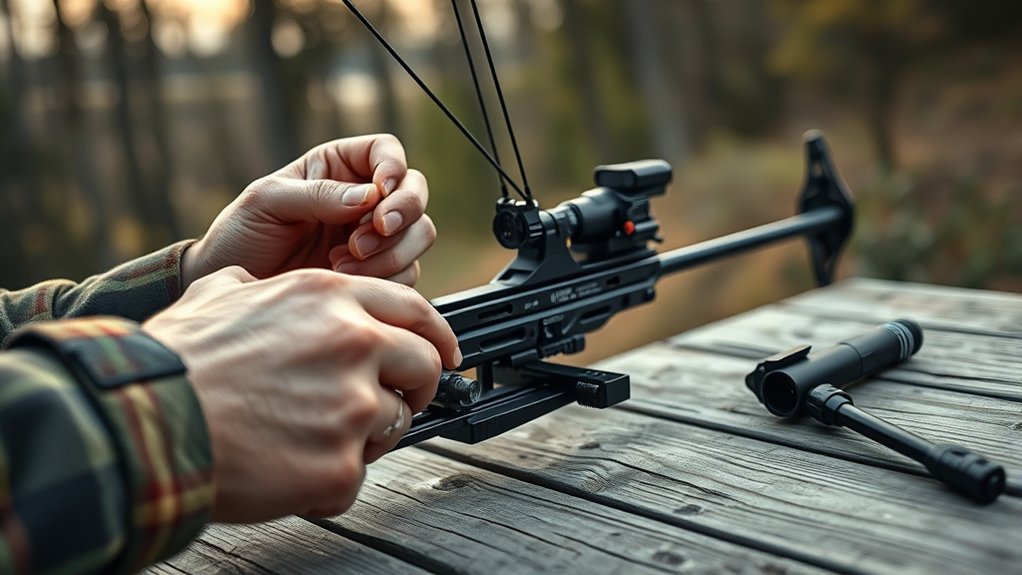
To sight in your 3-pin sight accurately, you’ll need the right gear. A bow stabilizer helps steady your shots.
While quality arrows guarantee consistency. Don’t forget to choose reliable targets that give clear feedback on your accuracy.
Bow Stabilizer Importance
Although you can sight in a 3-pin bow sight without a stabilizer, adding one greatly improves your accuracy and consistency. A stabilizer reduces vibration and balances your bow, helping you maintain a steady aim. This steadiness is essential when zeroing in your pins at different distances. Plus, it dampens noise, keeping you stealthy in the field.
Here’s why a bow stabilizer matters when sighting in:
| Benefit | Explanation |
|---|---|
| Vibration Control | Minimizes hand shock for steady shots |
| Balance | Helps hold your bow more steadily |
| Noise Reduction | Keeps shots quiet and less detectable |
| Shot Consistency | Improves repeatable accuracy |
Using a stabilizer, you’ll find your 3-pin sight more reliable and easier to fine-tune.
Quality Arrow Selection
How do you guarantee your arrows fly true to each pin on your 3-pin sight? It starts with choosing quality arrows that match your bow’s specifications.
You want arrows with the right spine stiffness, length, and weight to assure consistent flight. Using arrows that are too flexible or too heavy can cause erratic shots and make sighting in frustrating.
Look for arrows made from durable materials like carbon or aluminum, which offer reliable performance and longevity. Consistency matters, so pick arrows that are uniform in weight and straightness.
When you select quality arrows suited to your draw weight and draw length, you’ll notice tighter groups and more precise adjustments on your 3-pin sight, making the sighting process smoother and more accurate.
Reliable Target Choices
Choosing quality arrows sets you up for success, but pairing them with the right target is just as important for sighting in your 3-pin sight. You want a target that clearly shows your arrow impact to adjust pins accurately. Foam targets and layered bag targets are popular for their durability and visible arrow marks. Avoid targets that don’t stop your arrows well, as they can cause imprecise adjustments.
| Target Type | Best For |
|---|---|
| Foam Block | Clear arrow holes |
| Layered Bag | Durable, easy to repair |
| Paper Target | Precise group analysis |
| 3D Animal Target | Realistic practice |
| Hay Bale | Inexpensive, but less clear |
Choosing the right target helps you sight in faster and shoot with confidence.
Setting Up Your Shooting Range for Sighting In
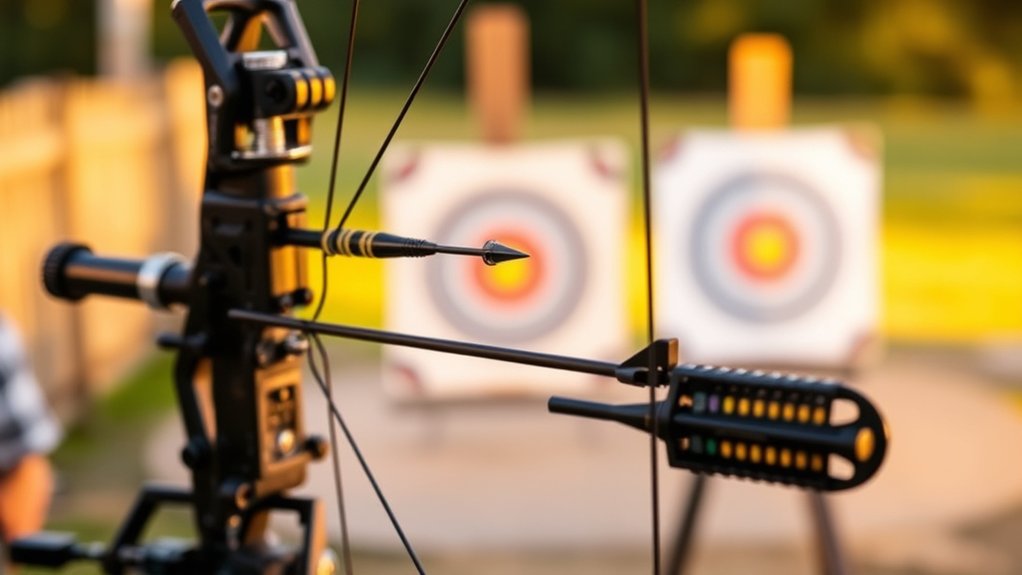
Before you start sighting in your compound bow, find a safe location where you won’t disturb others or risk accidents.
Mark clear distance intervals to track your progress accurately.
Then, set up your targets securely at each marked distance for consistent practice.
Choosing A Safe Location
Where you set up your shooting range can make all the difference in both safety and accuracy. Choose a location with a clear, unobstructed backdrop like a thick dirt embankment or a solid, wide target backstop to safely catch stray arrows.
Avoid areas near roads, trails, or populated places to protect others. Make certain the ground is level to maintain consistent shooting posture. Check for any potential hazards like rocks or debris that could interfere with your footing or arrow flight.
Ensure you have enough space behind the target—called a safety zone—to prevent accidents if you miss. Finally, pick a spot with minimal distractions, so you can focus on your shot and sighting process without interruptions.
Safety always comes first when sighting in your compound bow.
Marking Distance Intervals
Once you’ve secured a safe location, you’ll need to mark distance intervals to set up your shooting range properly for sighting in. Start by measuring and marking key distances—commonly 20, 30, and 40 yards—from your shooting line. Use stakes, cones, or flags to clearly identify each spot. Make sure these markers are visible from your shooting position so you can easily align your shots without guessing.
Keep the ground level and clear of obstacles between these points to ensure consistent arrow flight. By marking these intervals accurately, you create reliable reference points for adjusting your pins. This step lays the foundation for precise sight tuning and makes your sight-in process smoother and more efficient.
Setting Up Targets
Although you’ve marked your distance intervals, you’ll need to set up your targets carefully to guarantee accurate sighting.
Proper target placement ensures consistency and helps you adjust your pins precisely. Follow these steps:
- Choose a Safe Location: Find a flat, open area free of obstructions and with a safe backdrop to catch stray arrows.
- Position Targets at Marked Distances: Place your targets exactly at the intervals you marked, such as 20, 30, and 40 yards, to simulate realistic shooting conditions.
- Use Clear, Visible Targets: Opt for targets with distinct bullseyes or bright colors to easily identify your arrow impacts and make fine adjustments to your pins.
How to Zero Your First Pin at 20 Yards
Before you start adjusting your compound bow’s pins, set up a target at 20 yards and take a few steady shots. Watch where your arrows hit relative to your aiming point. If your shots group consistently but aren’t centered, it’s time to adjust your first pin.
Use the windage and elevation knobs on your sight to move the pin toward the center of your group. Make small adjustments and shoot again after each change to track progress.
Once your arrows consistently hit the bullseye or your intended aim point at 20 yards, you’ve successfully zeroed your first pin. This pin now serves as your baseline for longer distances, ensuring accuracy before moving on to adjust your other pins.
Adjusting the Second Pin for 30 Yards
After you’ve zeroed your first pin at 20 yards, it’s time to focus on the second pin for 30 yards. Fine-tuning this pin ensures your shots stay accurate as distance increases. Here’s how to do it:
- Set up a target at 30 yards and take several shots aiming with your first pin to see where your arrows land.
- Adjust your second pin up or down until your arrows consistently hit the bullseye at 30 yards. Use small increments to avoid overcorrection.
- Confirm your settings by shooting a group of arrows, making sure the second pin aligns perfectly with the target.
Once you’re confident with this pin’s placement, you’ll have a reliable reference for mid-range shots.
Setting the Third Pin for 40 Yards and Beyond
Once you’ve zeroed your second pin at 30 yards, it’s time to set the third pin for 40 yards and beyond. Begin by shooting at a target placed 40 yards away. Adjust your third pin up or down until your arrows consistently hit the bullseye or desired point of impact.
Remember to keep your form consistent to guarantee accuracy during adjustments.
After you’ve nailed the 40-yard mark, you can extend the third pin’s range to cover distances beyond 40 yards, like 50 or 60 yards, by making small adjustments and testing each shot. This pin will serve as your long-range reference, so ensure it’s reliable and repeatable.
Once set, you’ll have three solid pins for close, mid, and longer-range shots.
Fine-Tuning Your Pins for Better Accuracy
Now that your third pin is set, it’s time to fine-tune each pin for better accuracy. You’ll want to adjust the elevation precisely.
Align the pins horizontally, and test their consistency with a few practice shots. These small tweaks make a big difference when you’re aiming for tight groupings.
Adjusting Pin Elevation Precisely
When you fine-tune your pin elevation, you increase your chances of hitting the target exactly where you aim. Elevation adjustments help compensate for the arrow’s drop over distance, so precise tweaks matter.
Here’s how you can adjust your pin elevation effectively:
- Start at a Known Distance – Begin sighting in at 20 yards to set a baseline for your middle pin.
- Shoot Groups and Note Impact – Fire 3-5 arrows, note if they hit high or low, then adjust your pin accordingly.
- Make Small Adjustments – Move the pin up or down in small increments, typically 1/8 inch or less, and test again until your shots consistently hit the bullseye.
Aligning Pins Horizontally
Although you’ve adjusted your pin elevation, aligning your pins horizontally is just as crucial for hitting your target consistently. Start by making sure your 3-pin setup is evenly spaced and centered on your sight window. Use a level or a straight edge to check alignment. If pins drift left or right, adjust their horizontal position accordingly.
Here’s a quick guide to fine-tune your horizontal alignment:
| Step | What to Do |
|---|---|
| 1. Check spacing | Make certain of even distance between pins |
| 2. Center pins | Align pins in the middle of sight |
| 3. Use a level | Confirm pins are horizontally level |
| 4. Make small moves | Adjust pins gradually and retest |
Testing Pin Consistency
Once you’ve aligned your pins both vertically and horizontally, you need to test their consistency to guarantee your shots stay accurate. This step assures your pins hold steady and give reliable aiming points at different distances.
Here’s how to fine-tune your pins:
- Shoot multiple arrows at the same distance – Check if all arrows group tightly around the pin. If not, adjust your sight or your shooting form.
- Repeat at various distances – Confirm each pin consistently hits where it should, reflecting true yardage.
- Note environmental factors – Wind or lighting can affect your shots, so test in different conditions to verify pin reliability.
Checking Your Grouping and Making Pin Adjustments
After you’ve taken several shots, you’ll want to carefully check your grouping to see how consistent your arrows are landing. Look for tight clusters; the closer your arrows are to each other, the better your grouping. If your shots scatter widely, it’s time to reassess your form or equipment.
Next, compare the group’s center to your target’s bullseye. If the group is off-center, modify the corresponding pin accordingly. For example, if your group is left of the bullseye, move the pin slightly left to compensate.
Make small adjustments—usually 1/4 MOA increments—then shoot another group to evaluate the effect. Repeat this process until your group consistently centers on the target.
This careful checking and incremental adjusting ensure your pins become reliable aiming points.
3-Pin Sight Tips for Accuracy in Different Weather
When weather conditions change, your 3-pin sight requires quick adjustments to maintain accuracy. Wind, rain, and temperature shifts can all impact your shot. Here’s how to adapt:
Adapting your 3-pin sight quickly to changing weather is key for maintaining shooting accuracy.
- Wind: Compensate by aiming slightly upwind of your target. Strong gusts can push arrows off course, so practice adjusting your pins accordingly.
- Rain: Moisture can fog your sight pins or lens. Use anti-fog sprays or wipe them regularly during shooting sessions to keep visibility clear.
- Temperature: Cold weather can affect your bow’s performance and your grip. Keep your sight and hands warm to guarantee consistent pin alignment and steady shots.
How to Maintain and Clean Your 3-Pin Sight
Adapting your 3-pin sight to changing weather is just one part of keeping it reliable. To maintain accuracy, clean your sight regularly. Use a soft cloth to wipe away dirt, dust, and moisture after each use.
For stubborn grime, dampen the cloth slightly with water, avoiding harsh chemicals that could damage the pins or housing. Check the pins for any bends or damage and make certain they’re securely fastened.
Lubricate moving parts sparingly with a light oil to prevent rust and smooth adjustments. Store your bow and sight in a dry, cool place to prevent corrosion.
Common Mistakes When Sighting Your Compound Bow
Although sighting your compound bow may seem straightforward, many archers unknowingly make errors that compromise their accuracy. Avoid these common mistakes to improve your shooting consistency:
- Not Securing the Sight Properly – A loose sight shifts with every shot, ruining your aim. Always double-check that your sight is firmly tightened.
- Ignoring Anchor Point Consistency – If you don’t anchor your draw at the same spot each time, your sight adjustments won’t hold true.
- Skipping Proper Distance Calibration – Failing to sight-in at multiple distances means your pins won’t be accurate for varied shots.
When and How to Re-Sight Your 3-Pin Sight
If you notice your arrows consistently hitting off-target, it’s time to re-sight your 3-pin sight. You should re-sight whenever you change your arrow type, adjust your draw length, or move to a new hunting or shooting environment. To re-sight, start at your closest distance, usually 20 yards, and adjust each pin for accuracy at varying ranges.
| Step | Action | Tip |
|---|---|---|
| 1 | Shoot 3 arrows at 20 yards | Keep your stance consistent |
| 2 | Adjust pins based on group | Use small increments |
| 3 | Confirm at longer ranges | Test at 30 and 40 yards |
Regularly checking your pins guarantees your shots stay true and effective.
Frequently Asked Questions
Can I Use a 3-Pin Sight for Hunting in Low Light Conditions?
Yes, you can use a 3-pin sight for hunting in low light, but you’ll want to make sure your pins are fiber optic or illuminated. This helps you see clearly and aim accurately when light is limited.
How Durable Are 3-Pin Sights Compared to Single-Pin Sights?
3-pin sights are generally just as durable as single-pin sights since both use similar materials and construction. You’ll find quality options that withstand rough use, but durability depends more on brand and build than pin count.
Are There Specific Brands Recommended for Beginner 3-Pin Sights?
Choosing beginner 3-pin sights is like finding the perfect pair of shoes—you want comfort and reliability. Brands like Trophy Ridge, Vortex, and Black Gold offer user-friendly, durable sights that’ll help you quickly improve your accuracy and confidence.
Can a 3-Pin Sight Be Used on a Recurve Bow?
Yes, you can use a 3-pin sight on a recurve bow, but it’s less common. You’ll need to guarantee it fits your bow’s riser and adjust the pins carefully for accurate aiming at different distances.
How Do I Choose the Right Pin Color for My Sight?
You’ve got to pick pin colors that practically scream at you in any light! Choose bright, contrasting colors that stand out against your target and environment, so your eyes lock on instantly and you never miss.
Conclusion
Sighting in your 3-pin compound bow is like tuning a fine instrument—each adjustment brings you closer to harmony with your target. With patience and practice, you’ll hit the bullseye with confidence, no matter the distance or weather. Remember, your pins are your trusted guides; keep them clean, well-maintained, and don’t hesitate to re-sight when needed. Now, take your bow, trust your instincts, and let every shot tell your story.