How to Sight a Rifle Scope at 25 Yards in 10 Easy Steps
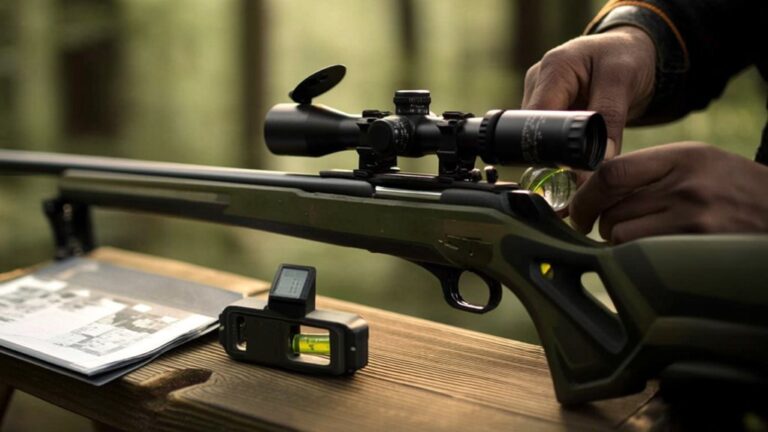
To sight your rifle scope at 25 yards, start by choosing a suitable rifle and low-magnification scope. Set up a stable shooting position with proper rests, then use a target designed for this distance. Adjust eye relief and focus your reticle for clarity. Fire test groups to see where your shots land, then make precise windage and elevation adjustments. Confirm your zero with additional groups and record your settings. You’ll find that mastering these basics prepares you well for fine-tuning and longer-range shots.
Choose the Right Rifle and Scope for 25-Yard Sighting
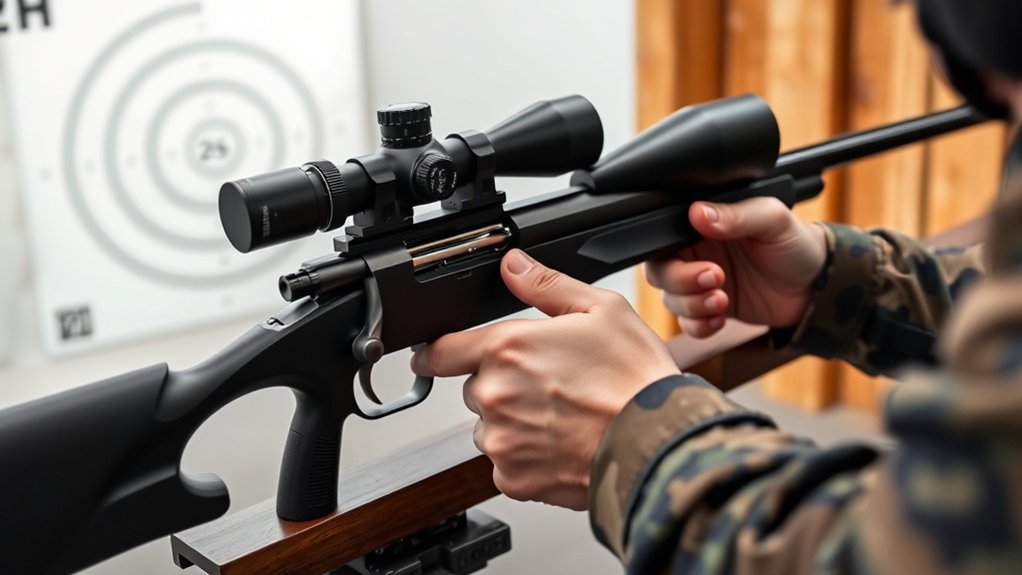
Before you begin sighting your rifle scope at 25 yards, make sure you have a rifle and scope designed for short-range accuracy.
Choose a rifle chambered for a caliber that performs well at close distances, like a .22 LR or 9mm, to keep your shots precise.
Your scope should have a clear, low-power magnification—around 3x to 6x works best—to provide a wider field of view and easier target acquisition.
Look for scopes with fine adjustment turrets, allowing you to make precise windage and elevation changes.
Avoid high-magnification scopes meant for long-range shooting, as they can make sighting at 25 yards unnecessarily difficult.
Selecting the right combination sets a strong foundation for accurate sighting and guarantees your time at the range is productive.
Set Up a Stable Shooting Position and Rest
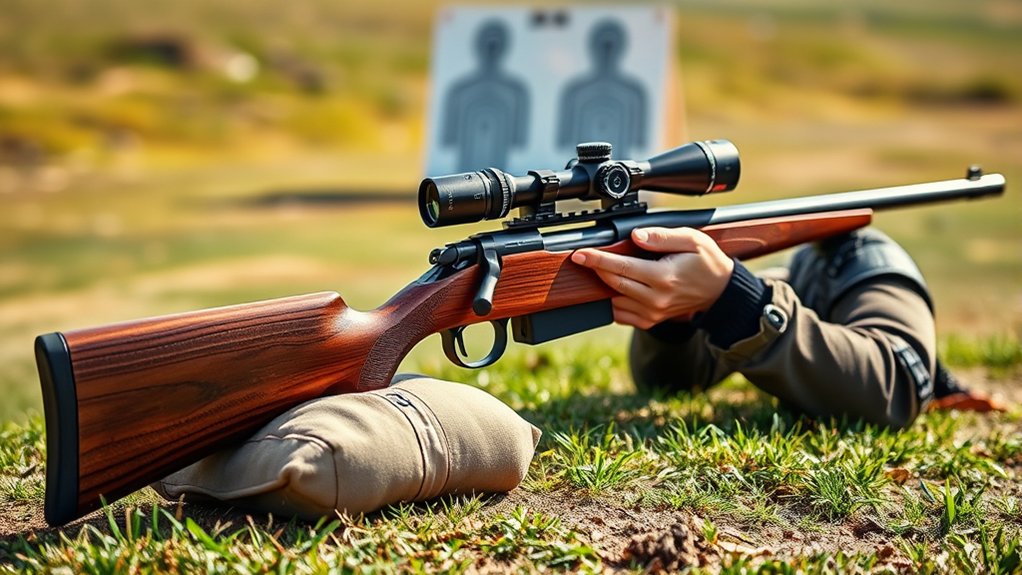
When sighting your rifle scope at 25 yards, establishing a stable shooting position is essential for consistent accuracy. Find a comfortable spot where you can sit or lie down steadily.
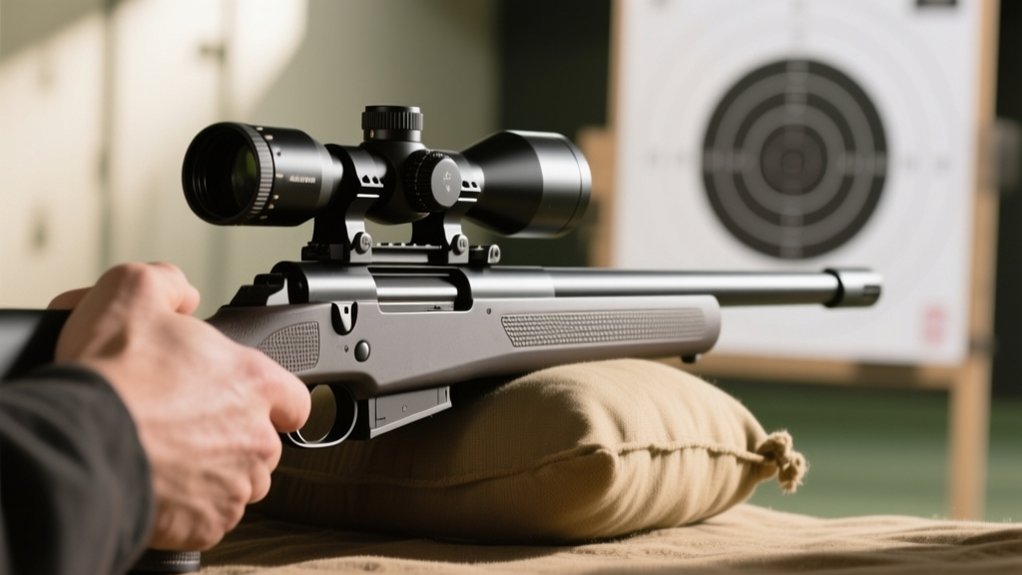
Use a solid rest like a bench, sandbags, or a shooting rest to support your rifle. This minimizes movement and helps you maintain the same position shot after shot.
Keep your body relaxed but firm to reduce muscle strain that might affect your aim. Make sure your elbows are supported and your grip on the rifle is steady but not too tight.
Adjust your position until you feel balanced and can comfortably align your eye with the scope without shifting.
A stable setup guarantees your adjustments reflect true hits, not position errors.
Use a Proper Target Designed for 25 Yards
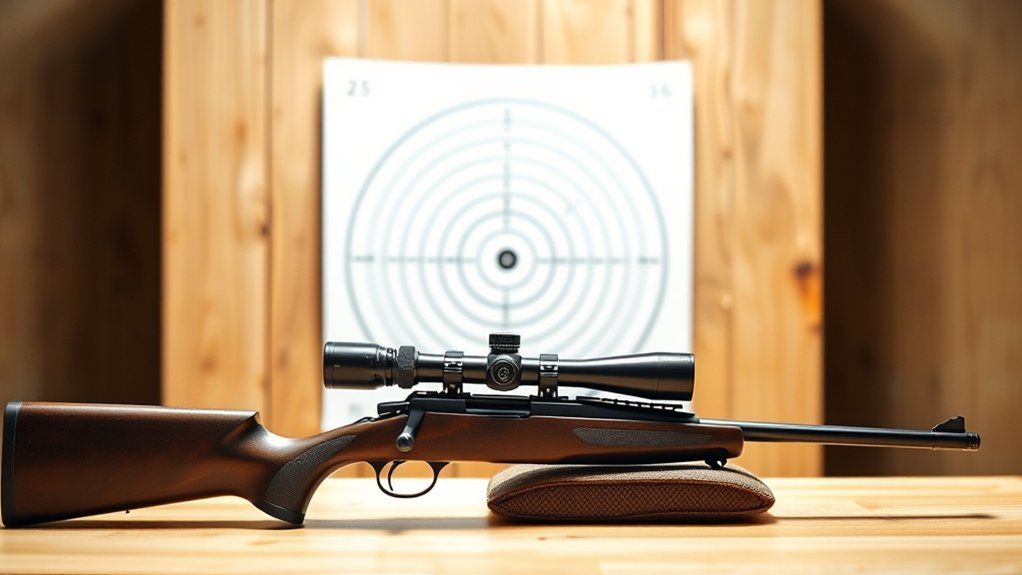
Once you’ve secured a stable shooting position, the next step is choosing the right target for 25 yards. You’ll want a target specifically designed for this distance, with clearly defined aiming points or grids that help you track your shot group.
Using a target meant for longer distances can make it harder to see where your bullets land, leading to inaccurate adjustments. Print or buy a target with bold markers or a bullseye sized appropriately for 25 yards, so you can quickly identify your point of impact.
Also, consider using targets with scoring rings or grids to measure group size easily. This precision will save you time and improve your scope’s zeroing process at this shorter range.
Set Eye Relief and Focus Your Reticle
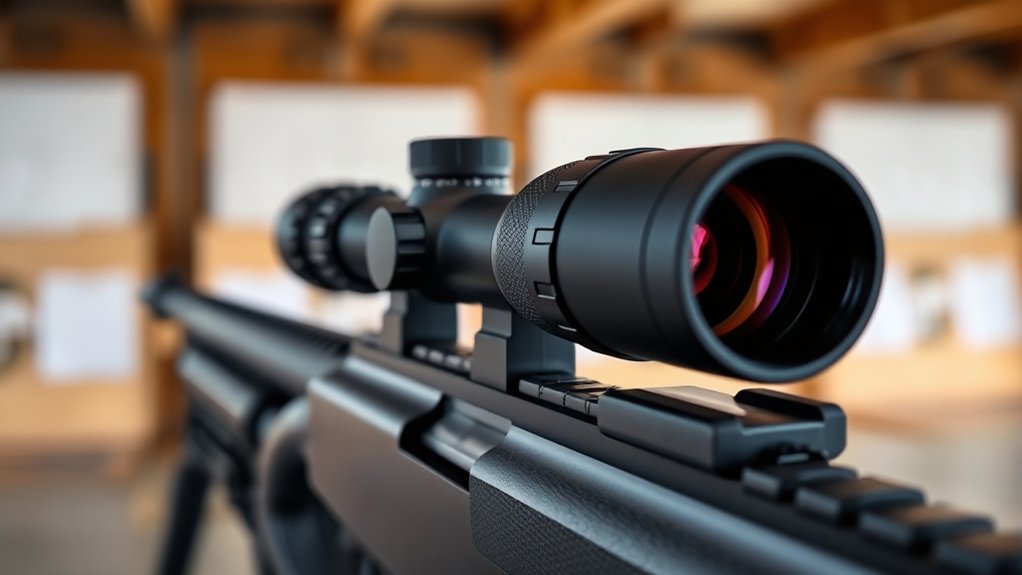
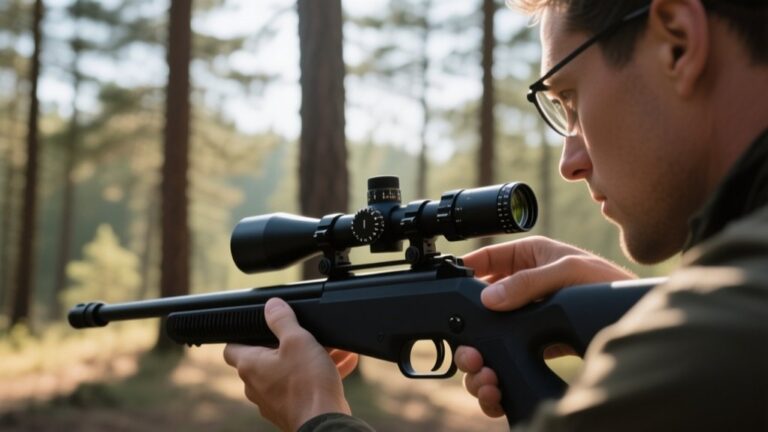
Before you start sighting in, make sure you adjust the eye relief to a comfortable distance that gives you a full field of view without any shadowing.
Next, focus your reticle by turning the eyepiece until the crosshairs appear sharp and clear.
These steps guarantee you can aim accurately and shoot confidently at 25 yards.
Adjusting Eye Relief Distance
Although it might seem minor, adjusting your eye relief distance is essential for a clear sight picture and comfortable shooting position. Eye relief is the gap between your eye and the scope’s lens.
Too close, and you risk scope bite; too far, and you’ll lose your full field of view. To get it right, follow these steps:
- Slowly move your head back and forth until the entire sight picture appears sharp and clear.
- Guarantee the scope aligns naturally with your line of sight without strain.
- Maintain a consistent distance every time you mount the rifle for quick target acquisition.
- Adjust the scope’s position forward or backward on the rifle to fine-tune comfort and clarity.
Perfecting eye relief helps you stay relaxed, focused, and ready for every shot.
Clarifying Reticle Focus
Because a sharp reticle guarantees precise aiming, it’s essential to focus it properly after setting your eye relief. To do this, look through the scope at a blank, light-colored background, such as the sky or a white wall. Adjust the diopter ring until the reticle appears crisp and clear. This step guarantees your eye sees the reticle sharply, preventing aiming errors.
Here’s a quick guide to focus your reticle:
| Step | Action | Tip |
|---|---|---|
| 1 | Set eye relief | Position your eye comfortably |
| 2 | Look at a plain background | Avoid busy or dark areas |
| 3 | Rotate diopter ring | Turn slowly for clarity |
| 4 | Confirm sharpness | Reticle should be crisp |
Take your time—this small adjustment improves accuracy markedly.
Fire a Group of Test Shots to Establish Your Point of Impact
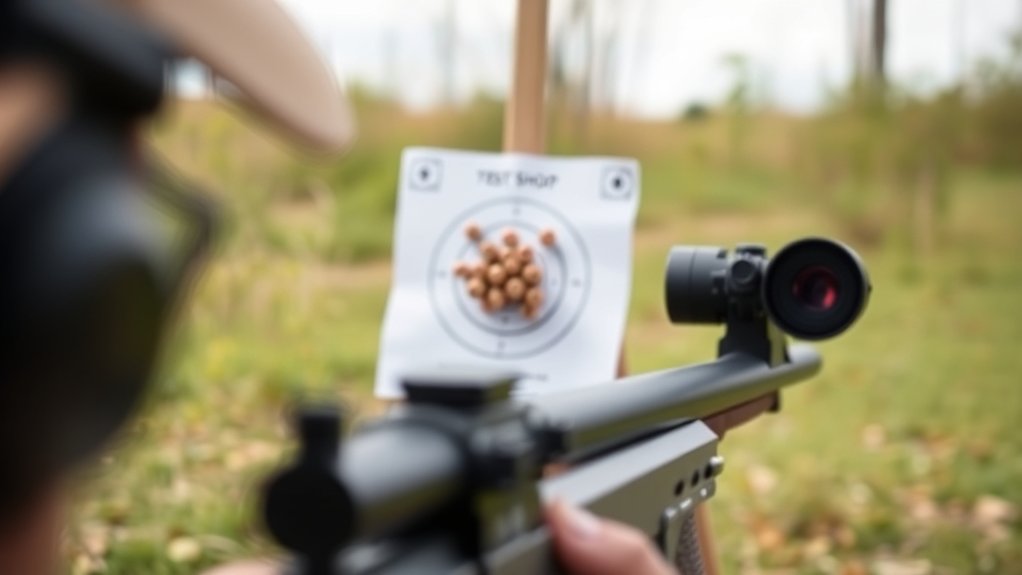
You’ll want to fire a tight group of test shots to see where your rounds are landing consistently.
Pay close attention to the pattern of your shot placement to identify any shifts from your target.
This helps you understand how your rifle is performing and what adjustments you need to make.
Importance Of Consistent Grouping
When sighting your rifle scope, firing a consistent group of test shots is essential to accurately establish your point of impact. Consistency in grouping helps you trust your adjustments and know that your scope is properly aligned.
Without it, you might chase imaginary issues or waste ammo fixing non-existent problems.
Consistent grouping gives you:
- Confidence in your scope’s reliability
- A clear baseline for precise adjustments
- Reduced frustration from unpredictable shot placement
- Assurance that your technique and equipment work together
Analyzing Shot Placement Patterns
Before making any adjustments, closely examine the group of test shots on your target to identify where your rounds consistently land. Look for the center of the cluster to determine your current point of impact.
If your shots group tightly but off-center, it’s a clear sign your scope needs adjustment. However, if your shots are scattered widely, focus on improving your shooting technique before fine-tuning the scope.
Pay attention to patterns—are they consistently high, low, left, or right? This pattern helps you know which direction to adjust your windage and elevation turrets.
Remember, consistent groupings provide reliable data, making your adjustments more effective.
Check Your Shots and Measure Impact
How accurately did your shots hit the target? Now that you’ve fired a few rounds, it’s essential to check each shot’s impact carefully.
This step helps you understand how well your scope aligns with the barrel and whether adjustments are needed.
When you inspect the target, focus on:
- Noticing the exact spot where each bullet landed
- Comparing shot groups to your aiming point
- Measuring the distance from the center bullseye to the impact points
- Recording these measurements for reference
Adjust Windage and Elevation Turrets at 25 Yards
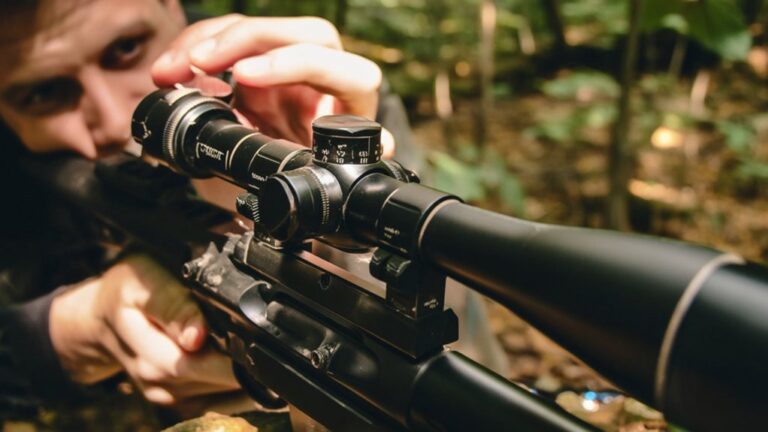
Although you’ve identified where your shots landed, you’ll need to adjust the windage and elevation turrets to align your scope accurately. Start by turning the elevation turret to move the point of impact up or down. If your shots are low, rotate the turret in the direction marked “up.”
For shots that hit left or right, adjust the windage turret accordingly—turn it toward “right” to move the impact right, and “left” to shift it left. Make small, deliberate adjustments, usually in quarter or half-minute of angle (MOA) increments, depending on your scope’s specifications.
Confirm Zero by Shooting Another Group at 25 Yards
Once you’ve made your adjustments, shoot another group at 25 yards to confirm your zero.
Pay close attention to group consistency and make small tweaks based on where your shots land.
This step guarantees your scope is accurately sighted before moving to longer distances.
Importance Of Group Consistency
Why is group consistency so essential when sighting your rifle scope at 25 yards? It proves that your adjustments are reliable and your scope is truly zeroed. Without consistent groups, you can’t trust your shots downrange. Shooting another group confirms your initial zero isn’t a fluke.
Consistent groups give you:
- Confidence that your scope settings are accurate
- Assurance that environmental factors aren’t affecting your aim
- A clear baseline for future adjustments
- Peace of mind knowing your rifle performs predictably
Adjustments Based On Results
After you’ve established consistent groups, you’ll need to make precise adjustments based on your results to confirm your zero.
First, note where your shots landed relative to the target’s center. If your group is off to the left, adjust your windage turret to move the point of impact right.
If it’s high or low, use the elevation turret to bring it down or up accordingly.
Remember, most scopes have click values indicating how much each click moves the point of impact at 25 yards—usually ¼ or ⅛ inch per click.
After making these adjustments, shoot another group at 25 yards to verify your changes.
Repeat this process until your shots consistently hit the bullseye, ensuring your scope is properly sighted for accurate shooting.
Verifying Scope Accuracy
To confirm your zero, you’ll want to shoot another group at 25 yards and carefully observe where your rounds land. This step ensures your adjustments truly align with your target. When you shoot this group, focus on:
- Consistency in your shot placement
- Tight grouping that reflects accuracy
- Any noticeable drift from the bullseye
- Environmental factors like lighting or wind
If your group centers around the bullseye, congratulations—you’ve verified your scope’s accuracy!
If not, take note of how far off you’re and make fine adjustments accordingly. Remember, verifying your zero builds confidence and helps you trust your rifle when it counts.
Don’t rush this process; precision now saves frustration later.
Make Fine Adjustments and Note Scope Settings
Although you’ve roughly aligned your rifle scope, making fine adjustments is essential to guarantee your shots hit the exact point of aim. Use your scope’s windage and elevation turrets to dial in small corrections, moving the reticle just enough to center the group at 25 yards. After each adjustment, fire a few rounds to confirm accuracy. Once satisfied, record the turret settings to replicate your zero later or after cleaning.
| Adjustment Type | Direction | Increment per Click |
|---|---|---|
| Elevation | Up/Down | 1/4 MOA (approx. 0.25″) |
| Windage | Left/Right | 1/4 MOA |
| Parallax (if any) | Near/Far | Variable |
Keeping these notes helps maintain consistent accuracy.
Adjust Your Setup for Longer Range Shots
When you start shooting at longer distances, you’ll need to recalibrate your scope to account for bullet drop and wind drift. This means adjusting your elevation and windage settings more precisely. Don’t forget to stabilize your shooting position and use consistent hold points.
Take your time to understand how environmental factors affect your shot.
To adjust your setup effectively:
- Elevate your scope’s reticle to compensate for bullet drop.
- Dial windage knobs to counteract crosswinds.
- Use a stable rest or bipod for steady aim.
- Practice at incremental distances to build confidence and accuracy.
Frequently Asked Questions
What Tools Do I Need Besides the Rifle and Scope?
You’ll need a stable shooting rest or sandbags, a target, and a spotting scope or binoculars to see your hits clearly. Also, bring a wind meter and a screwdriver or scope adjustment tool for fine-tuning.
How Often Should I Re-Zero My Rifle Scope?
You should re-zero your rifle scope whenever you notice a shift in accuracy, after changing ammunition, or if the scope gets bumped. Regularly checking it before shooting sessions keeps your shots precise and consistent.
Can Different Ammunition Affect My Zero?
Absolutely, different ammo can shift your zero. It’s like swapping coffee brands—same cup, different taste. So, you’ll want to re-zero your scope each time you change ammo to keep shots accurate and consistent.
Is Lighting Important When Sighting in at 25 Yards?
Yes, lighting is important when sighting in at 25 yards because it affects your target visibility and scope clarity. You’ll want consistent light to guarantee your shots are accurate and your adjustments reliable.
How Do Weather Conditions Influence Sighting Accuracy?
You’ll find weather conditions like wind, rain, and temperature can shift your bullet’s path and affect visibility. Always adjust for these factors to maintain sighting accuracy, especially in variable or challenging conditions.
Conclusion
Sighting your rifle scope at 25 yards might seem like a simple starting point, but it’s the foundation that separates guesswork from precision. While close-range zeroing feels quick and easy, it sets you up for success at longer distances where every tiny adjustment counts. By mastering these 10 steps now, you’re not just aiming straight—you’re building confidence for every shot, near or far. Precision begins close, but its impact reaches far beyond.