How to Mount a Rifle Scope in 7 Easy Steps
To mount a rifle scope in seven easy steps, first choose a scope and mount that fit your shooting style and rifle. Prepare your rifle by unloading and securing it on a stable surface. Loosely attach the scope rings and position the scope for proper eye relief. Level the scope carefully, then tighten the screws to the correct torque. Finally, verify your zero by firing and adjusting windage and elevation as needed. Keep going to master the details for perfect setup.
Choose the Right Scope and Mount for Your Rifle
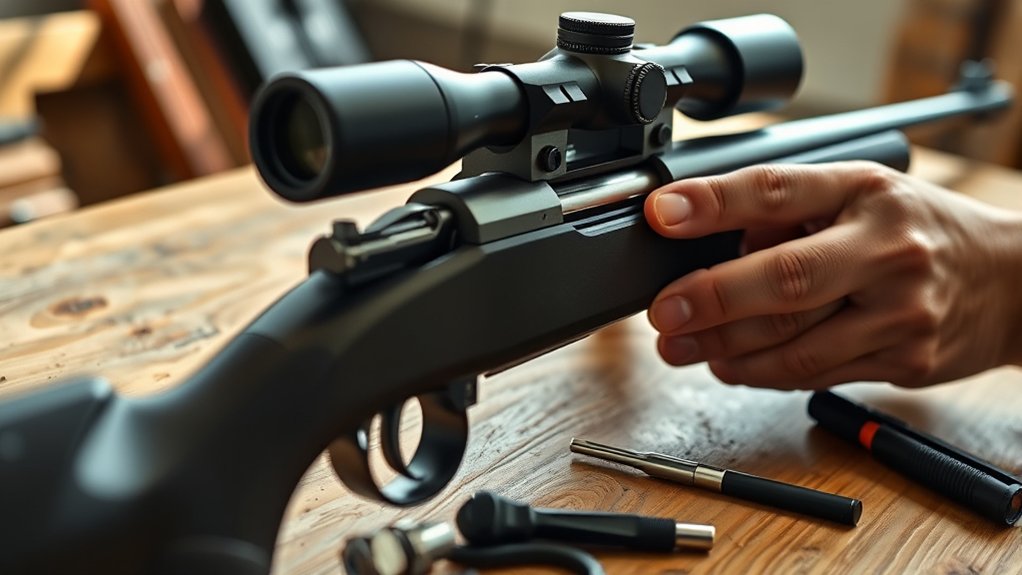
Before you mount a scope, you need to choose one that fits your rifle and shooting needs. Consider the type of shooting you’ll do—hunting, target shooting, or tactical use—as this affects the scope’s features.
Look at magnification ranges; low power works well for close targets, while higher magnification suits long-range shots.
Also, check the scope’s size and weight to ensure it won’t unbalance your rifle.
Next, select a mount compatible with both your rifle’s make and the scope’s tube diameter. Mounts come in various styles—ring mounts, one-piece bases, or quick detach systems—so pick one that offers a secure fit and suits your preferences.
Choosing the right scope and mount sets you up for proper alignment and accuracy later on.
Prepare Rifle and Workspace for Scope Mounting
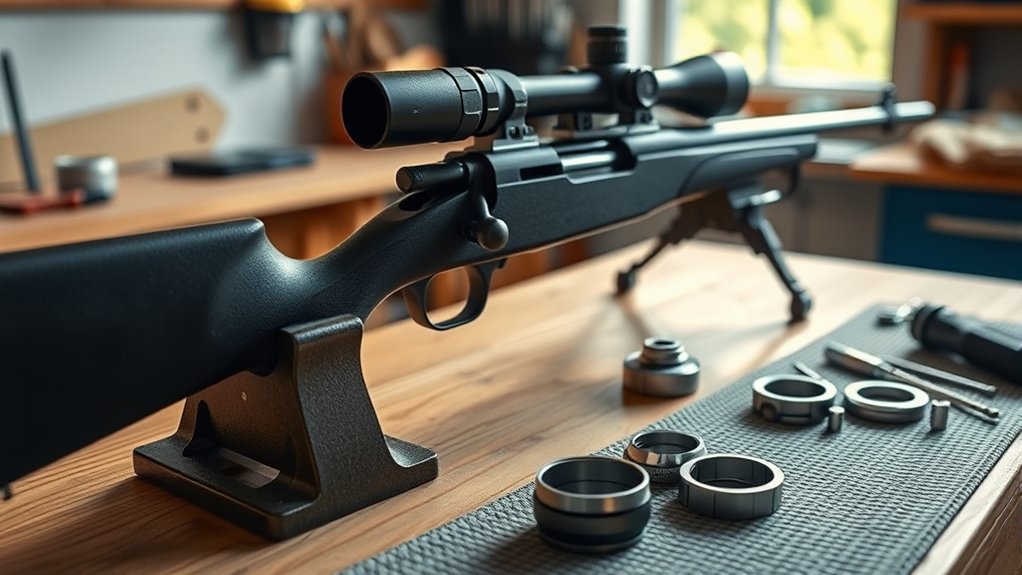
Selecting the right scope and mount gives you a solid foundation, but you’ll want to get your rifle and workspace ready to assure a smooth mounting process.
First, ensure your rifle is unloaded and the chamber is clear for safety.
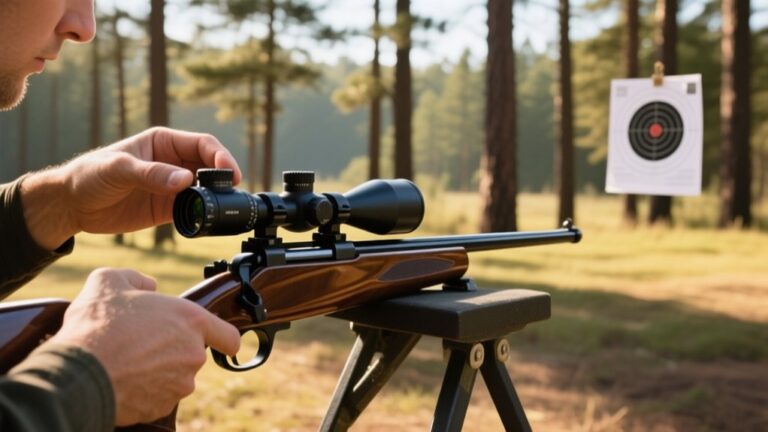
Place your rifle on a stable, padded surface or a gun vise to prevent scratches and movement.
Clear your workspace of clutter, and set up good lighting to see small parts clearly.
Gather necessary tools like screwdrivers, torque wrenches, and cleaning supplies.
Clean the rifle’s mounting base to remove dirt, oil, or debris that could affect the scope’s stability.
Having everything organized and your rifle secure will help you mount your scope accurately and efficiently without distractions or setbacks.
Attach Scope Rings Loosely to Rifle
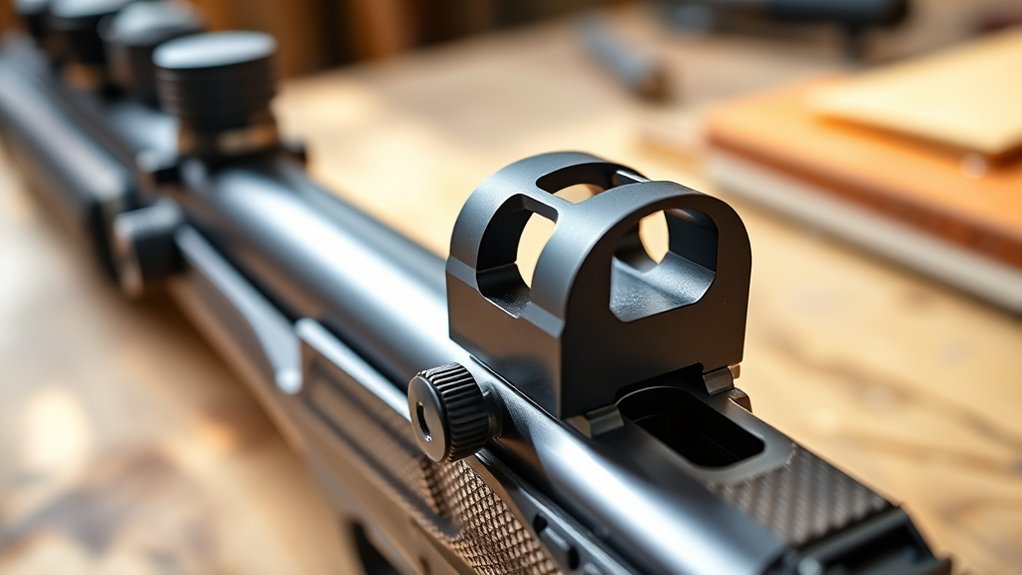
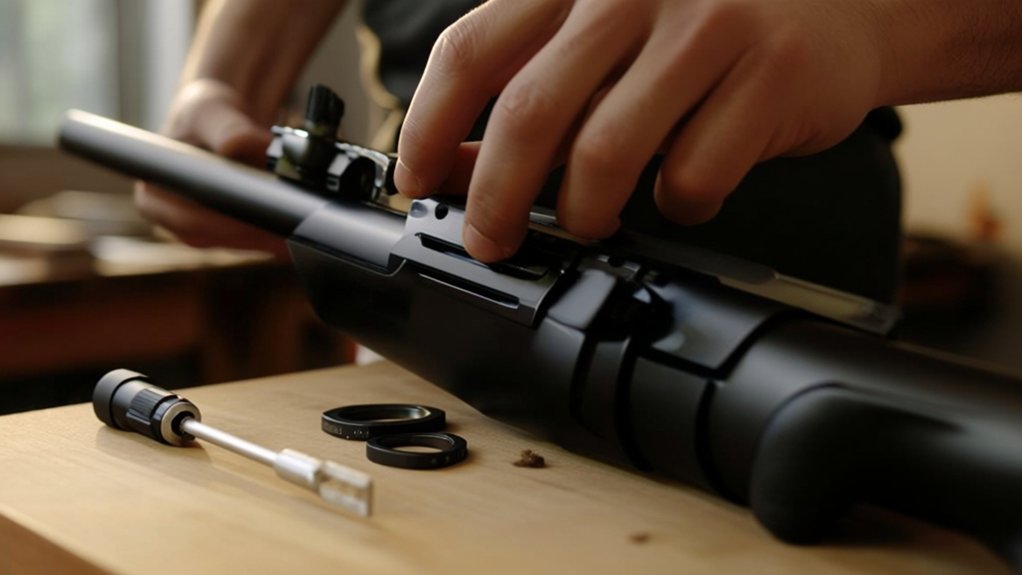
Once you’ve prepared your rifle and workspace, you can attach the scope rings loosely to the mounting base. This loose attachment lets you adjust the scope later for perfect alignment. Use a torque wrench to avoid overtightening, which can damage the rings or base. Make sure the rings are evenly spaced to support the scope securely.
| Step | Tool Needed | Tip |
|---|---|---|
| Align rings | Hex wrench | Keep screws finger-tight |
| Check spacing | Ruler | Leave enough room for scope |
| Loosely fasten | Torque wrench | Use recommended torque |
Position the Scope for Proper Eye Relief
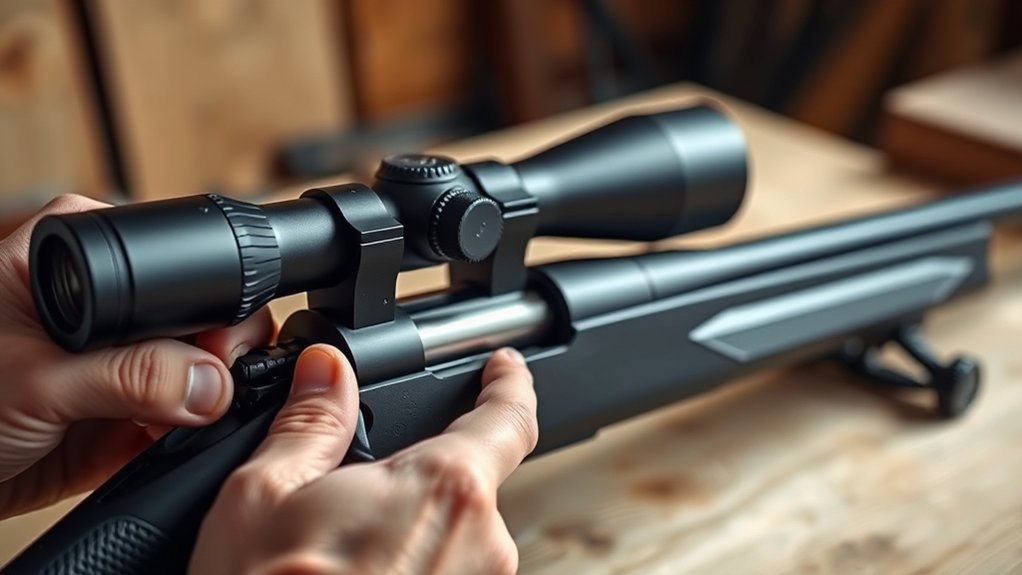
How far should you position your scope to guarantee a clear and comfortable sight picture? Eye relief is the critical distance between your eye and the scope’s eyepiece where the full field of view is visible without any black rings or distortion.
Start by holding your rifle in your normal shooting position and moving the scope forward or backward until you see a clear, full sight picture. Make sure you maintain a comfortable shooting posture without straining your neck or eyes.
Once you find the ideal spot, check that your eye can quickly and naturally align with the scope when aiming. Proper eye relief not only ensures comfort but also protects your face from recoil, especially with high-powered rifles.
Adjust carefully before tightening your scope rings.
Level the Scope for Accurate Alignment
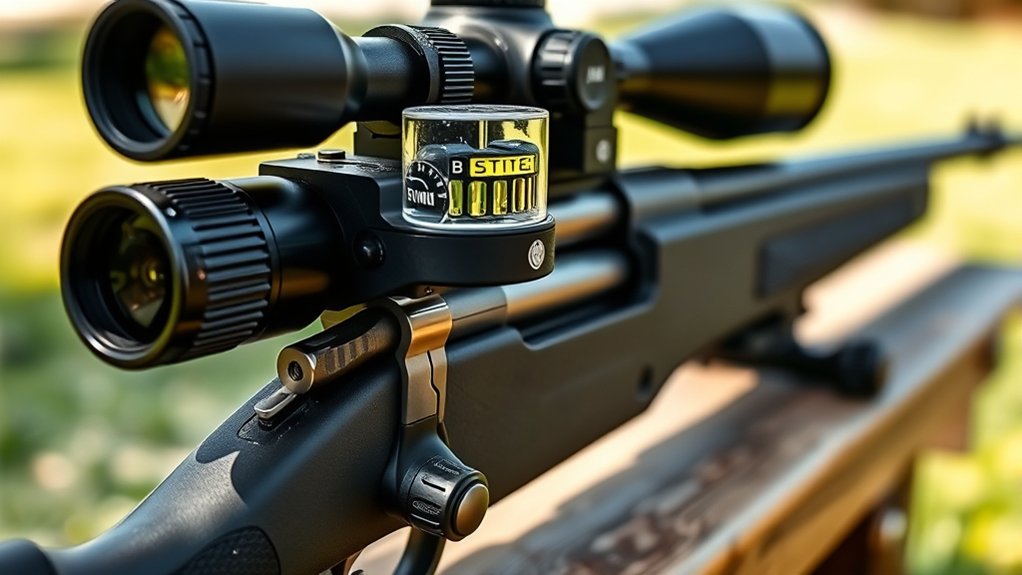
After positioning your scope for proper eye relief, the next step is to level it to guarantee accurate alignment. Begin by placing a bubble level on top of the turret cap or the scope’s main tube.
Next, confirm your rifle is perfectly level by resting it on a stable surface or using a rifle rest with a built-in level. Adjust the scope until the bubble on the scope and the rifle’s level align perfectly. This prevents canting, which can cause inaccurate shots.
Double-check that the reticle is vertical and horizontal while leveling. Taking the time to level your scope carefully now will save you frustration later and increase your shooting precision.
Once aligned, you’re ready for the next step.
Tighten Scope Screws With Correct Torque
Although leveling the scope is essential, securing it properly is just as important to maintain that alignment.
When tightening your scope screws, use a torque wrench or a driver with a torque setting to apply the manufacturer-recommended amount of torque.
Over-tightening can strip threads or damage the scope tube, while under-tightening risks the scope shifting during recoil.
Tighten screws gradually and evenly, alternating between them to distribute pressure uniformly.
If your scope rings or mounts specify torque values, always follow those guidelines precisely.
Avoid guessing or using excessive force, as this can compromise your scope’s performance and durability.
Verify Zero and Adjust the Scope
Now that your scope is securely mounted, it’s time to confirm your initial zero. Take a few shots to see where your rounds are hitting and make precise adjustments as needed.
Fine-tuning your scope guarantees accuracy and confidence when you’re on target.
Confirm Initial Zero
Before you finalize your scope mounting, you’ll want to confirm the initial zero to guarantee your shots hit the target accurately. Begin by setting up a stable shooting position at a known distance, usually 25 or 50 yards.
Fire a three-shot group to see where your bullets land relative to the target’s center. If your group isn’t centered, adjust the windage and elevation turrets accordingly, following the scope’s instructions.
After making adjustments, shoot another group to verify improvement. Repeat this process until your point of impact aligns with your point of aim.
Verifying the initial zero ensures your scope is properly calibrated before moving on to longer-distance shooting or fine-tuning settings. This step saves time and ammo by preventing inaccurate shots later.
Fine-Tune Scope Settings
After confirming your initial zero, you’ll want to fine-tune your scope settings to guarantee consistent accuracy at various distances.
Begin by shooting at targets set at different ranges—start close, then move farther out. Note where your shots land relative to the bullseye.
Use your windage and elevation turrets to adjust the point of impact, compensating for bullet drop and wind drift. Make small, deliberate adjustments, then fire another group to verify changes.
Keep track of each setting and distance, so you build a reliable reference for future shooting.
This process ensures your scope accounts for real-world conditions, not just theoretical zero.
Regularly verifying and adjusting your scope will keep your shots precise and your confidence high in the field.
Frequently Asked Questions
How Do I Clean My Rifle Scope Lenses Safely?
You clean your rifle scope lenses safely by gently blowing off dust, using a soft brush, then wiping with a microfiber cloth or lens tissue. Avoid harsh chemicals and never rub hard to prevent scratches or damage.
What Type of Scope Covers Protect Against Weather?
Like a knight’s visor in a storm, weatherproof scope covers made from neoprene or rubber shield your scope from rain, snow, and dust. You’ll want ones with sealed seams and waterproof coatings to keep your view crystal clear.
Can I Use the Same Scope on Multiple Rifles?
Yes, you can use the same scope on multiple rifles, but you’ll need to remount and re-zero it each time. Make sure the scope rings fit both rifles and check for proper alignment before shooting.
How Often Should I Check My Scope’s Zero?
You should check your scope’s zero every time you shoot, especially after transporting your rifle or changing ammo. Regularly confirming zero guarantees accuracy and helps you spot any shifts caused by recoil or handling.
What Are Common Causes of Scope Fogging Inside?
Common causes of scope fogging inside include temperature changes, moisture trapped during assembly, and damaged or worn seals. You’ll want to keep your scope dry and properly sealed to prevent fogging from disrupting your aim.
Conclusion
Now that you’ve followed these steps, your rifle scope is almost ready. But don’t rush—there’s one essential moment left. Will your careful alignment and adjustments pay off when you take your first shot? The satisfaction of a perfect zero is within reach, and it all hinges on that final verification. Get ready, because once you confirm your zero, your precision shooting game will change forever.