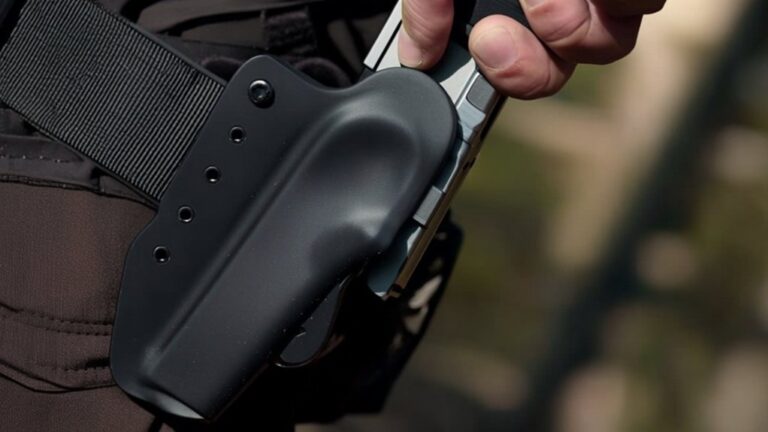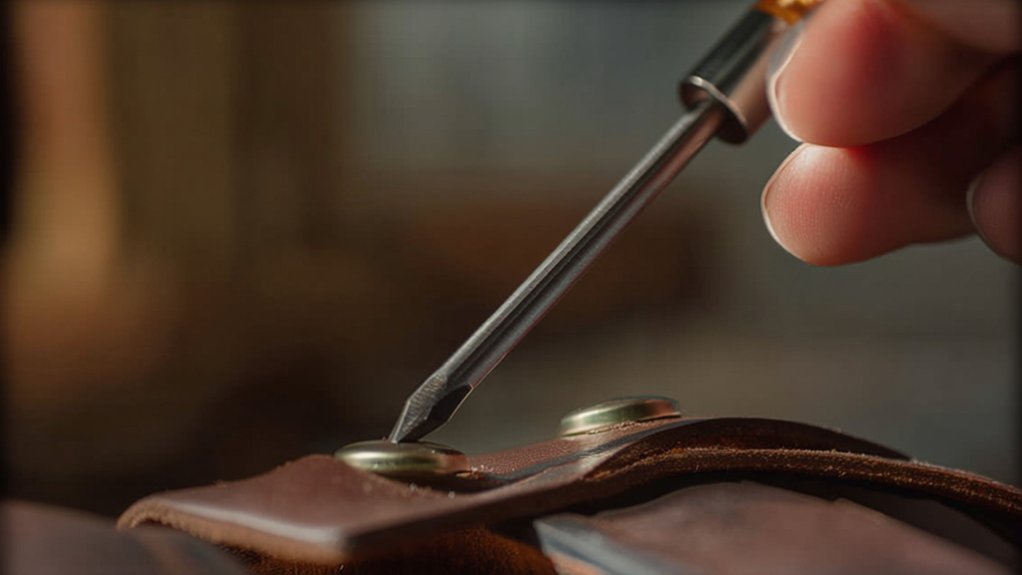
How to Remove Screws From a Holster in 7 Easy Steps
To remove screws from your holster in seven easy steps, first gather the right screwdrivers and tools. Inspect the screws for damage or rust to avoid extra trouble. Use the correct screwdriver to prevent stripping. If screws are stuck, apply penetrating oil and gently loosen them. For stripped screws, try a rubber band grip or a screw extractor. Once removed, clean the holes before adjusting or reinstalling the screws. Keep following for helpful tips on perfect holster maintenance.
Gather the Right Tools for Removing Holster Screws
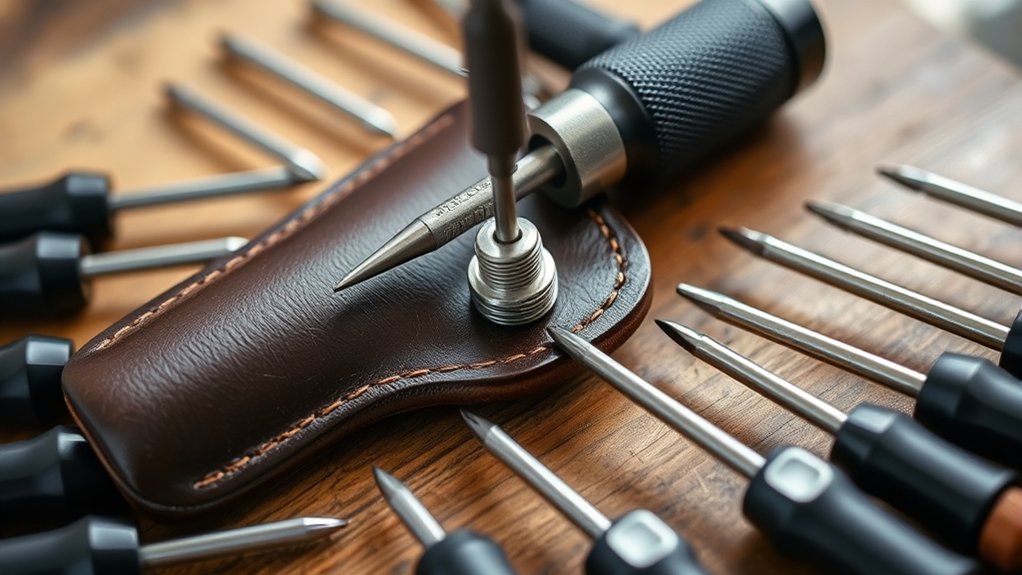
Before you start removing screws from your holster, make sure you have the right tools on hand. You’ll need a screwdriver that matches the screw heads exactly—usually a Phillips or flathead. Using the wrong size can strip the screws and make removal difficult.
It’s helpful to have a set of precision screwdrivers if your holster uses small screws. Also, consider having a magnetic screwdriver; it keeps screws steady and prevents them from falling into hard-to-reach places.
Keep a small tray or container nearby to hold the screws once removed, so you don’t lose them. Having these tools ready will make the process smoother and protect your holster from accidental damage.
Preparing properly saves time and hassle later on.
Inspect Screws for Damage, Rust, or Stripping
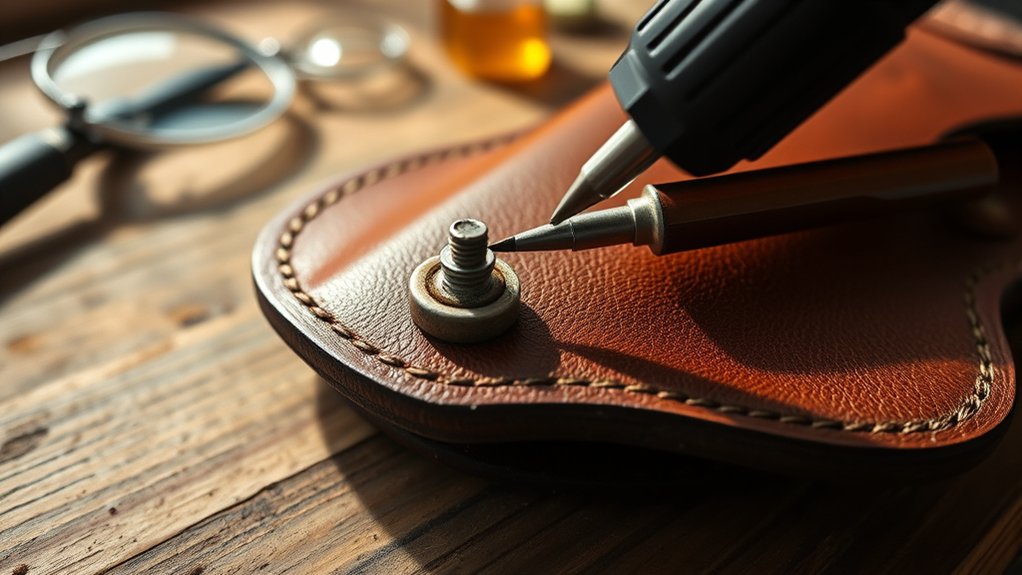
Once you have the right tools ready, take a close look at the screws on your holster. Check each screw head carefully for signs of damage like rounded edges or stripped grooves, which can make removal difficult.
Look for any rust or corrosion that might’ve formed, especially if your holster has been exposed to moisture. Rust weakens the screw’s integrity and can cause it to break during removal.
If you spot any damage or rust, you’ll need to proceed with extra caution to avoid worsening the condition.
Identifying these issues early helps you prepare for a smoother removal process and prevents further damage to both the screws and your holster.
This inspection step is essential before you move on to unscrewing.
Use the Correct Screwdriver to Avoid Stripping
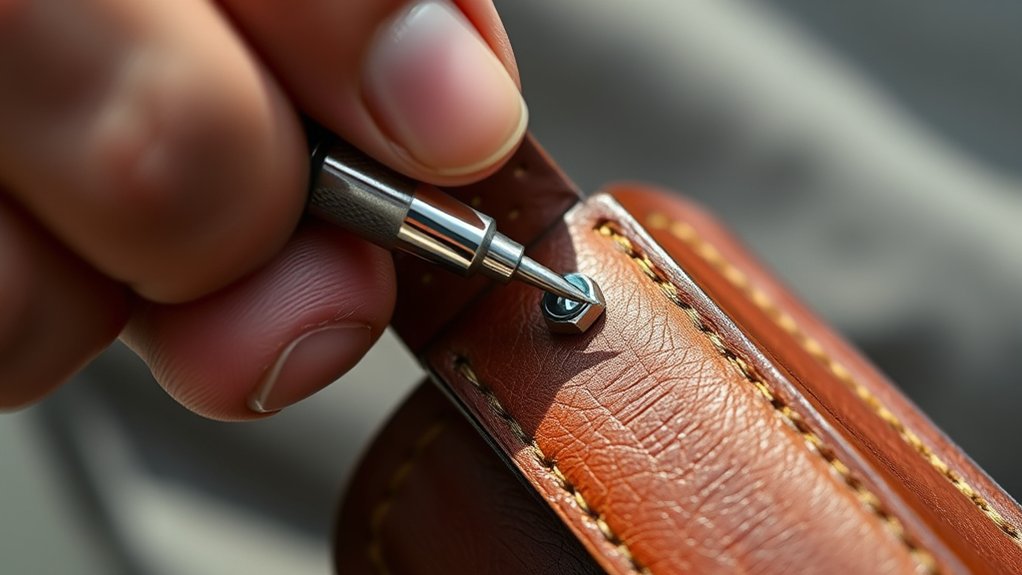
How do you guarantee a screw doesn’t get stripped during removal? The key is using the correct screwdriver. Match the screwdriver tip precisely to the screw head—whether it’s Phillips, flathead, Torx, or hex.
A mismatched driver slips easily, damaging the screw and making removal harder. Ascertain the tip fits snugly into the screw head without wiggle room. Apply steady, even pressure when turning to maintain proper contact.
Avoid using worn-out or damaged screwdrivers since they can cause stripping as well. If you’re unsure about the type, take the holster to a hardware store for advice or use a screwdriver set with multiple tips.
Using the right tool saves time and prevents frustrating damage to your holster screws.
Loosen Stuck or Rusted Holster Screws
If a screw in your holster won’t budge, it’s likely stuck due to rust or debris buildup. Start by applying a penetrating oil, like WD-40, directly onto the screw. Let it sit for 10-15 minutes to loosen the rust.
Next, use the correct screwdriver to turn the screw gently back and forth—don’t force it in one direction. If the screw remains tight, tap the screwdriver handle lightly with a small hammer to help break the rust seal.
You can also try heating the area with a hairdryer for a minute to expand the metal slightly, which may ease removal. Avoid using excessive force to prevent damaging the screw or holster.
Patience and the right technique will help you loosen stuck or rusted holster screws effectively.
Safely Remove Stripped Holster Screws
When a holster screw becomes stripped, you won’t be able to grip it with a regular screwdriver, making removal tricky. First, try using a rubber band. Place a wide rubber band over the screw head, then press your screwdriver firmly into the band and turn slowly. The rubber gives extra grip.
If that doesn’t work, use a screw extractor designed for stripped screws. Drill a small hole into the screw head, then insert the extractor and turn counterclockwise to remove the screw. Be careful not to damage the holster material.
Alternatively, you can try locking pliers to grasp and twist the screw out. Always work slowly and apply steady pressure to avoid further damage or injury.
Clean and Prepare Holster Screw Holes
Before reinstalling screws, you’ll need to clean and prepare the holster screw holes to guarantee a secure fit. Start by removing any debris, dirt, or old thread locker inside the holes using a small brush or compressed air.
If residue remains, apply a bit of rubbing alcohol on a cotton swab to thoroughly clean the area. Check the holes for damage like cracks or stripped threads.
If threads are damaged, consider using a thread repair kit or inserting a small helicoil to restore grip. Confirm the holes are completely dry before proceeding.
Taking these steps prevents screws from loosening or damaging the holster during use. Clean, well-prepped holes make reinstalling screws smoother and improve the holster’s durability over time.
Adjust Holster Parts and Reinstall Screws Securely
Although reassembling your holster might seem straightforward, properly adjusting the parts and reinstalling the screws securely is vital to maintain its functionality and safety. Start by aligning all holster components exactly as they were before disassembly.
Check that the retention mechanism moves smoothly without binding or excessive looseness. Insert each screw carefully, threading it by hand at first to avoid cross-threading.
Once all screws are in place, tighten them evenly using the appropriate screwdriver, ensuring they’re snug but not over-tightened to prevent stripping. After tightening, test the holster’s fit and retention again.
If necessary, make small adjustments by loosening screws slightly, repositioning parts, and retightening. Proper reassembly guarantees your holster performs reliably and keeps your firearm secure.
Frequently Asked Questions
What Types of Holsters Commonly Use Screws?
You’ll commonly find screws in Kydex and leather holsters, especially those with adjustable retention or modular designs. They let you customize fit and carry angle, giving you control over comfort and accessibility on your holster.
Can I Remove Holster Screws Without Tools?
You can’t remove holster screws without tools since they require a screwdriver or Allen wrench to loosen. Trying without proper tools risks damaging the screw or holster, so it’s best to use the right equipment.
How Often Should Holster Screws Be Checked or Replaced?
Just like a knight checks his armor before battle, you should inspect your holster screws monthly. Replace them whenever they show wear or looseness to keep your gear secure and ready for action, no floppy screws allowed!
Are There Alternatives to Screws for Holster Attachment?
Yes, you can use rivets, snaps, or adhesive mounts instead of screws for holster attachment. These alternatives offer different levels of durability and adjustability, so you’ll want to pick what suits your needs best.
Can Removing Screws Damage the Holster’s Warranty?
Yes, removing screws can void your holster’s warranty since manufacturers often require intact original parts. You should check the warranty terms carefully before making changes, or contact the manufacturer to avoid losing coverage.
Conclusion
Removing screws from your holster might seem tricky, especially if they’re stuck or stripped. But don’t worry—you don’t need to be an expert or have fancy tools. By following these simple steps, you’ll save time and avoid damage to your holster. Remember, patience and the right approach make all the difference. Once you’ve mastered this, you’ll keep your holster in great shape and ready for action whenever you need it.