How to Level a Rifle Scope in 10 Easy Steps
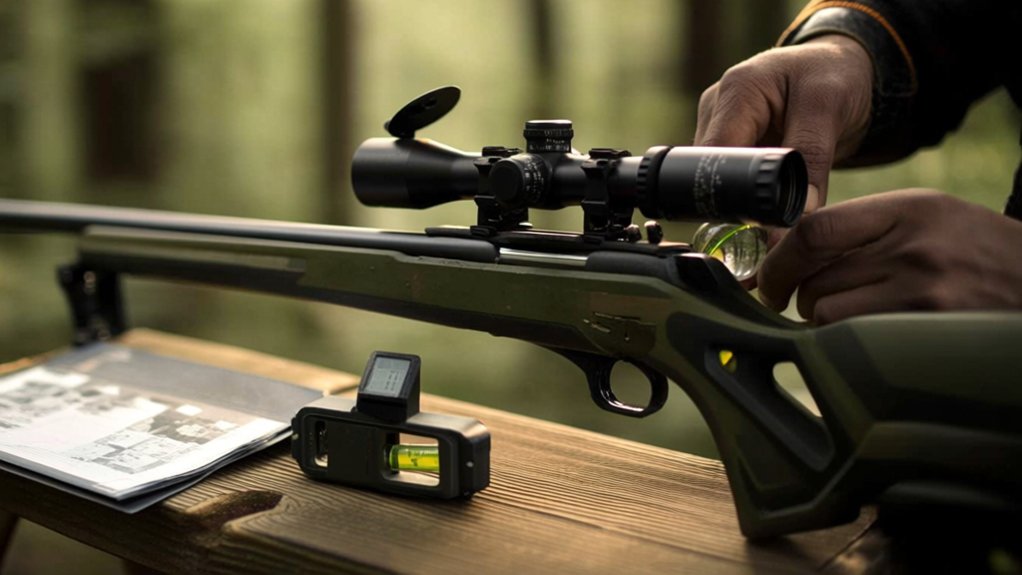
To level your rifle scope in 10 easy steps, start by gathering tools like a bubble level and torque wrench. Secure your rifle firmly on a stable surface. Use the bubble level to check the rifle’s alignment, then line up the scope’s reticle with a truly level surface. Adjust the mounts horizontally, tighten scope rings evenly without shifting, and double-check the level after tightening. Finally, prepare for zeroing and troubleshoot any issues. Keep following for more detailed tips and tricks.
Gather Tools To Level Your Rifle Scope
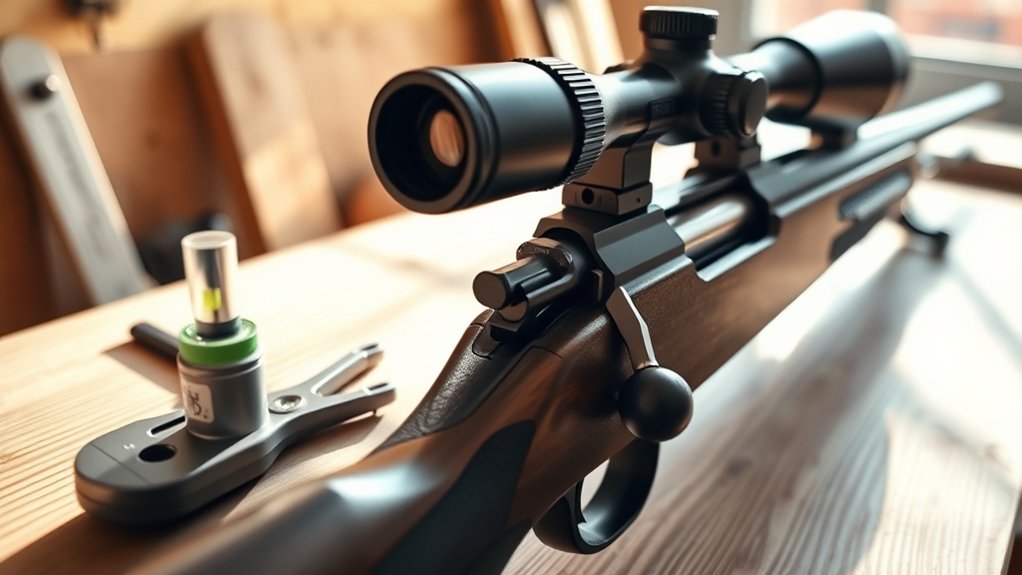
Before you begin leveling your rifle scope, make sure you have all the necessary tools on hand. You’ll need a reliable bubble level, preferably two—one for your rifle’s base and another for the scope itself.
A torque wrench helps you tighten screws evenly without overdoing it, which is essential. Don’t forget a set of screwdrivers or Allen wrenches suited to your scope mounts.
Having a stable, flat surface to work on is also important to guarantee accuracy.
Optional but helpful are scope leveling kits designed specifically for this task. Gathering these tools beforehand saves time and frustration, letting you focus on precise adjustments.
With everything ready, you’re set up for a smooth, effective leveling process that improves your shooting accuracy.
Secure Your Rifle For Stable Setup
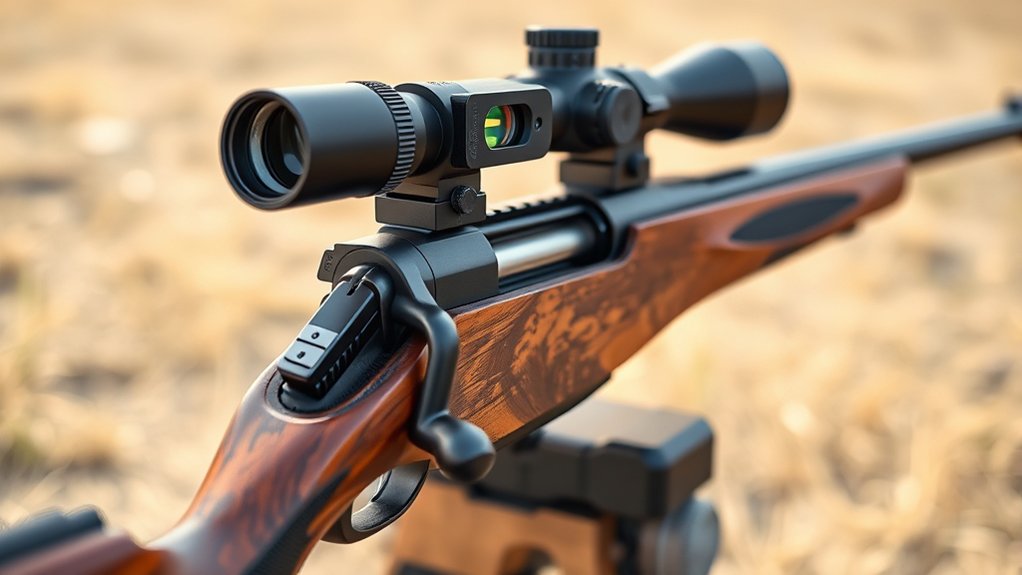
To achieve accurate scope leveling, you’ll want to secure your rifle firmly in place. Start by placing your rifle in a sturdy gun vise or rest designed to hold it steady. Make sure the rifle is snug but avoid overtightening, which can damage the firearm or cause misalignment.
Position the rifle so it’s comfortable for you to work with and won’t shift during adjustments. If you don’t have a gun vise, use sandbags or a bipod to stabilize the rifle on a solid surface.
The goal is to eliminate any movement that could throw off your leveling. A stable setup ensures consistent results and saves you time by preventing repeated adjustments due to shifting or wobbling during the process.
Check Rifle Alignment With A Bubble Level
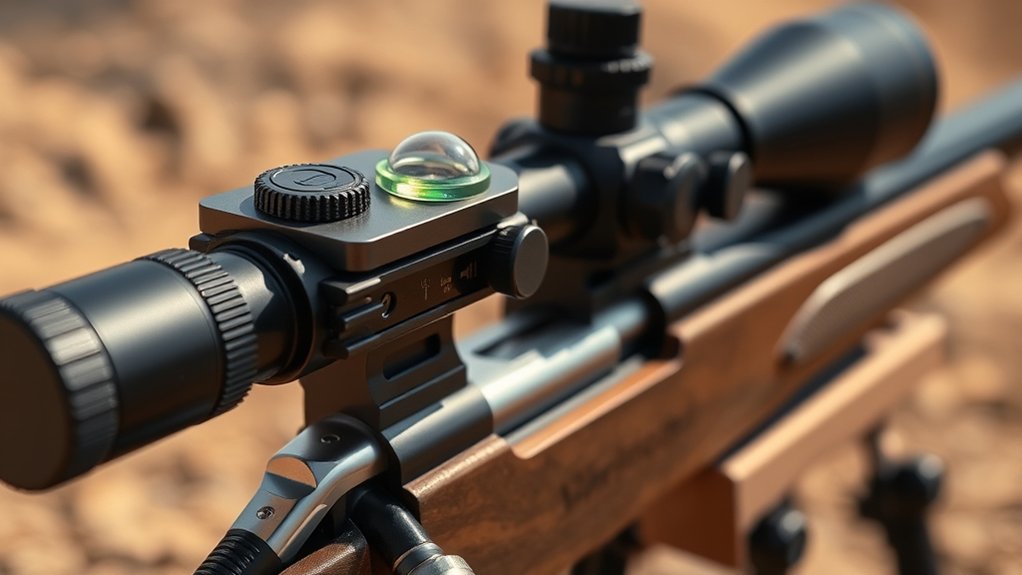
Now that your rifle is secure, it’s essential to check its alignment using a bubble level. This tool helps guarantee your rifle is perfectly horizontal, which is key for accurate shooting.
You’ll want to place the bubble level on a flat part of the rifle to confirm it’s properly leveled before adjusting your scope.
Importance Of Bubble Levels
Although it might seem simple, using a bubble level is essential for ensuring your rifle is perfectly aligned. When you shoot, even a slight cant can cause your bullet to stray off target, especially at longer distances. A bubble level helps you maintain consistent rifle orientation, eliminating guesswork.
By placing it on your rifle or scope, you get immediate visual feedback on whether your rifle is tilted. This consistency improves accuracy and confidence with every shot.
Plus, bubble levels are affordable, easy to use, and durable, making them a valuable addition to your shooting gear. Don’t underestimate their role—they’re key to preventing costly errors and ensuring your scope stays true to its zero.
Using one is a simple step that pays off in precision.
Aligning Rifle And Level
How do you guarantee your rifle is perfectly aligned before attaching the scope? Start by placing a bubble level on a flat part of your rifle’s receiver or rail. Adjust the rifle until the bubble centers between the lines, ensuring your rifle is perfectly horizontal. This step prevents canting errors that can throw off your shot accuracy.
Next, confirm the rifle’s alignment using the following checklist:
| Step | Action | Result |
|---|---|---|
| Place Level | On rifle receiver or rail | Bubble centered |
| Adjust Rifle | Tilt until bubble is centered | Rifle is level |
| Double-Check | Verify alignment twice | Confirms consistent level |
Line Up Your Reticle With A Level Surface
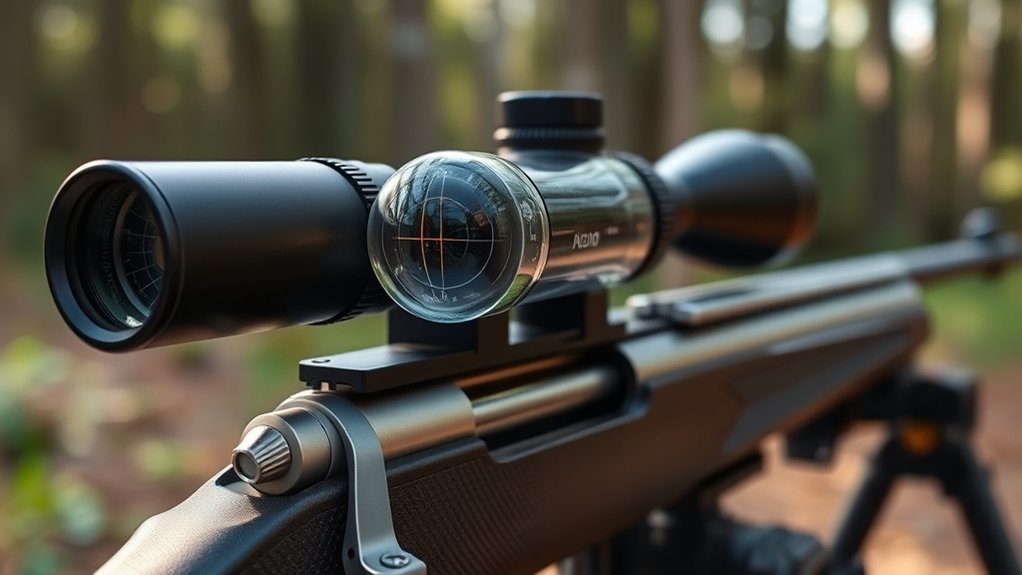
Now, find a truly flat and level surface to line up your reticle against.
Make sure this surface is stable so you can align your reticle precisely without any movement.
This step is key to ensuring your scope’s accuracy.
Choosing a Level Surface
Before you start adjusting your scope, make sure you have a truly level surface to work on. A stable, flat base helps you avoid crooked alignments that throw off accuracy. Choose a solid bench or table, free from tilt or uneven spots. You can test the surface with a carpenter’s level or a phone app to confirm it’s genuinely horizontal.
Visualize your setup like this:
| Surface Type | Stability | Level Check Method |
|---|---|---|
| Wooden Table | Moderate | Carpenter’s Level |
| Metal Bench | High | Phone Level App |
| Concrete Slab | Very High | Bubble Level |
Picking the right surface ensures your reticle lines up perfectly before final scope adjustments.
Aligning Reticle Precisely
Once you’ve confirmed your work surface is level, focus on aligning your scope’s reticle precisely to that surface. Place your rifle securely on the stable platform, ensuring it won’t move during adjustment.
Look through the scope and check if the vertical and horizontal crosshairs are perfectly parallel with the edges of the level surface or a reference object, like a square or a plumb line. If the reticle tilts, loosen the scope rings slightly and rotate the scope until the reticle aligns exactly with the level reference.
Tighten the rings gradually while continuously checking alignment to avoid shifting. Take your time to guarantee the reticle is perfectly level before moving on.
Proper reticle alignment ensures accurate shot placement and prevents canting errors in the field.
Adjust Scope Mounts Horizontally
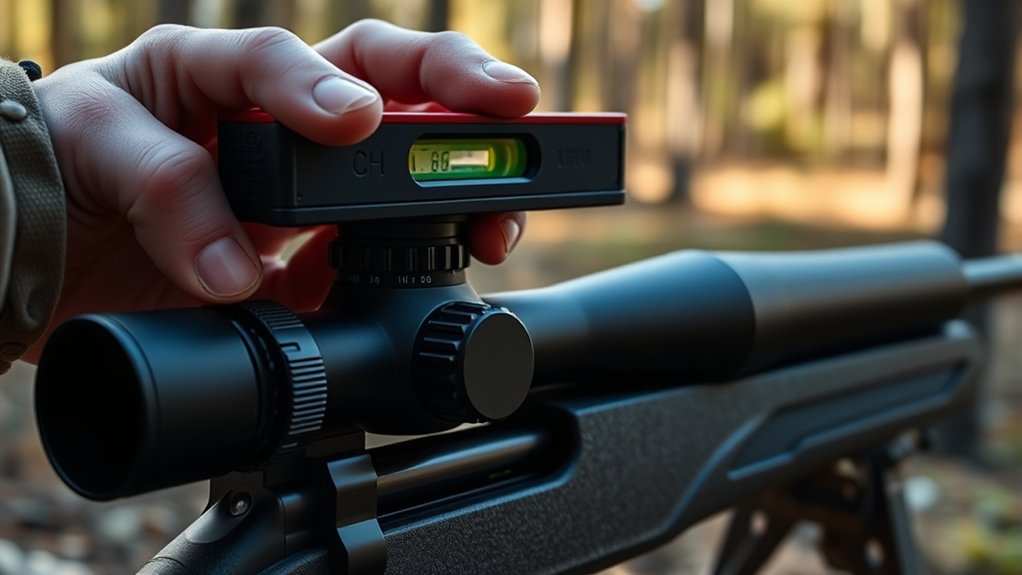
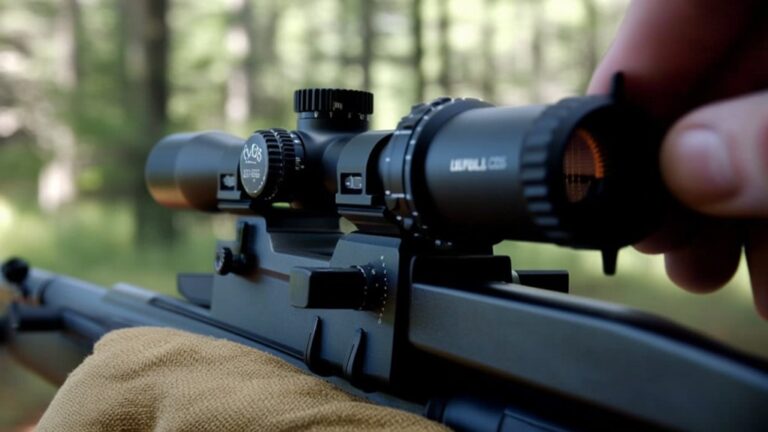
Although it might seem minor, adjusting your scope mounts horizontally is essential for accurate alignment. Start by loosening the screws on your scope rings just enough to allow slight movement.
Place your rifle on a stable rest and look through the scope at a known horizontal reference point, like a distant fence or building edge. Shift the scope mounts gently left or right until the reticle perfectly aligns with that horizontal reference.
Tighten the screws gradually, alternating between them to maintain even pressure and prevent shifting. Double-check the alignment after tightening to ensure nothing moved during the process.
Proper horizontal adjustment helps prevent canting errors and ensures your shots stay true to your point of aim. This step sets a solid foundation before you move on to vertical adjustments.
Make Small Vertical Adjustments To Your Scope
After securing your scope mounts horizontally, it’s time to fine-tune the vertical alignment. Small vertical adjustments ensure your reticle sits perfectly level, which is vital for accuracy at varying distances. Use the elevation turret to make these tweaks incrementally. Turn it clockwise or counterclockwise to raise or lower the point of impact. Make certain to check your changes against a level surface or a plumb line for precision.
| Adjustment Step | Description |
|---|---|
| Initial Elevation Turn | Adjust in small increments (1-2 clicks) |
| Check Alignment | Use a level or plumb line |
| Repeat as Needed | Make minor changes until perfectly aligned |
This careful process helps maintain zero and improves your shooting consistency.
Tighten Scope Rings Evenly Without Shifting
When tightening your scope rings, apply balanced torque to avoid shifting the scope out of alignment.
Use a crisscross pattern and tighten each screw a little at a time to keep the scope steady.
This method guarantees your scope stays perfectly positioned while securing it firmly.
Balanced Torque Application
Since uneven torque can shift your scope and ruin accuracy, you need to tighten the scope rings gradually and evenly. Start by finger-tightening each screw, then use a torque wrench to apply consistent pressure.
Tighten screws in a crisscross pattern to distribute force evenly, preventing any one side from overtightening. Follow the manufacturer’s recommended torque settings closely—too little and the scope may move; too much and you risk damaging components.
Pause between tightening increments to check the scope’s alignment and ensure it hasn’t shifted. Balanced torque application not only secures your scope firmly but also maintains its zero and prolongs the lifespan of your mounting system.
Taking your time here means better accuracy and confidence when you’re out on the range.
Preventing Scope Movement
Applying balanced torque helps keep your scope secure, but preventing movement requires tightening the scope rings evenly without causing any shift. To do this, tighten screws gradually in a crisscross pattern, applying small, equal increments of torque each time. Avoid fully tightening one side before the other to prevent scope misalignment. Use a torque wrench for consistent pressure and check the level frequently during tightening. Here’s a quick guide:
| Step | Action | Tip |
|---|---|---|
| 1 | Finger-tighten screws | Ensure all are snug first |
| 2 | Tighten opposite screws | Use crisscross pattern |
| 3 | Apply torque gradually | Use recommended values |
| 4 | Recheck scope level | Adjust if any shift occurs |
This method keeps your scope stable and accurately aligned.
Double-Check Scope Level After Tightening
Although you’ve already tightened the scope rings, you’ll want to double-check the level to verify nothing shifted during the process. Even slight movements can affect accuracy, so it’s essential to confirm your scope remains perfectly aligned.
Here’s how to double-check effectively:
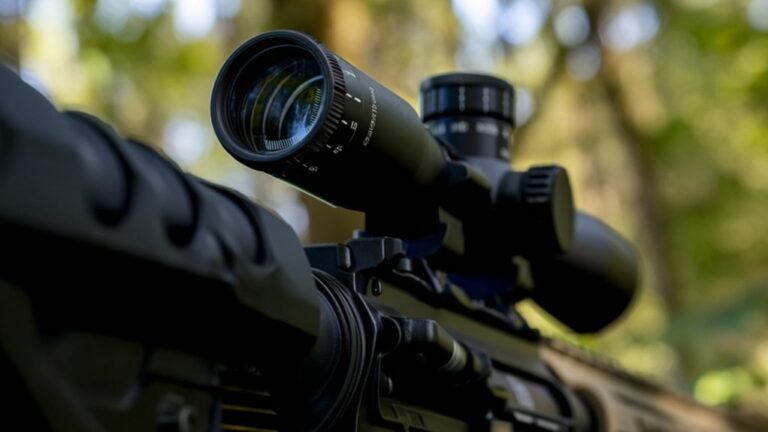
- Place your leveling tool back on the scope’s turret to ensure it’s still perfectly horizontal.
- Look through the scope at a distant, vertical object, like a door frame or fence post, to verify the reticle lines up correctly.
- Gently tap the scope and tightening screws, then recheck the level to confirm stability and alignment.
If you notice any misalignment, loosen the rings slightly and repeat the leveling process before fully tightening again.
Prepare For Zeroing After Leveling Your Scope
Once your scope is perfectly leveled, you’re ready to prepare for zeroing, which guarantees your shots hit exactly where you aim.
Start by setting up a stable shooting position and a proper target at your desired zeroing distance. Make sure your rifle is securely rested on a bipod or sandbags to minimize movement. Check that your scope’s reticle is clean and clear for precise aiming.
Before firing, confirm that all screws and mounts remain tight from the leveling process to avoid any shifts. Adjust your scope’s turrets to the initial settings recommended by your rifle or scope manual.
Finally, take a few careful shots to see where your rounds land, then make the necessary adjustments to dial in your zero accurately.
Troubleshoot Common Rifle Scope Leveling Issues
If your rifle scope doesn’t seem level despite careful adjustments, don’t worry—you can troubleshoot common issues to identify and fix the problem.
First, check your rifle’s mounting system; loose or uneven rings often cause misalignment.
Second, verify that your rifle is resting on a truly level surface—uneven supports throw off your measurements.
Third, confirm that your bubble level or leveling tool is calibrated correctly; a faulty tool can mislead your adjustments.
If you follow these steps, you’ll catch most leveling problems quickly. Remember, patience and precision are key.
When you fix these common issues, your scope will sit perfectly level, improving accuracy and confidence on every shot.
Keep your tools clean and double-check each step for the best results.
Frequently Asked Questions
How Does a Leveled Scope Improve Shooting Accuracy?
A leveled scope guarantees your reticle aligns perfectly with the rifle, preventing canting errors. This means your shots land exactly where you aim, improving consistency and accuracy, especially at longer distances or challenging shooting conditions.
Can Environmental Factors Affect Scope Leveling?
You might think environmental factors don’t matter, but they do. Temperature changes can cause materials to expand or contract, and uneven terrain can throw off your leveling, so always double-check your scope in different conditions.
What Are the Best Brands for Rifle Scopes?
You’ll find top rifle scope brands like Vortex, Leupold, Nightforce, and Nikon deliver excellent quality and durability. They offer reliable optics and precise adjustments, helping you shoot accurately in various environments and conditions.
How Often Should I Check if My Scope Is Level?
You should check if your scope is level before every major shooting session and after any rough handling or transport. Regular checks guarantee accuracy and prevent unwanted canting that can throw off your shots.
Is Professional Scope Leveling Worth the Cost?
Yes, professional scope leveling is worth the cost if you want precise accuracy and consistent shots. You’ll save time, avoid frustration, and guarantee your scope is perfectly aligned, especially for high-stakes shooting or competition.
Conclusion
Leveling your rifle scope is like planting a tree—you start with a steady root, ensuring every branch grows true. By following these steps, you give your scope the strong foundation it needs to guide your aim like a compass pointing north. With patience and precision, you’ll watch your shots align perfectly, just like leaves reaching for sunlight. Keep your setup steady, and your accuracy will flourish, turning your rifle into a trusted extension of yourself.