How Do You Sew a Holster in 10 Easy Steps?
To sew a holster in 10 easy steps, start by choosing durable fabric like canvas or leather and gather strong thread and tools. Measure your firearm carefully, then cut two fabric pieces based on those dimensions. Sew the pieces together with reinforced stitching, leaving an opening for the gun. Create a sturdy belt loop and securely attach it. Finish with bar tacks and closures for durability. If you keep going, you’ll uncover detailed tips to make your holster perfect.
Choose the Right Fabric and Sewing Tools
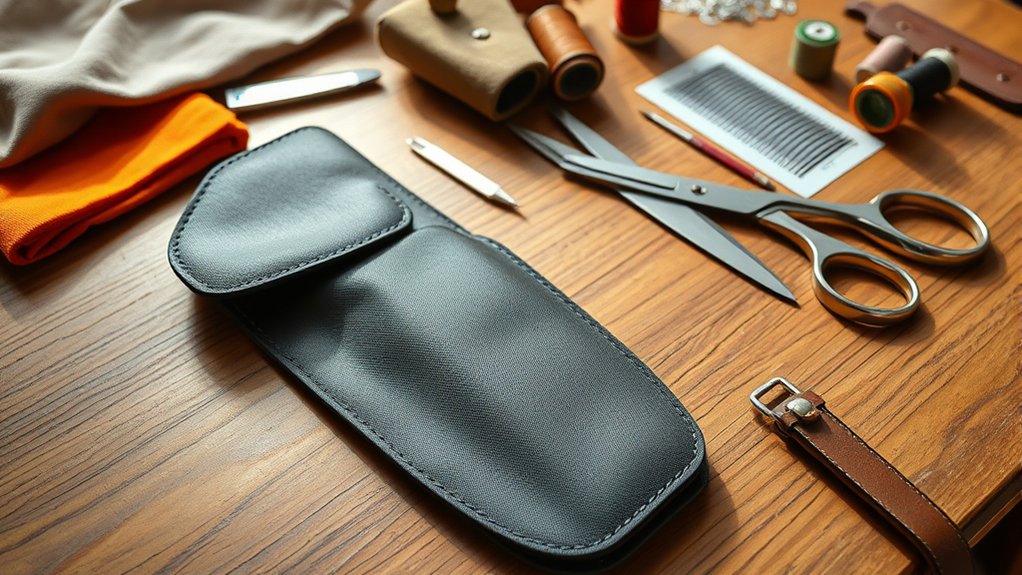
Choosing the right fabric and sewing tools is essential for creating a durable and functional holster. You’ll want to pick a heavy-duty material like thick canvas, leather, or ballistic nylon to withstand wear and protect your gear. Avoid thin or stretchy fabrics that won’t hold their shape over time.
Next, use a strong, heavy-duty thread, such as nylon or polyester, to guarantee your stitches don’t snap under pressure. Grab a sturdy sewing needle designed for thicker materials—regular needles might bend or break.
A sewing machine with adjustable tension will help you work through tough fabrics more easily. Finally, don’t forget essential tools like fabric scissors, pins, and a measuring tape to keep your work precise and clean.
Gather Materials for Your Holster Project
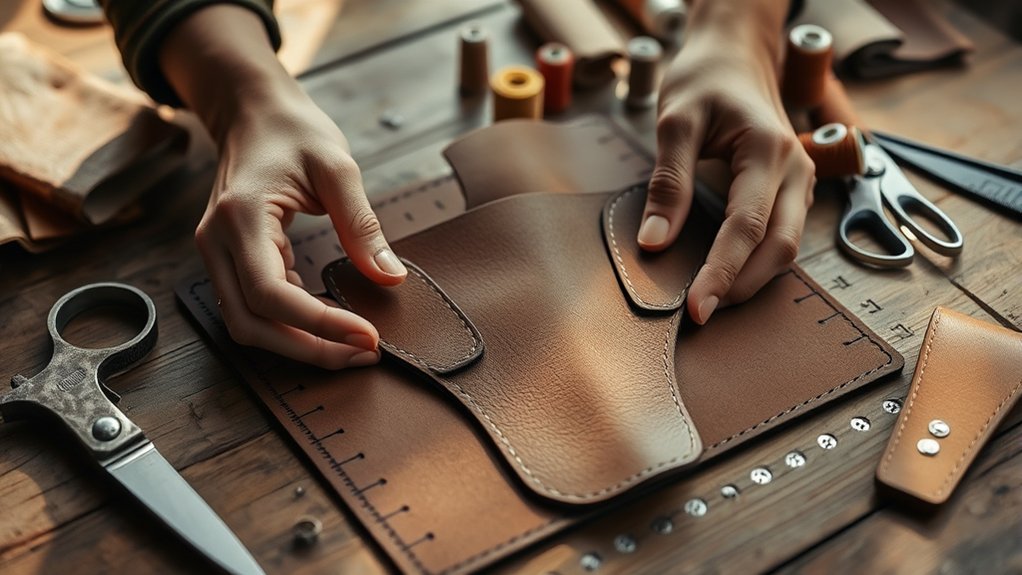
Before you start sewing, gather all the materials you’ll need to keep the process smooth and efficient. First, get your chosen fabric—leather, heavy canvas, or denim works well.
Grab matching thread that’s strong and durable, like nylon or polyester. You’ll also need sharp sewing needles designed for thick materials or a sewing machine with a heavy-duty needle.
Don’t forget scissors or rotary cutters for clean cuts. Include pins or clips to hold pieces together while sewing.
A ruler or measuring tape helps with accuracy, but we’ll focus on measuring later. Consider adding a marking tool, like chalk or a fabric pen, for outlining patterns.
Finally, gather any hardware like snaps, rivets, or belt loops if your design calls for them. Having everything ready saves time and frustration.
Measure Your Gun for a Perfect Holster Fit
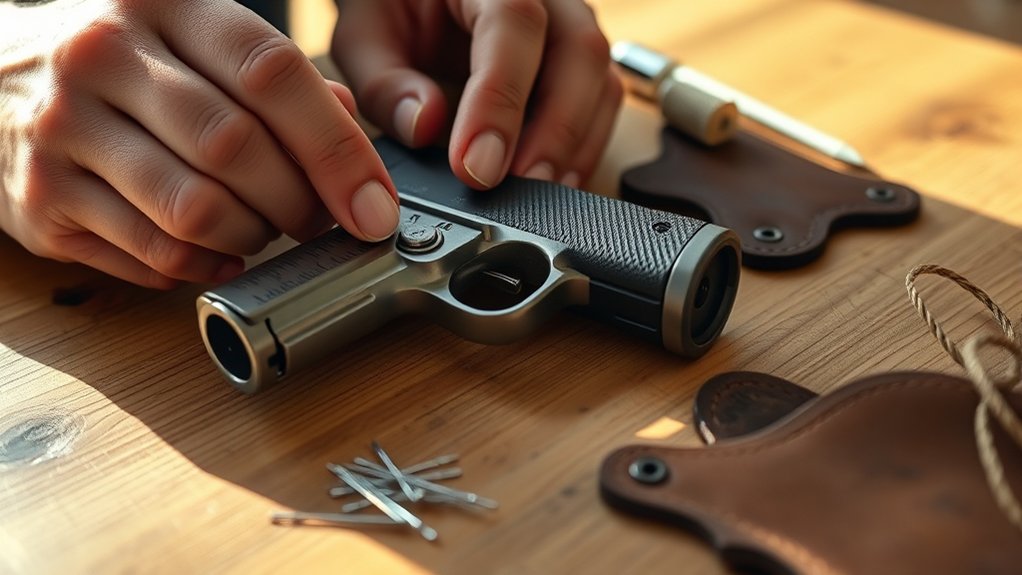
Once you have your materials ready, measuring your gun accurately guarantees the holster will fit snugly and securely. Start by using a flexible measuring tape or a ruler to measure the length, width, and height of your firearm.
Measure the length from the tip of the barrel to the back of the slide, the width at the widest point, and the height from the bottom of the grip to the top of the slide.
Don’t forget to note any protrusions like safety switches or sights that might affect the holster’s shape.
Record these dimensions carefully because they’ll guide your pattern and fabric cutting.
Taking precise measurements now prevents a loose or overly tight holster, ensuring your gun stays safe and easily accessible.
Cut Fabric Pieces for Your Holster
After taking accurate measurements, you’ll cut the fabric pieces that form the body of your holster. Precision here is key to guarantee a snug fit for your gun.
Lay your fabric flat on a clean surface, then:
- Transfer your measurements onto the fabric with tailor’s chalk, marking all edges and seam allowances clearly.
- Use sharp fabric scissors to cut out two identical pieces—these will be the front and back of your holster.
- Cut any additional reinforcement pieces, like a belt loop or padding, based on your design.
Make sure your cuts are clean and straight to avoid uneven seams later.
Keep all pieces organized and ready for the next step: sewing the main holster body together.
Sew the Main Holster Body Together
As you prepare to sew the main holster body together, align the two fabric pieces carefully with their right sides facing each other. Pin the edges to keep them from shifting while you sew.
Use a sewing machine or hand stitch with a strong, durable thread. Begin stitching along the sides, leaving the top open for inserting your item.
Sew with a consistent seam allowance, around ¼ inch, to guarantee a snug fit without bulk. Backstitch at the start and end of your seam to secure the stitches.
After sewing, remove the pins and turn the holster right side out through the open top. Press the seams flat with an iron to give your holster a neat and professional appearance, preparing it for the next steps.
Reinforce Your Holster for Added Durability
Turning your holster right side out and pressing the seams sets a solid foundation, but you’ll want to reinforce it to guarantee it stands up to regular use. Reinforcing your holster prevents wear and tear, especially at stress points.
Here’s how to do it effectively:
- Double Stitch Key Areas: Sew a second line of stitching along the edges and stress points to add strength.
- Use Bar Tacks: Add bar tacks at the holster’s opening and corners to secure these high-stress spots.
- Apply Fabric Glue: For extra durability, apply fabric glue along the seams before stitching to bond layers tightly.
These steps ensure your holster stays sturdy and reliable through daily wear, giving you confidence in its long-term durability.
Create and Attach the Belt Loop
When you’ve reinforced your holster, you’ll want to create a sturdy belt loop that keeps it securely attached to your waist.
Cut a strip of durable fabric or leather, about 2 inches wide and long enough to wrap around your belt with some overlap.
Fold the strip in half lengthwise and sew the edges to form a strong, tube-like loop.
Position the loop on the back of the holster, ensuring it aligns properly with your belt’s width.
Pin it in place, then sew both ends firmly onto the holster’s body, reinforcing the stitching with a double pass for extra strength.
This belt loop will hold your holster steady, preventing it from shifting or falling as you move.
Finish Edges and Add Closures Like Snaps or Velcro
After securing the belt loop firmly, you’ll want to focus on finishing the edges of your holster to prevent fraying and give it a polished look. Clean edges not only enhance durability but also improve the overall appearance. Here’s how you can proceed:
- Trim and Seal Edges: Use pinking shears or apply a fabric sealant to stop fraying. You can also fold the edges inward and stitch for a neat finish.
- Topstitch for Strength: Sew a straight stitch close to the edge, reinforcing the shape and adding a professional touch.
- Add Closures: Choose between snaps, Velcro, or buttons based on your preference. Attach them securely to keep your holster closed and functional.
These steps guarantee your holster looks great and lasts longer.
Test Your Holster’s Fit and Make Adjustments
Although you’ve carefully sewn your holster, you’ll want to test its fit before finalizing. Slide your firearm into the holster to check for snugness—it shouldn’t be too tight or loose.
Make sure the weapon stays securely in place without excessive force but can be drawn smoothly when needed. If it’s too tight, consider trimming or loosening some stitches; if too loose, add a retention strap or adjust the closure.
Also, test the holster on your belt or wherever you plan to carry it to confirm comfort and accessibility. Pay attention to any pressure points or awkward angles and tweak the fit accordingly.
Taking these steps now guarantees your holster will perform well and feel right every time you use it.
Care for Your Handmade Holster
Ensuring your holster fits perfectly is just the start of keeping it in top shape. To extend its life and maintain functionality, you need to care for your handmade holster properly. Follow these simple steps:
- Clean Regularly: Wipe down your holster with a damp cloth to remove dirt and sweat. Avoid harsh chemicals that can damage the material.
- Condition the Leather: If your holster is leather, apply a leather conditioner every few months to keep it supple and prevent cracking.
- Store Properly: Keep your holster in a cool, dry place away from direct sunlight and moisture to avoid warping or mold growth.
Frequently Asked Questions
Can I Use Synthetic Leather Instead of Fabric for My Holster?
Yes, you can use synthetic leather for your holster. It’s durable and looks great, but make sure your sewing machine can handle thicker materials. You’ll also want to use strong needles and heavy-duty thread for best results.
How Do I Safely Store My Holster When Not in Use?
You’ll want to store your holster like a treasured book—flat, in a cool, dry place to avoid warping or moisture damage. Keep it away from direct sunlight, and consider using a breathable pouch to maintain its shape and longevity.
What Are the Best Techniques for Customizing Holster Designs?
You can customize holsters by choosing unique materials, adding decorative stitching, and incorporating personalized embossing or patches. Don’t forget to adjust the fit for your firearm and comfort, ensuring both style and function meet your needs perfectly.
Can This Sewing Method Be Applied to Other Types of Holsters?
You can sew a leather holster or a fabric one using this method, but each demands different tools and care. While stitching a rugged leather holster feels tough, fabric holsters require gentler handling to avoid damage.
How Do Environmental Conditions Affect Holster Durability?
Environmental conditions like moisture, heat, and sunlight can weaken your holster’s materials, causing wear or fading. You’ll want to store it properly and use weather-resistant materials to keep it durable over time.
Conclusion
Now that you’ve sewn your holster, you might wonder if homemade gear really holds up. The truth? A well-crafted holster can rival store-bought ones in durability and fit—sometimes even better, since it’s tailored just for you. Plus, making it yourself means you’ve got a unique piece with personal pride stitched in every seam. So trust your handiwork, keep practicing, and enjoy the confidence that comes with carrying something made by your own hands.