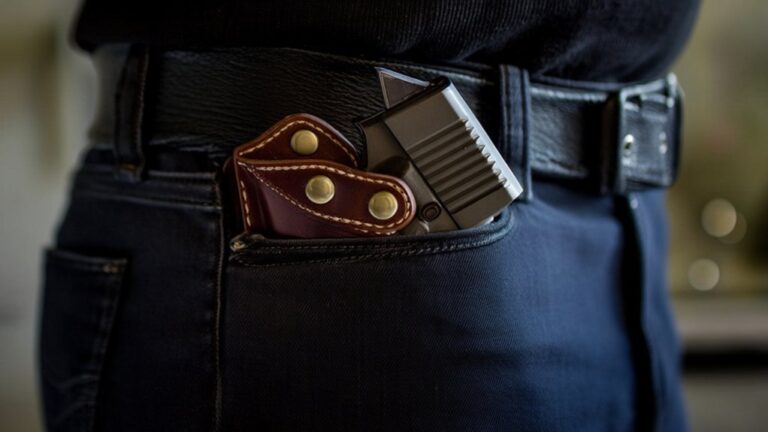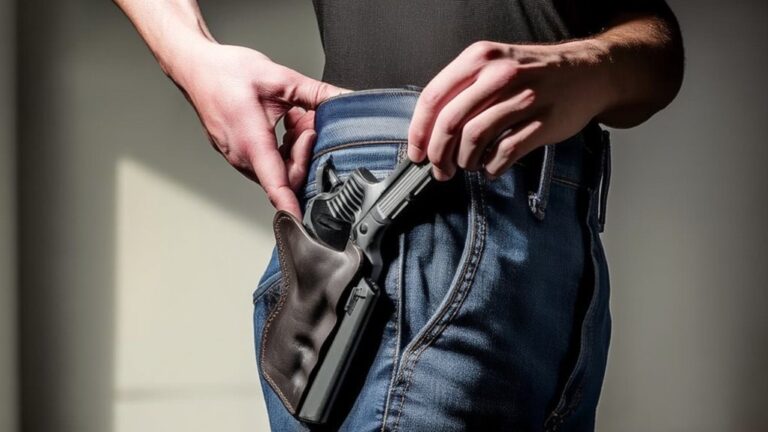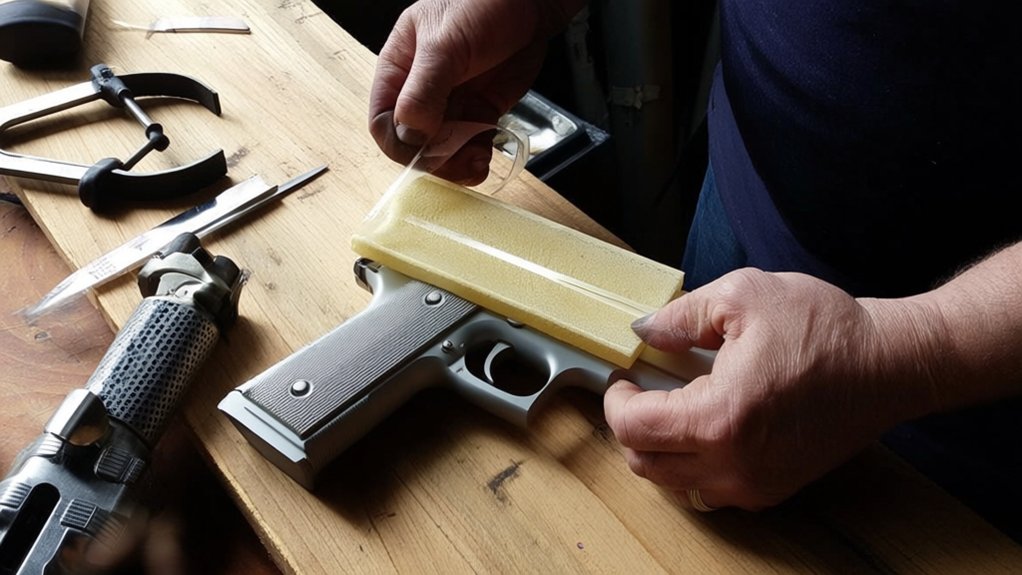
How to Make a Kydex Holster in 7 Easy Steps
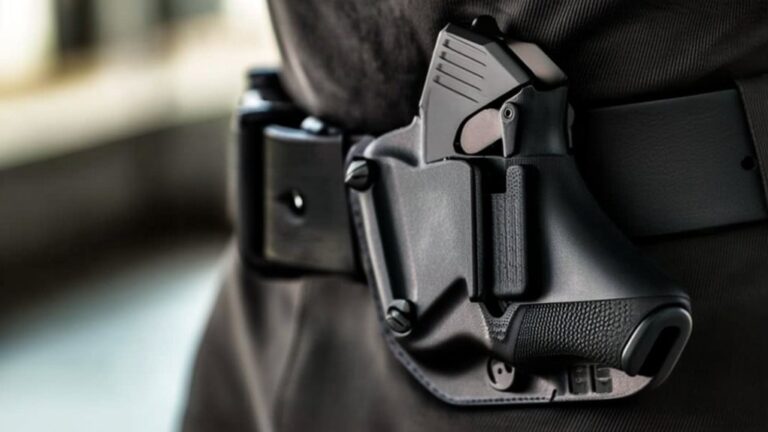
To make a Kydex holster in seven easy steps, first gather materials like Kydex sheets, heat source, and tools. Clean your firearm and prep the Kydex by cutting and sanding it. Heat the sheet until pliable, then mold it snugly around your gun. Trim and smooth edges for comfort. Add retention hardware and adjust fit, then attach belt clips for secure carry. Keep going to discover tips for perfecting every step.
Gather Your Materials and Tools
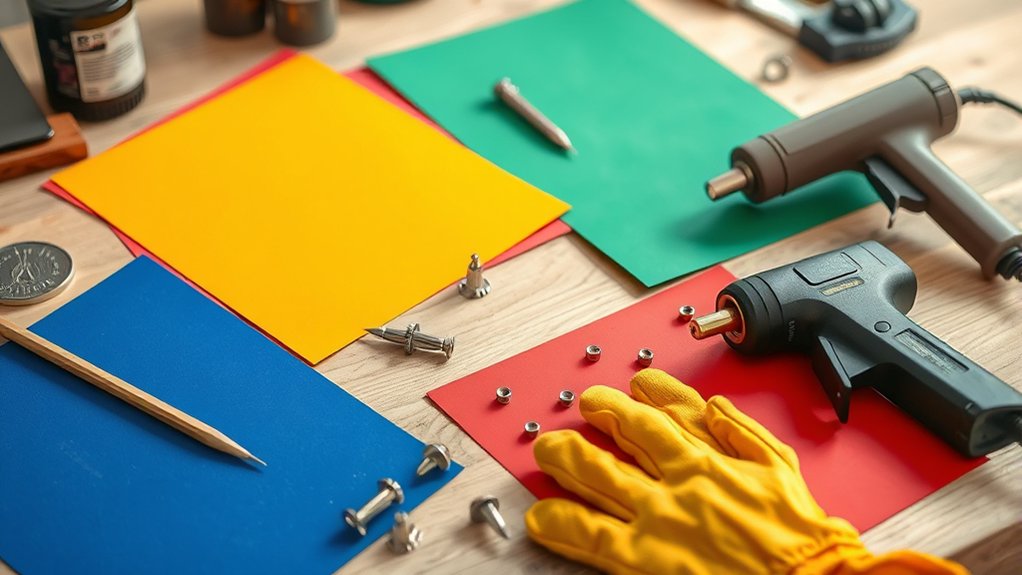
Before you begin shaping your Kydex holster, you’ll need to gather all the essential materials and tools. Start with a sheet of Kydex, the thermoplastic that forms your holster’s body.
You’ll also need a heat source like a heat gun or an oven to soften the Kydex for molding.
Don’t forget a sharp utility knife or rotary tool for trimming edges precisely.
Clamps or binder clips will hold the Kydex in place during shaping.
Eye protection and gloves ensure safety while working with hot materials and cutting tools.
Finally, get some rivets or screws along with a rivet setter or screwdriver to secure the holster pieces together.
Having everything ready upfront streamlines the crafting process and helps you work efficiently.
Get Your Gun and Kydex Ready for Molding
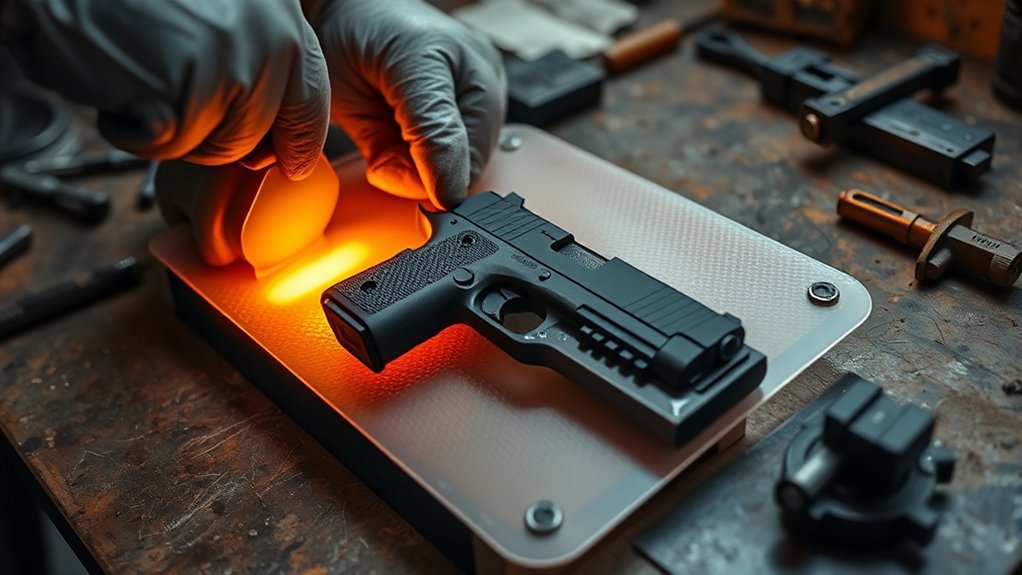
Once you have all your materials ready, it’s time to prepare both your gun and the Kydex sheet for molding. Start by thoroughly cleaning your gun to remove dirt, oil, or debris that could transfer onto the Kydex. Use a soft cloth and mild cleaner, then dry it completely.
Next, select the right thickness of Kydex sheet—usually between 0.06 and 0.08 inches works well for holsters. Cut the sheet slightly larger than your gun’s outline to allow room for shaping and trimming later.
Lightly sand the Kydex surface that will contact the gun to improve grip and prevent slippage during molding. Finally, mark any critical points on your gun or Kydex with a pencil to guide your shaping process.
Now you’re set for the next step.
Heat and Shape Your Kydex Holster Around Your Gun
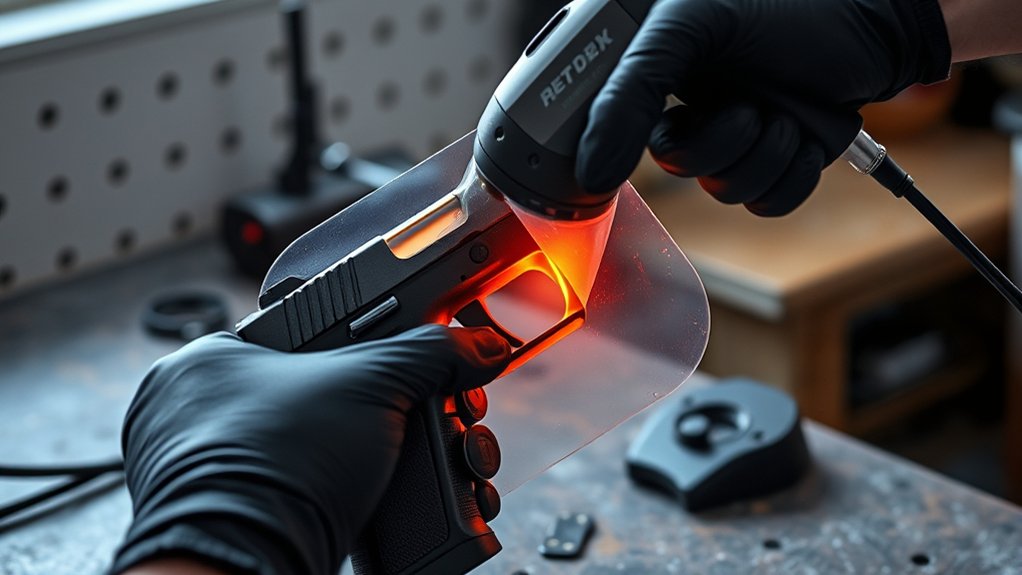
As you heat your Kydex sheet, keep a close eye on its flexibility—too little heat won’t shape properly, while too much can damage the material. Use a heat gun or oven to warm the sheet evenly until it becomes pliable but not melted.
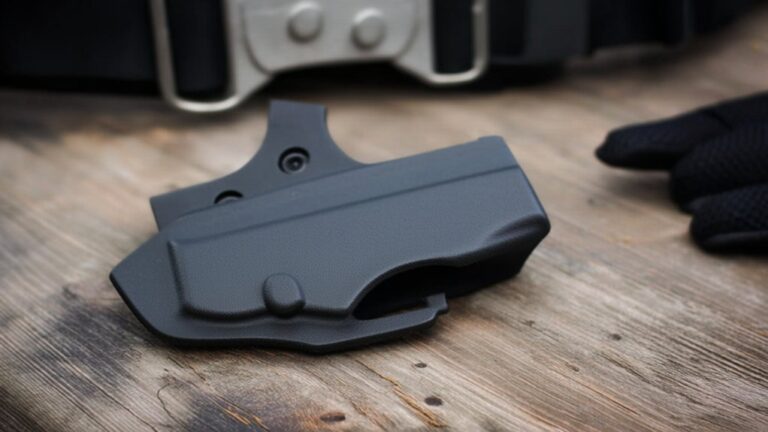
Once ready, place the heated Kydex over your gun quickly. Press firmly, molding the material snugly around the contours of your firearm. Apply steady pressure to ensure every curve is captured, focusing on critical retention points.
Hold it in place until the Kydex cools and hardens, solidifying the shape. Don’t rush this step, as proper shaping guarantees a secure fit and easy draw.
Once cooled, your holster will have a custom fit, perfectly molded to your gun’s profile.
Trim and Smooth Your Kydex Holster Edges
Although your Kydex holster has taken shape, it still needs trimming and smoothing to guarantee comfort and functionality. Sharp edges can irritate your skin or catch on clothing, so take the time to refine every contour.
Start by carefully trimming excess material with a sharp utility knife or rotary tool. Next, smooth out rough or uneven edges to prevent discomfort and improve the holster’s appearance.
Focus on these key steps:
- Use fine-grit sandpaper or a sanding block for a clean finish
- Round off corners to avoid sharp points
- Check the holster’s mouth to ensure easy reholstering
- Test for any rough spots against your skin and smooth accordingly
Trimming and smoothing will make your holster comfortable and ready for everyday use.
Add Retention Hardware for a Secure Hold
After trimming and smoothing your Kydex holster, securing your firearm firmly should be your next priority. Adding retention hardware assures your gun stays in place during movement.
Start by choosing the right screws and rubber washers or retention spacers for your holster model. Insert the screws through the holster’s pre-drilled holes, then add the washers or spacers before tightening.
Adjust the screws to achieve the desired retention level—you want a secure hold without making it difficult to draw. Avoid overtightening, which can damage the Kydex or make reholstering tough.
Some prefer adding adjustable retention devices like tension screws or snaps for a customizable grip. This step guarantees your holster holds your firearm reliably, enhancing safety and confidence every time you carry.
Test and Fine-Tune Your Kydex Holster Fit
Before you rely on your Kydex holster for everyday carry, you’ll want to test its fit thoroughly to guarantee both security and ease of draw. Start by inserting your firearm into the holster and checking for a snug hold without excessive force.
Next, practice drawing and reholstering smoothly to identify any sticking points or resistance. Pay attention to these key areas:
- Retention: Make certain the firearm stays secure during movement but releases quickly when needed.
- Alignment: Confirm the gun sits at the correct angle for a natural draw.
- Comfort: Check for any sharp edges or pressure points against your body.
- Adjustments: Use retention screws or heat-shaping to fine-tune the fit.
This testing prevents mishaps and boosts confidence with your custom holster.
Install Belt Clips for Secure Carry and Finish Your Holster
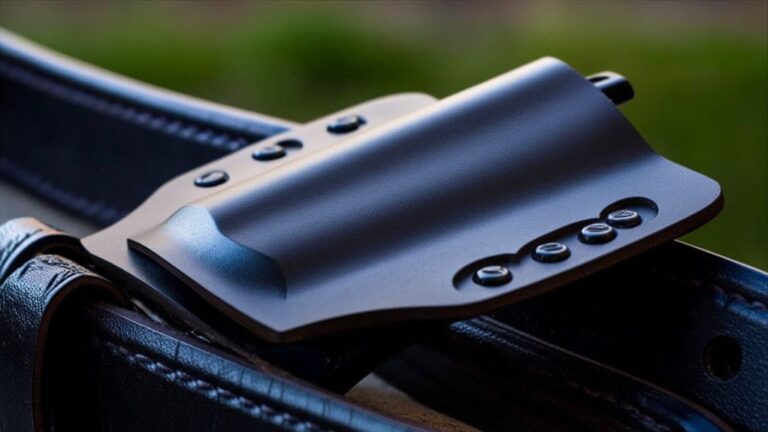
Once you’ve confirmed your holster fits perfectly, it’s time to install the belt clips that will keep it securely attached during daily use. Choose clips designed for your belt’s width and thickness to guarantee a snug fit.
Position them on the holster where they’ll provide balance and comfort—typically near the top edge. Mark the screw holes, then carefully drill pilot holes through the Kydex.
Attach the clips using screws and nuts, tightening them firmly but avoiding overtightening, which could crack the material.
After securing the clips, inspect the holster for sharp edges or rough spots and smooth them with fine-grit sandpaper.
Finally, wipe the holster clean and apply a thin coat of sealant if desired.
Your holster is now ready for reliable, secure carry.
Frequently Asked Questions
What Types of Guns Work Best With Kydex Holsters?
You’ll find Kydex holsters work best with semi-automatic pistols and revolvers, especially popular models like Glock, Sig Sauer, and Smith & Wesson. They mold perfectly to your gun’s shape, giving you a secure fit every time.
How Durable Is a Homemade Kydex Holster?
A homemade Kydex holster’s durability can rival store-bought ones, but it hinges on your craftsmanship and materials. If you cut corners, it’ll wear quickly; if you commit fully, it’ll last through tough daily use.
Can Kydex Holsters Be Customized With Colors or Patterns?
Yes, you can customize Kydex holsters with colors or patterns. You’ll find various colored sheets and wraps to choose from, allowing you to create a unique, personalized holster that matches your style and preferences easily.
Is a Kydex Holster Suitable for Concealed Carry?
Yes, a Kydex holster is great for concealed carry. It’s slim, holds your firearm securely, and won’t print easily under clothing. You’ll appreciate its durability and quick draw ability during everyday use.
How Do I Clean and Maintain My Kydex Holster?
You clean your Kydex holster by wiping it with a damp cloth and mild soap, then drying it thoroughly. Avoid harsh chemicals, and regularly check for cracks or damage to keep it in great shape.
Conclusion
Making your own Kydex holster is like crafting a key to your personal fortress. Each step you take shapes not just plastic, but your own security and confidence. Just like a well-forged key fits perfectly into its lock, your finished holster will hold your gun snugly and ready. By putting in the care and effort, you’re not just building a holster—you’re creating peace of mind that travels with you every day.