How to Sight a Rifle Scope in 7 Easy Steps
To sight your rifle scope in seven easy steps, start by mounting and inspecting the scope for proper alignment and clear lenses. Set up a stable shooting position with supported elbows and a level surface. Align the reticle using a bore sighter, then fire test shots at close range to check grouping. Fine-tune your scope’s elevation and windage, and confirm zero at your desired distance. Troubleshoot common issues, take your time, and build confidence—there’s more to mastering precision ahead.
Mount and Inspect Your Rifle Scope
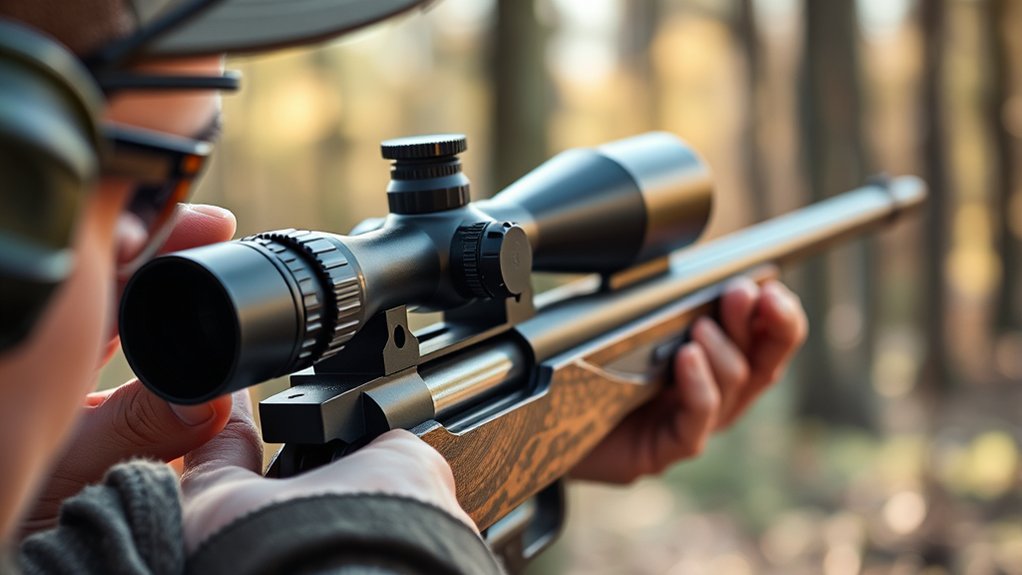
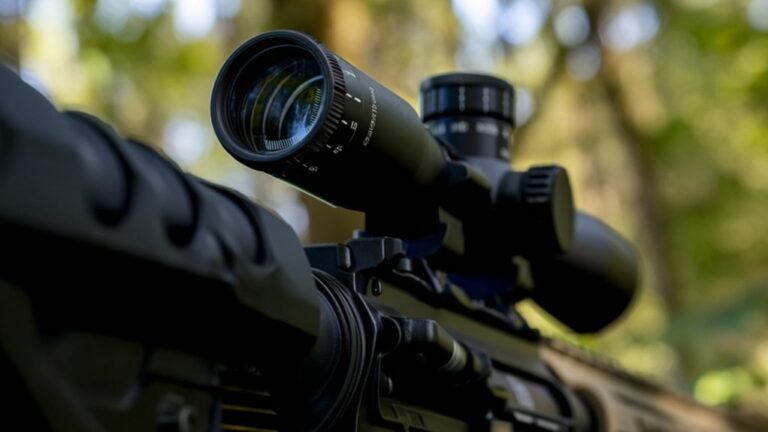
Before you begin sighting your rifle scope, make sure you mount it securely and inspect it thoroughly.
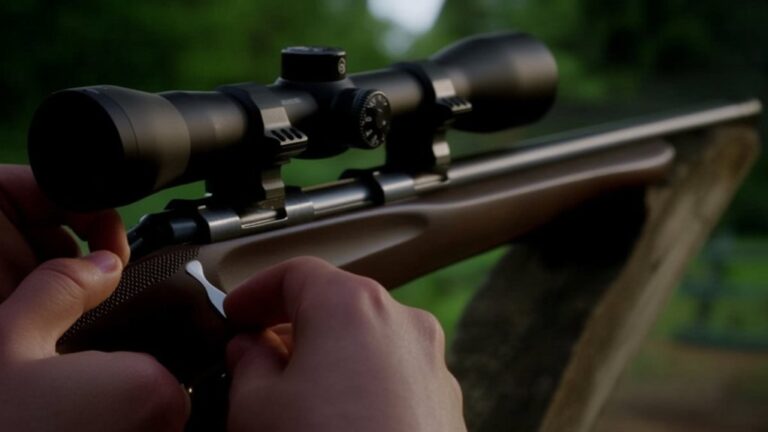
Start by attaching the scope rings to the rifle’s base, confirming they’re tight but not over-tightened to avoid damaging the scope tube.
Align the scope so the reticle sits perfectly level when you hold the rifle naturally.
Check for any scratches, dirt, or damage on the lenses and clean them with a lens cloth if needed.
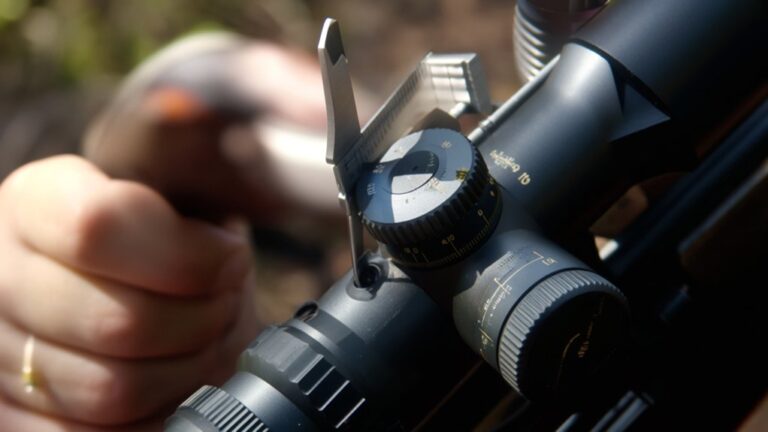
Confirm that the scope’s turrets turn smoothly and reset properly.
Don’t forget to verify that the eye relief is comfortable, allowing you to see a full, clear image without straining.
Taking these steps ensures your scope is ready for accurate aiming and consistent performance.
Establish a Stable Shooting Position and Set Up Your Target
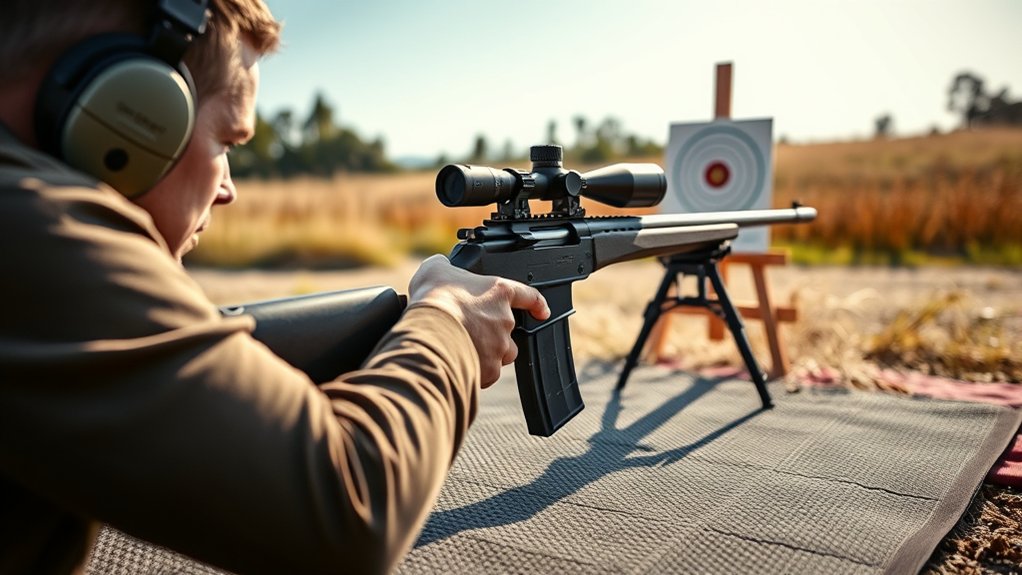
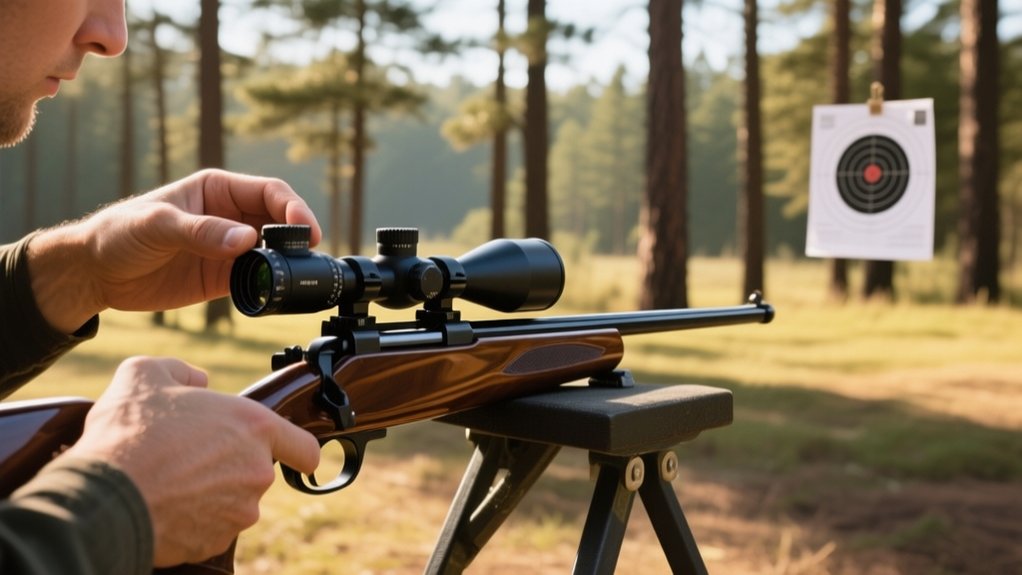
To get accurate shots, start by choosing a stable surface to rest your rifle on.
Position your body comfortably and securely to maintain steady aim.
Finally, set your target at a proper distance that matches your shooting goals.
Choose Stable Shooting Surface
Although sighting a rifle scope demands precision, your results will improve markedly when you choose a stable shooting surface. A stable surface minimizes movement and helps maintain consistent aim. When setting up, look for a surface that supports your rifle securely and keeps it steady throughout your shots.
Avoid uneven or slippery spots that can cause wobbling or shifting. Consider using accessories like shooting rests or sandbags to enhance stability.
Here are five tips to choose the right stable shooting surface:
- Opt for a flat, level area free of debris
- Use solid benches or shooting tables when available
- Avoid wet or muddy ground that can shift under pressure
- Employ shooting mats for added steadiness on rough terrain
- Use sandbags or bipods to secure your rifle firmly
Picking the right surface is key for accurate sighting.
Position Your Body Correctly
Finding a stable shooting surface sets the stage, but how you position your body will make all the difference in accuracy and comfort. Start by sitting or lying down in a way that feels natural and steady. Keep your shoulders relaxed and your spine aligned to avoid strain.
Position your elbows firmly on the surface to create a solid support for the rifle. Make sure your grip is firm but not tense, allowing you to control recoil smoothly.
Align your head comfortably with the scope to maintain a consistent eye relief. Adjust your legs or knees to stabilize your lower body, preventing unnecessary movement.
Select Proper Target Distance
When you choose the right target distance, you set the foundation for accurate sighting. Picking a distance that matches your typical shooting conditions helps you zero your rifle effectively.
Start by establishing a stable shooting position—prone, bench rest, or supported—so your shots stay consistent. Then, set up your target clearly visible and safe to shoot at.
Consider these points when selecting your target distance:
- Match the distance to your usual hunting or shooting environment
- Guarantee the target is large enough to see clearly through your scope
- Use safe backstops to stop bullets safely
- Keep the distance manageable for your shooting skill level
- Adjust distance based on your rifle’s caliber and scope capabilities
This approach helps you sight in your scope with confidence and precision.
Align Your Scope’s Reticle With the Rifle Bore
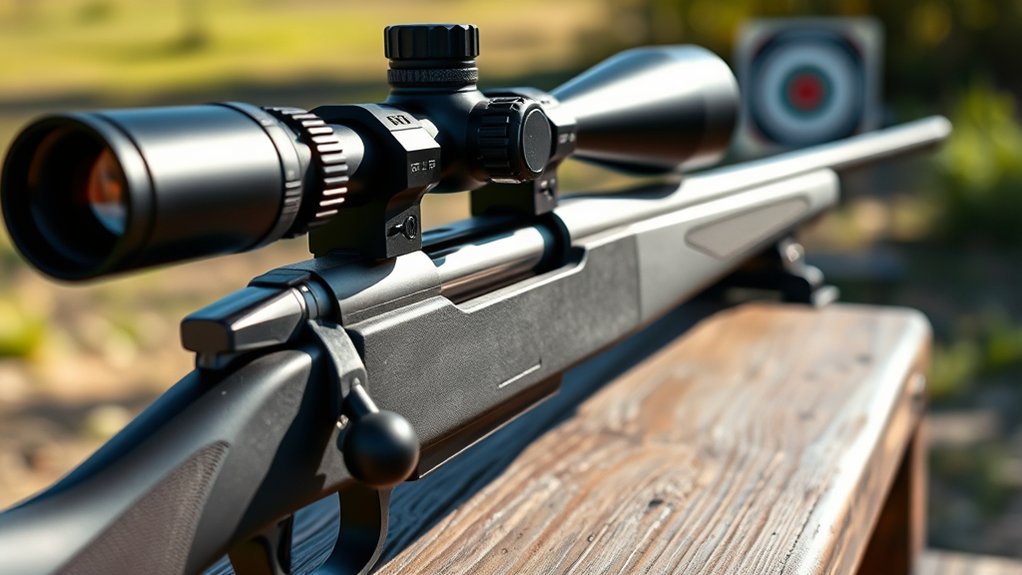
Now that you’ve set up your target, it’s time to align your scope’s reticle with the rifle bore for accurate shots. You’ll need the right tools to make precise adjustments and guarantee your reticle lines up perfectly with the barrel.
Let’s go over how to understand this alignment and fine-tune your scope for the best results.
Understanding Reticle and Bore
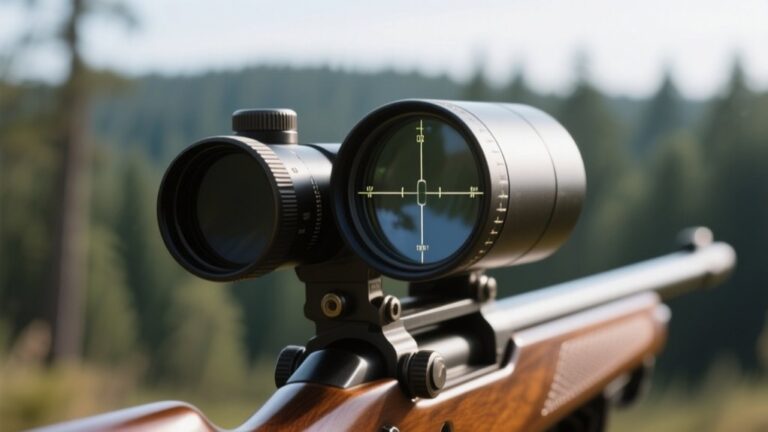
Before you start adjusting your scope, you need to understand how the reticle aligns with your rifle’s bore. The bore is the barrel’s center line, while the reticle is the aiming point inside the scope. Proper alignment ensures your bullet hits where you aim.
Keep these key points in mind:
- The bore’s axis and reticle must coincide at a chosen distance.
- Misalignment causes shots to drift left, right, high, or low.
- The reticle is your visual reference; the bore directs the bullet.
- Adjustments move the reticle, not the bore.
- Zeroing involves matching the reticle to the point of impact.
Understanding this relationship is crucial for accurate shooting before you move on to using tools for precise alignment.
Tools for Alignment
Although understanding the relationship between your rifle’s bore and the scope’s reticle is essential, you’ll need the right tools to achieve precise alignment.
Start with a bore sighter, which helps center the reticle on the target without firing a shot. Laser bore sighters are popular for their accuracy and ease of use.
You’ll also want a stable rest or bipod to keep your rifle steady during the process.
A quality spotting scope or binoculars can assist in checking your adjustments from a distance.
Finally, a reliable level guarantees your rifle and scope remain perfectly horizontal, preventing canting errors.
Using these tools together sets a solid foundation before you move on to making fine adjustments for precision.
Adjusting for Precision
Once you’ve set up your tools and centered the bore sighter, it’s time to modify your scope’s reticle to precisely align with the rifle bore. This step guarantees your shots hit where you aim.
Start by looking through the scope at a target about 25 yards away. Use the windage (left/right) and elevation (up/down) turrets to move the reticle until it’s directly over the bore’s impact point. Take your time and make small adjustments. Remember, precision here saves you ammo and frustration later.
- Confirm the rifle is stable on a rest or bipod
- Adjust windage turret to move reticle left or right
- Adjust elevation turret to move reticle up or down
- Re-check bore sighter alignment frequently
- Tighten turret locks once aligned perfectly
Fire a Group of Test Shots at Close Range
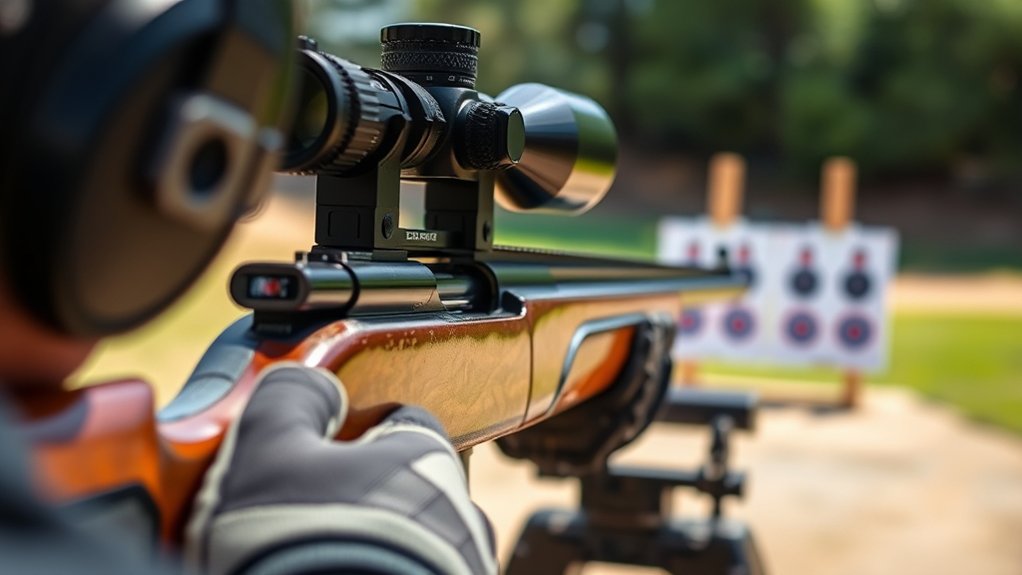
Since you’ve mounted your scope securely, it’s time to fire a group of test shots at close range to see where your bullets land. Choose a target about 25 yards away, and fire three to five rounds without adjusting your aim between shots. This helps you determine the grouping and point of impact relative to your target’s center.
Make sure to keep the rifle steady and use consistent shooting techniques to get accurate results. After firing, carefully examine where the bullets clustered on the target. This pattern shows you how well your scope is aligned with the rifle’s barrel.
If the group isn’t centered, don’t make any scope adjustments just yet; instead, prepare to fine-tune your scope’s elevation and windage next.
Fine-Tune Your Scope’s Elevation and Windage
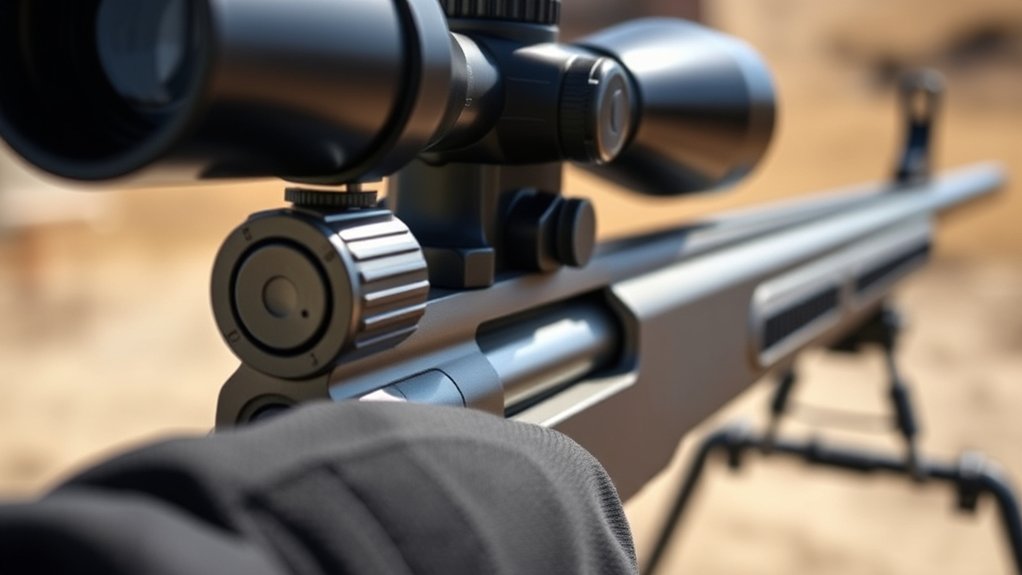
Before you start adjusting your scope, take a close look at the group of shots you fired. Identify where the cluster landed relative to your target’s bullseye. This will guide how you fine-tune your scope’s elevation and windage.
To adjust:
- Elevation affects vertical placement; turn the dial up if shots hit low, down if high.
- Windage controls horizontal placement; dial right if shots are left, left if right.
- Make small adjustments, usually in ¼ MOA increments.
- After each adjustment, fire another group to check progress.
- Keep a log of your adjustments for reference.
This process ensures your scope aligns precisely with your bullet’s trajectory, making your shots accurate and consistent.
Confirm Zero at Your Desired Hunting Distance
After fine-tuning your scope’s elevation and windage, the next step is to verify your zero at the distance you plan to hunt. Head out to your chosen range and set up a target at that exact distance.
Aim carefully and fire a group of three to five shots. Check where your bullets are hitting compared to your point of aim.
If the grouping is tight and centered, your zero is confirmed. If not, make small adjustments and shoot another group.
Repeat this process until your shots consistently land where you want. Confirming your zero at your hunting distance ensures accuracy in the field and boosts your confidence when it counts.
Don’t rush it—patience here pays off in every shot you take.
Fix Common Zeroing Problems
When your shots don’t land where you expect, it’s important to identify and fix common zeroing problems quickly. Start by checking your scope’s mounting—loose rings or bases can cause inconsistent impacts. Make sure you’re using the correct ammunition, as different loads can shift your point of impact.
Also, verify that you’re adjusting the turrets in the right direction; turning them the wrong way can move your zero off target. Don’t forget to maintain a steady shooting position and consistent cheek weld for reliable results.
Ultimately, inspect your target setup and measurement distance to ensure accuracy in your adjustments.
- Tighten scope mounts securely
- Use consistent, correct ammunition
- Adjust turrets in the proper direction
- Maintain steady shooting position
- Confirm target distance and alignment
Frequently Asked Questions
What Type of Rifle Scope Is Best for Beginners?
You’ll want a simple, low-magnification scope with clear, easy-to-use adjustments. Look for a durable, fixed power scope around 3-9x magnification. It’ll help you learn basics without overwhelming complexity or pricey features.
How Often Should I Clean My Rifle Scope Lenses?
You should clean your rifle scope lenses whenever they get dirty or foggy, typically after every few uses. Avoid over-cleaning; use a soft brush and lens cleaner to keep them clear without scratching.
Can Different Weather Conditions Affect My Scope’s Accuracy?
You know, “A chain is only as strong as its weakest link.” Yes, weather conditions like rain, fog, or heat mirage can distort your scope’s clarity and accuracy, so always adjust or wait for better conditions before taking a shot.
What Tools Do I Need for Mounting a Rifle Scope?
You’ll need a torque wrench, screwdrivers, a leveling kit, and possibly a gun vise or rest. These tools help you mount your rifle scope securely and guarantee it’s perfectly aligned for accurate shooting.
How Do I Choose the Right Reticle for My Shooting Needs?
You want precision, but also simplicity; choose a reticle that matches your shooting style. For long-range, pick a mil-dot; for quick shots, a duplex. Balance complexity with clarity to hit your target every time.
Conclusion
So, you’ve gone through all seven steps to sight your rifle scope perfectly—only to realize the hardest part isn’t zeroing but resisting the urge to keep adjusting it every time you take a shot. Ironically, once you’ve nailed that perfect sight picture, your biggest challenge might just be trusting it and enjoying the hunt instead of obsessively tweaking your settings. Sometimes, the best shot is knowing when to stop fiddling.