How to Stretch a Leather Holster in 10 Easy Steps
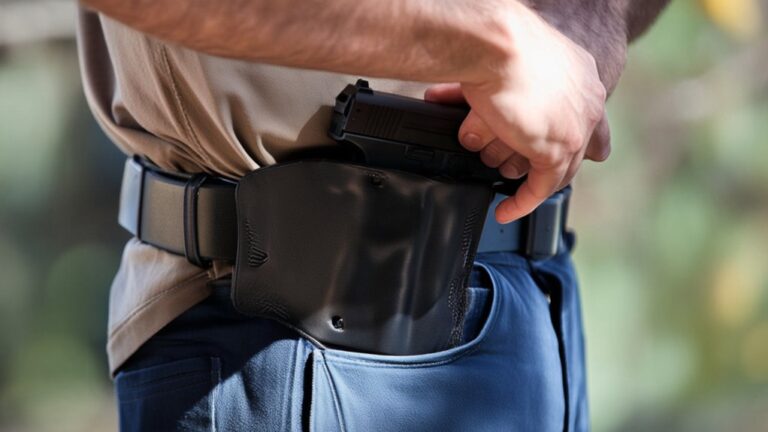
To stretch your leather holster in 10 easy steps, start by checking it for damage and ensuring it fits snugly. Gather tools like a wooden form, gloves, and a spray bottle. Apply conditioner evenly, let it absorb, then dampen the leather with warm water. Insert the stretching form, gently shaping the holster to your firearm. Let it dry slowly, repeat if needed, then clean and condition afterward. Follow these steps closely, and you’ll soon achieve a perfect fit with lasting comfort.
Is Your Holster Ready to Stretch?
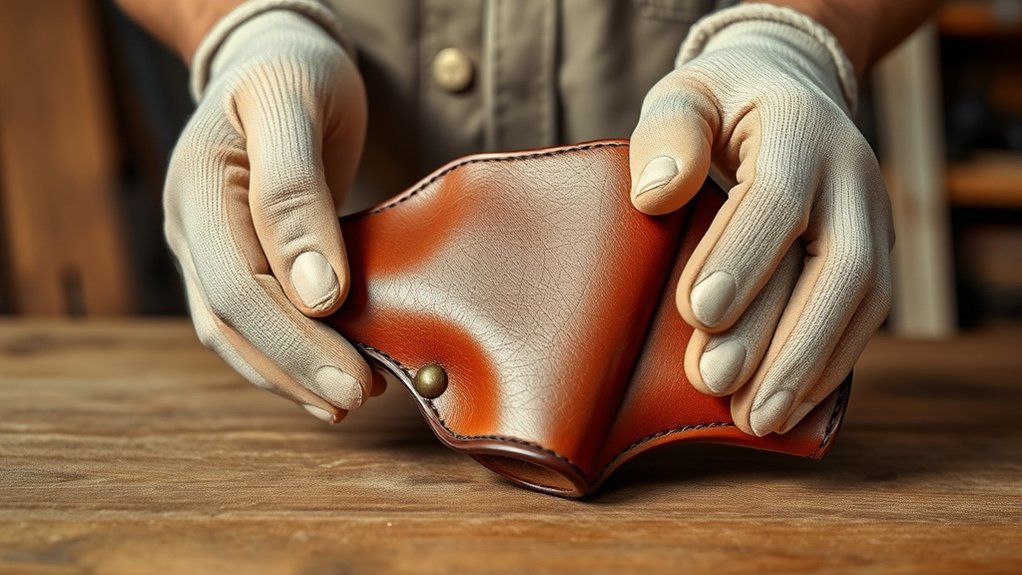
How do you know if your leather holster is ready to stretch? First, check if the leather feels dry or stiff; stretching a brittle holster can cause cracks. It’s best when the leather is slightly pliable but not overly soft.
Also, make certain the holster fits too snugly around your firearm or gear, making it uncomfortable or difficult to insert or remove. If it’s already loose or damaged, stretching won’t help.
Look for signs like tight edges, pinching points, or uneven pressure spots. Before stretching, your holster should be clean and free of debris. If it’s wet or dirty, the leather mightn’t stretch evenly or could retain unwanted shapes.
Confirming these conditions will save you time and effort later.
Gather Your Stretching Tools and Materials
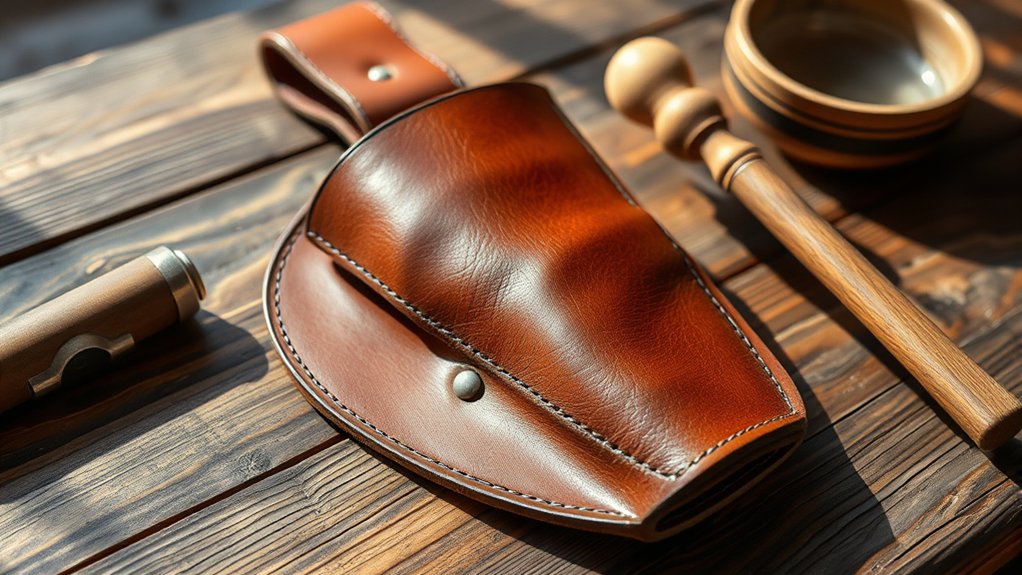
Before you begin stretching your leather holster, gather all the necessary tools and materials to make a smooth process. Having everything at hand keeps frustration at bay and guarantees you don’t have to stop midway. You’ll want to create a comfortable workspace where you can focus without distractions.
Here’s what you’ll need:
- A wooden stretching block or a similarly shaped object that fits your holster snugly
- Rubber gloves to protect your hands while working with wet leather
- A spray bottle filled with warm water for controlled dampening
- Clamps or heavy books to hold the holster in place as it stretches
With these tools ready, you’ll feel confident and prepared to achieve the perfect fit for your leather holster.
Soften Your Leather Holster With Conditioner
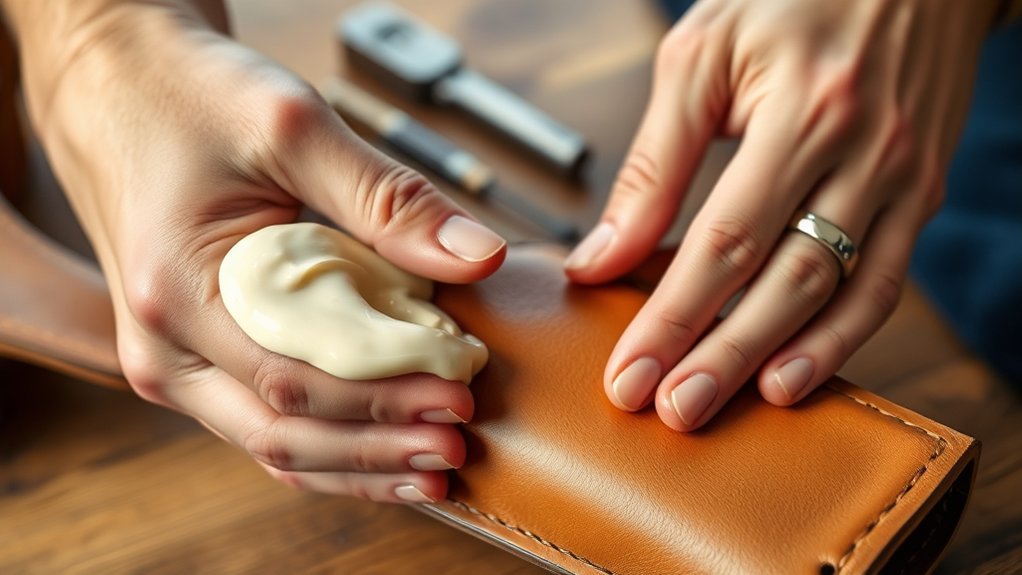
Although leather is durable, it can become stiff over time, making stretching difficult. To make your holster more pliable, start by applying a quality leather conditioner evenly across its surface. Use a soft cloth to rub the conditioner in gently, focusing on areas that feel particularly rigid. This nourishes the leather, restoring moisture and flexibility without weakening its structure.
Let the conditioner absorb fully—usually about 15 to 30 minutes—before handling the holster. Avoid over-saturating the leather, as too much conditioner can make it overly soft or sticky.
Regular conditioning not only helps with stretching but also prolongs your holster’s lifespan by preventing cracks and dryness. By softening the leather first, you’ll find the stretching process smoother and more effective.
Loosen Leather Fibers Using Warm Water
Once you’ve softened your holster with conditioner, warm water can help loosen the leather fibers further, making the material more flexible for stretching.
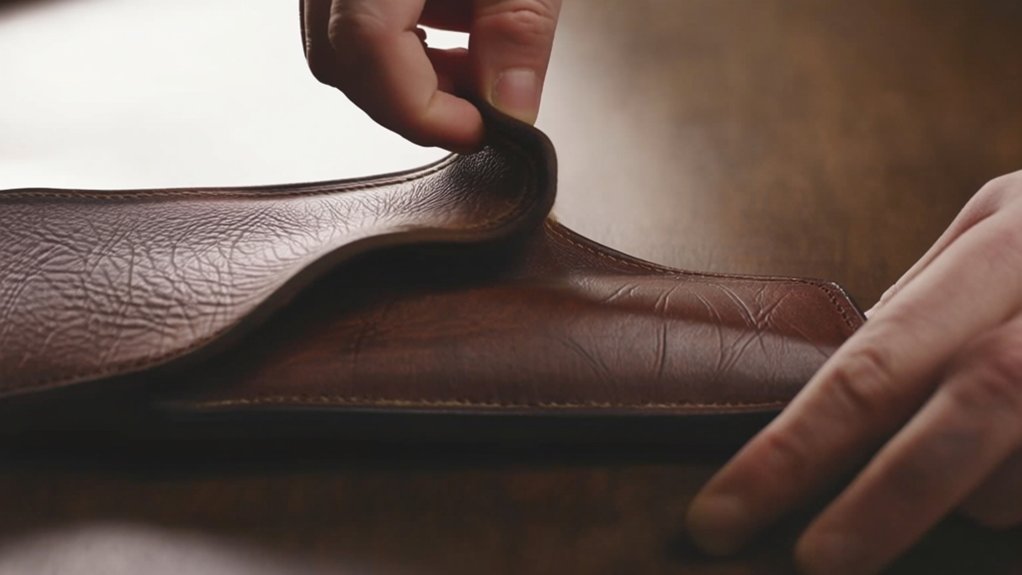
Use a damp cloth soaked in warm water—not soaking wet—to gently rub the holster’s surface. This process opens up the fibers, allowing them to move and stretch more easily without cracking or damaging the leather.
Keep these tips in mind to get the best results:
- Feel the warmth relax the leather, making it more pliable.
- Notice how the texture softens, signaling readiness for stretching.
- Experience the satisfaction of a perfectly fitted holster forming.
- Take pride in caring for your gear the right way.
This step sets you up for successful stretching, ensuring your holster molds comfortably.
Insert a Stretching Form Into Your Leather Holster
How exactly do you guarantee your leather holster stretches evenly and maintains its shape? The key is inserting a properly sized stretching form.
Choose a form that mimics the dimensions of your firearm or the object you plan to carry. Gently slide the form into the dampened holster, ensuring it fits snugly without forcing it in.
This provides consistent pressure from within, guiding the leather to stretch uniformly around the contours. Avoid using objects that are too large, as they may deform the holster, or too small, which won’t stretch it adequately.
Once inserted, the form acts as a mold, preserving the holster’s original shape while allowing the leather fibers to expand naturally. This step sets the foundation for effective and controlled stretching.
Apply Gentle Pressure to Gradually Stretch the Leather
When you’ve inserted the stretching form, start applying gentle pressure to coax the leather into expanding without risking damage. Take your time—rushing can cause cracks or warping. Use slow, consistent force to allow the fibers to relax and lengthen naturally. This careful approach guarantees your holster remains strong and durable.
Remember, the goal is to improve comfort and usability, not to distort the shape.
- Feel the leather soften as it gradually adapts to your needs.
- Enjoy the satisfaction of customizing your gear with patience.
- Avoid frustration by trusting the slow, steady progress.
- Celebrate small improvements that enhance your daily carry experience.
Gentle pressure is your ally in transforming a stiff holster into a perfect, comfortable fit.
Mold Your Holster to Your Firearm for a Perfect Fit
As the leather begins to soften and stretch under gentle pressure, you can start shaping the holster to fit your firearm precisely.
Insert your firearm into the holster carefully, making sure it slides in smoothly but snugly. Use your fingers to press and mold the leather around the contours of the gun, focusing on key contact points like the trigger guard and barrel.
This molding process guarantees a secure hold and prevents unnecessary movement. Don’t rush; take your time to work the leather evenly, avoiding sharp bends or creases.
Let the Leather Dry Slowly to Set the Shape
Although the molding process shapes the leather, you need to let it dry slowly to lock in the fit. Rushing this step risks warping the holster or losing the custom contour you worked hard to create.
Find a cool, shaded spot with good air circulation and place your holster there. Avoid direct sunlight or heat sources—they can dry the leather too fast and make it brittle.
Take pride in this patient pause because:
- You’re preserving the holster’s integrity for years to come
- Each slow moment deepens the leather’s character and durability
- You’re ensuring a snug, comfortable fit every time you draw
- This careful drying honors the craftsmanship behind your holster
Let time do the work; your holster will thank you.
Repeat Stretching Steps for the Best Fit
To achieve the perfect fit, you’ll need to repeat the stretching process several times. After your holster has dried, test the fit by inserting your firearm. If it feels too tight, dampen the same areas again and stretch carefully with your hands or a stretching tool.
Each cycle gradually softens the leather and expands the shape to match your gun precisely. Avoid rushing; repeated gentle stretches prevent damage and ensure even shaping. Between sessions, let the leather dry completely to lock in the new form.
Keep checking the fit after each round, stopping once your firearm slides in snugly without forcing it. This patient approach guarantees a comfortable, secure holster that molds perfectly to your weapon over time.
Clean and Condition Your Holster After Stretching
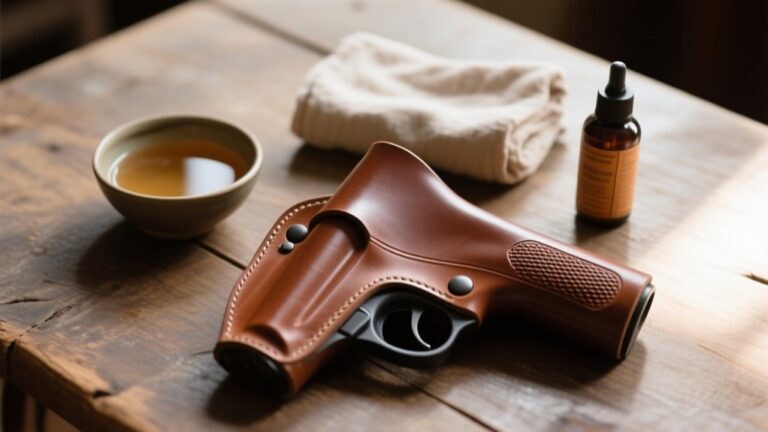
Once you’ve finished stretching your leather holster, you should clean and condition it to maintain its durability and appearance. This step keeps the leather supple and prevents cracking, ensuring your holster lasts for years.
Use a soft cloth to gently wipe away dirt and sweat, then apply a quality leather conditioner evenly. Let it absorb fully before using the holster again.
Remember, caring for your holster isn’t just maintenance—it’s a way to honor the craftsmanship and protect your investment. Consider these benefits:
- Keeps leather soft and flexible
- Prevents drying and cracking
- Enhances color and texture
- Prolongs the holster’s lifespan
Taking these simple actions will keep your holster looking and performing its best every time you need it.
Frequently Asked Questions
Can I Stretch Synthetic Holsters the Same Way as Leather?
You can’t stretch synthetic holsters like leather because synthetic materials don’t soften or mold as leather does. Instead, you might need to use heat or look for adjustable options to improve the fit safely.
How Often Should I Stretch My Leather Holster?
You should stretch your leather holster only when it feels too tight or difficult to insert your firearm. Overstretching can damage it, so limit sessions to a few times a month, depending on use and fit.
Will Stretching Damage the Holster’s Finish or Color?
Stretching your leather holster won’t usually damage its finish or color if you do it gently and use proper techniques. Avoid harsh chemicals or excessive force, and condition the leather afterward to keep it supple and looking great.
Can I Stretch a Holster Without a Firearm or Form?
Yes, you can stretch a holster without a firearm or form by using your hands to gently flex the leather or inserting a soft, rounded object. Just avoid overstretching to keep the shape and durability intact.
How Long Does the Stretching Process Typically Take?
The stretching process usually takes a few hours to a couple of days, depending on leather thickness and method. You’ll want to stretch gradually, checking fit frequently to avoid over-stretching or damaging your holster.
Conclusion
Now that you’ve stretched your leather holster, it should fit your firearm like a glove, snug and secure. Just like molding clay, patience and care help shape it perfectly over time. Remember, repeating the steps and conditioning your holster keeps the leather soft and durable. With these simple techniques, you’re set to carry comfortably and confidently every time you draw. Keep your holster well-maintained, and it’ll serve you faithfully for years to come.