How to Make a Gun Holster in 7 Easy Steps
To make a gun holster in seven easy steps, start by choosing a material that suits your daily use and climate, like leather for classic durability or Kydex for weather resistance. Measure your firearm carefully, then cut and shape the pieces precisely. Mold the holster for a snug fit, assemble and secure it with rivets or stitching, and add padding or clips for comfort. Finally, test its safety and function to guarantee reliability. Keep going to uncover detailed tips for each step.
Choose the Right Material for Your Gun Holster
When choosing the right material for your gun holster, consider how you’ll use it daily. You want something durable yet comfortable for extended wear.
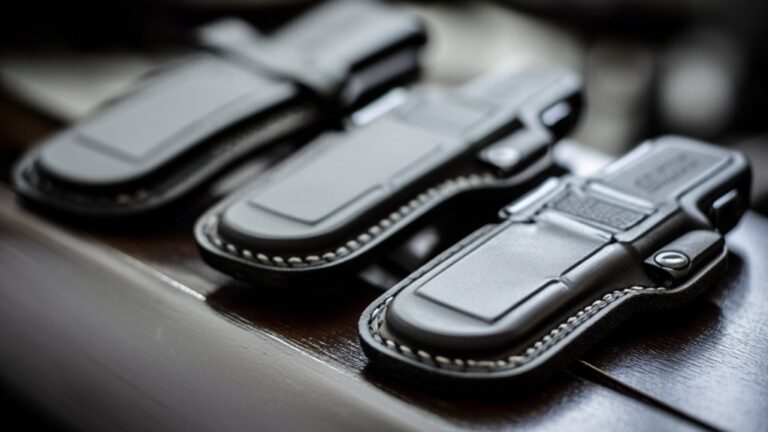
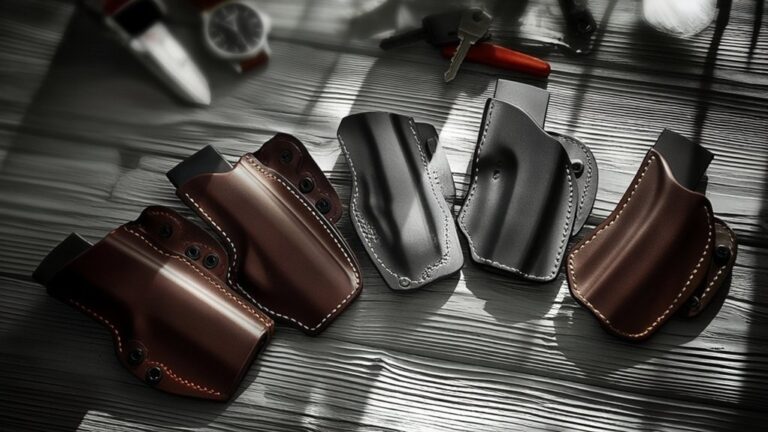
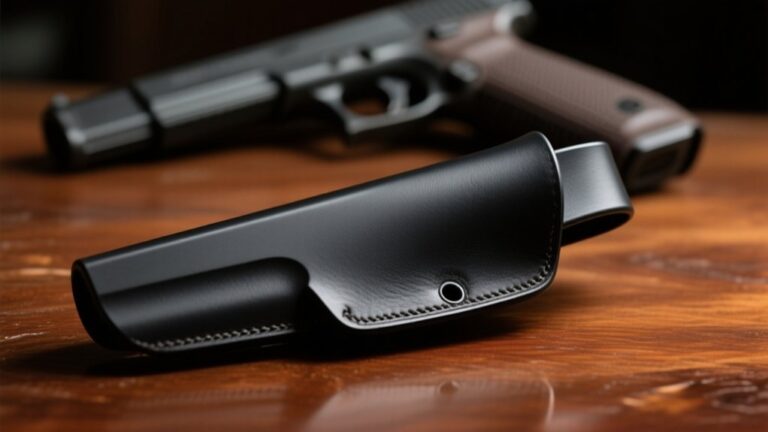
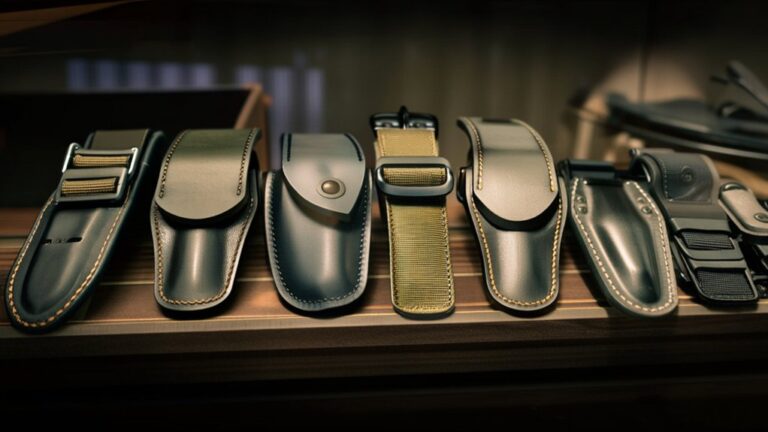
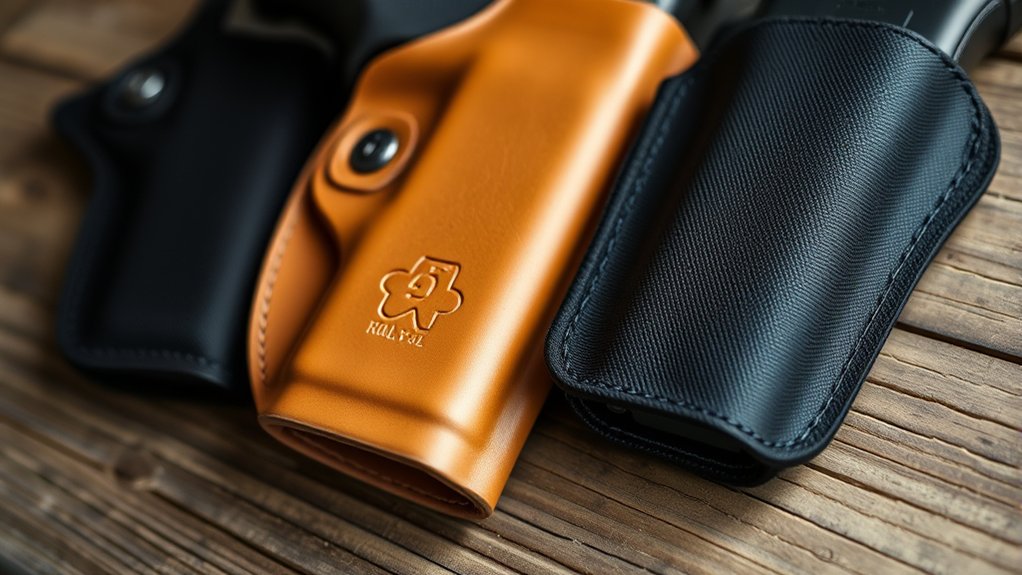
Leather offers a classic look, molds to your gun over time, and provides solid retention. If you prefer something lighter and more weather-resistant, Kydex is an excellent choice—it’s rigid, easy to clean, and holds shape well.
Nylon is another option, often more affordable and flexible, but it mightn’t offer the same level of retention or protection.
Think about your climate and activity level too; leather can absorb moisture, while synthetic materials handle sweat better.
Ultimately, pick a material that balances comfort, durability, and security, so your holster performs well every time you carry.
Evaluate Your Carry Style and Measure Your Gun for a Custom Holster Template
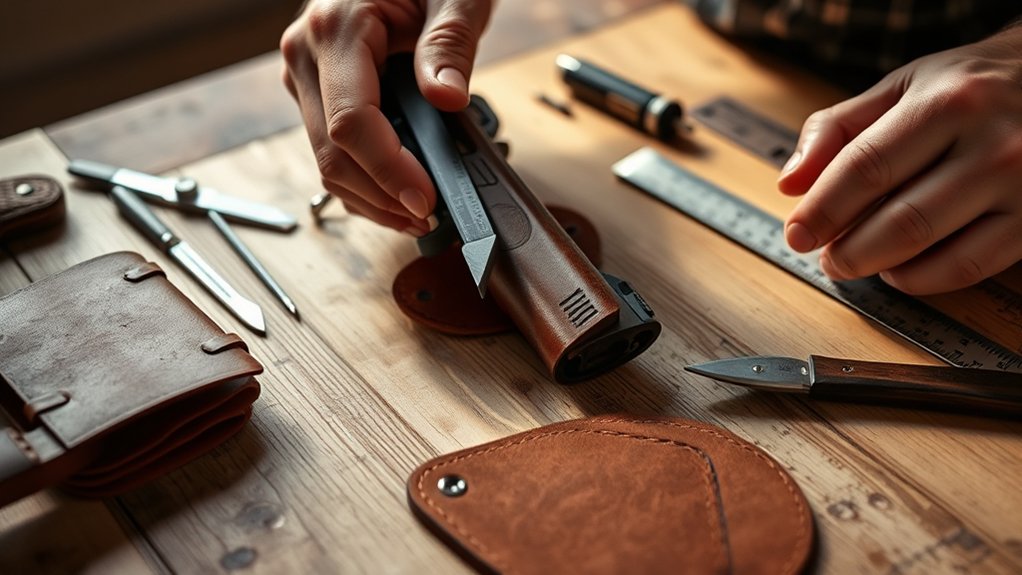
Selecting the right material sets the foundation, but tailoring your holster to fit your carry style and gun dimensions guarantees comfort and functionality.
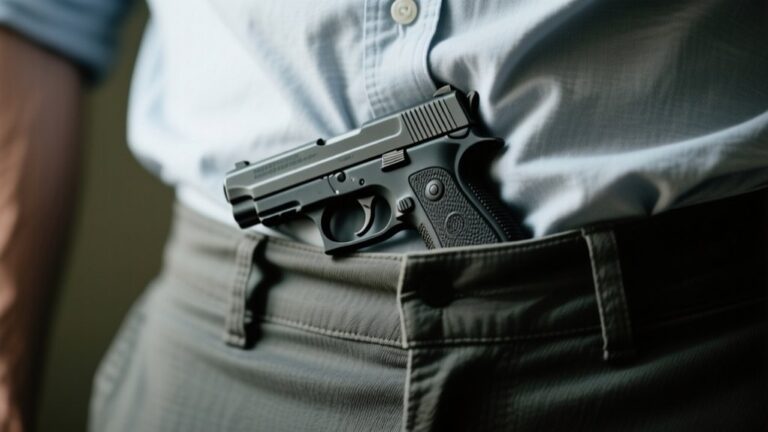
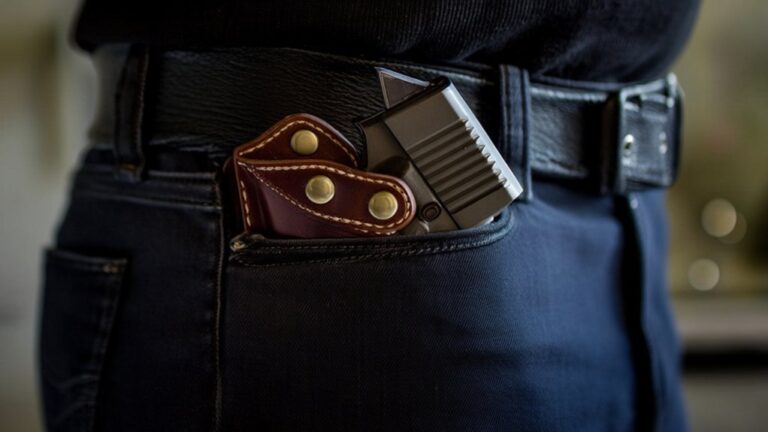
First, decide how you want to carry your gun—inside the waistband, outside, or shoulder carry—since each style demands a different holster shape and retention method.
Next, measure your firearm carefully. Record the length, height, width, and trigger guard size, making sure you include any attachments like sights or lasers.
These measurements allow you to create a precise holster template that holds your gun securely without restricting access.
Remember to contemplate how your carry style affects draw speed and concealment.
Taking these steps ensures your custom holster fits perfectly, keeps your gun safe, and matches your daily carry needs.
Cut and Shape Your Gun Holster Pieces Precisely
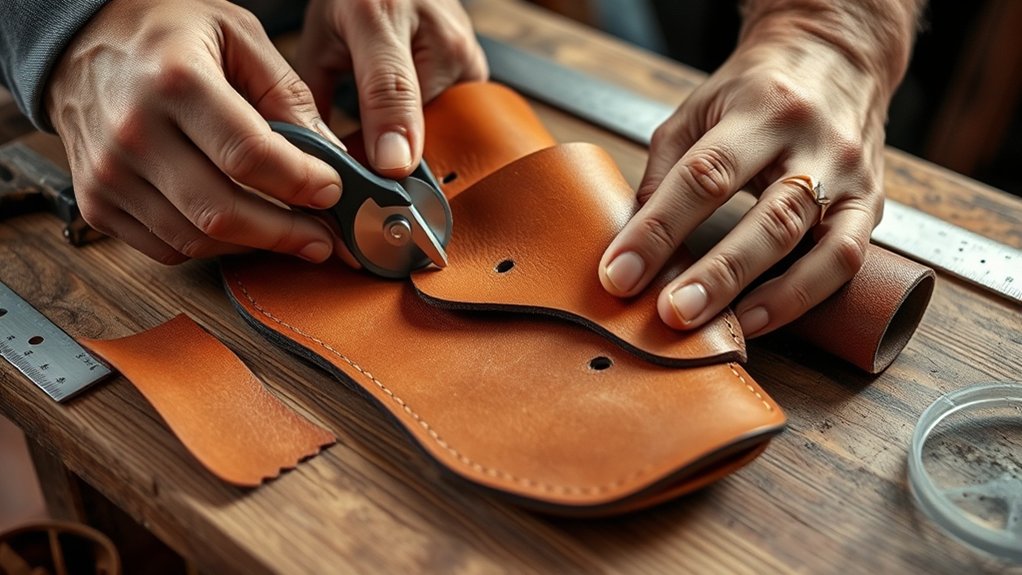
After finalizing your measurements and template, you’ll want to cut your holster pieces with accuracy to guarantee a perfect fit. Precision here ensures your holster will securely hold your gun without unnecessary bulk.
Follow these steps:
- Secure your template firmly on the leather or material with clips or tape to prevent shifting.
- Use a sharp utility knife or rotary cutter for clean, smooth edges.
- Cut slowly along the template lines, keeping your hand steady to maintain accuracy.
- Check each piece against your template after cutting to confirm exact sizing before moving on.
Taking your time during this step sets a strong foundation for your holster’s final shape and durability.
Shape Your Holster to Fit Perfectly
Although cutting your pieces precisely is essential, shaping your holster to fit your gun snugly guarantees secure retention and comfort.
Start by dampening the leather slightly; this makes it more pliable. Insert your firearm carefully into the holster piece and press firmly to mold the leather around its contours.
Use your thumbs to create sharp creases where needed, especially around the trigger guard and barrel. Let the leather dry completely while holding the shape—this sets the form permanently.
If you want added definition, you can use a mallet gently to tap the leather into place.
Remember, a well-shaped holster prevents your gun from wobbling or slipping out, which is critical for safety and ease of draw.
Take your time, and your holster will fit like a glove.
Assemble and Secure Your Gun Holster Components
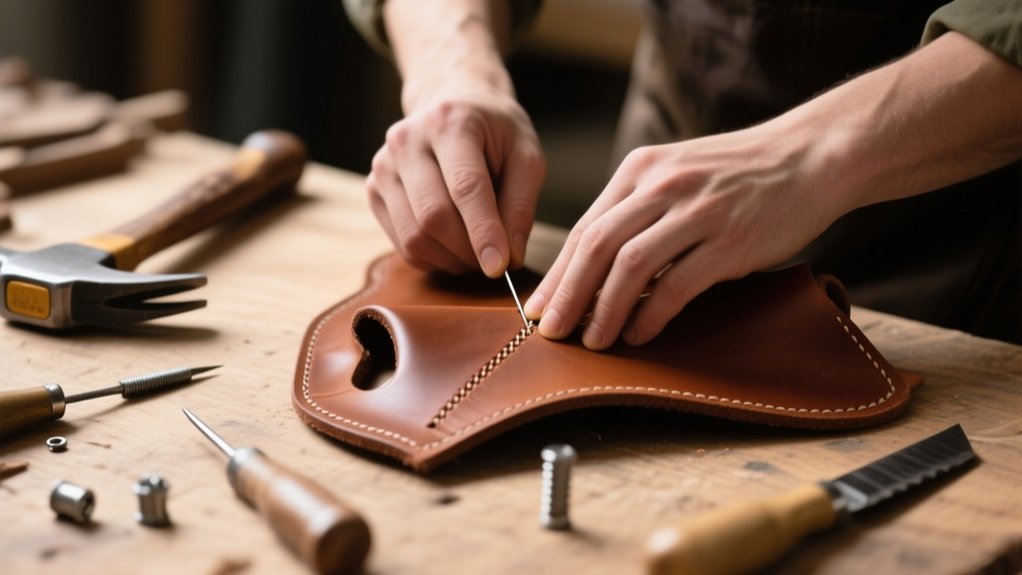
Once you’ve shaped your holster to fit your firearm perfectly, it’s time to assemble and secure the components to guarantee durability and function. Start by aligning the holster pieces carefully, ensuring all edges meet cleanly.
Then:
- Use strong rivets or screws to fasten the main body, focusing on stress points for extra strength.
- Apply a high-quality adhesive between layers for additional bonding, especially if using leather or synthetic materials.
- Reinforce stitching around the holster’s mouth and belt loops to prevent wear and maintain shape.
- Check the holster’s retention by inserting your firearm, adjusting tension as needed for a secure yet accessible fit.
Following these steps will help you create a holster that’s reliable and ready for everyday use.
Add Comfort and Style Finishes Like Padding and Clips
To enhance both comfort and style, you’ll want to add finishing touches like padding and clips that suit your daily needs.
Start by attaching soft padding inside the holster where it touches your body to prevent discomfort during extended wear. Use foam or leather inserts secured with strong adhesive or stitching.
Next, choose clips that match your preferred carry style—belt clips offer easy attachment and removal, while paddle clips provide quick on-and-off capabilities.
Confirm your clips are sturdy and positioned for balanced weight distribution, preventing the holster from shifting.
You can also personalize the look by selecting clips in different finishes or adding decorative stitching. These small additions not only improve comfort but also give your holster a professional and polished appearance.
Test Your Holster’s Safety and Functionality
Before relying on your holster daily, you need to test its safety and functionality thoroughly. This guarantees your firearm stays secure and accessible when needed. Here’s how to do it effectively:
- Insert your gun and check the retention by moving the holster in different directions; it should hold the firearm firmly without slipping.
- Practice drawing and reholstering smoothly to confirm there’s no unnecessary resistance or snagging.
- Inspect all attachment points and stitching for durability after repeated use.
- Wear the holster during typical activities to assess comfort and stability, making sure it doesn’t shift or cause discomfort.
Frequently Asked Questions
What Legal Permits Do I Need to Carry a Gun Holster?
You’ll need a concealed carry permit or license, depending on your state’s laws. Check local regulations carefully, since rules vary widely. Always carry your permit with you when using a gun holster to stay legal.
How Do I Clean and Maintain My Gun Holster?
You clean your gun holster by wiping it with a damp cloth and mild soap, then letting it air dry. Condition leather holsters with leather oil regularly. Check for wear, tighten screws, and store it in a cool, dry place.
Can I Customize the Holster for Left or Right-Handed Use?
Absolutely, you can tailor your holster like a glove to fit left or right-handed use. Just adjust the belt loops or clip placement during crafting, ensuring comfortable, quick access no matter which hand you favor.
What Is the Average Cost of Making a Gun Holster?
You’ll typically spend between $20 and $100 making a gun holster, depending on materials and tools you choose. Leather costs more, while nylon’s cheaper. Custom features or high-quality leather will raise the price.
Are There Specific Safety Tips for Carrying a Gun Holster Daily?
Carrying a gun holster daily is like holding a key to safety—always keep the trigger covered, secure the holster firmly, practice safe draws, and regularly inspect your gear. Stay aware, and respect the responsibility you carry.
Conclusion
Now that you’ve made your own gun holster, you’re part of a growing DIY community—did you know nearly 40% of gun owners prefer custom gear for better fit and comfort? By tailoring your holster exactly to your gun and carry style, you guarantee safety and convenience every time you wear it. Plus, your personalized touch makes it uniquely yours. Keep testing and adjusting to maintain peak performance and confidence on the go.